
Update: Begonia Seeds, Part Two!
First, thank you to everyone who followed up on the first post I made about hand pollinating my Begonias. If you haven’t read the first part of this Begonia journey, check here to see where it began. I know I left off on a cliffhanger with the results of that experiment…until now. I spent the last 3-4 months just waiting. I know the seeds were ready to harvest sooner, but I was still taking a mental break. Finally, we go to a place where both the seeds and I were ready to move forward, which brings us to today.
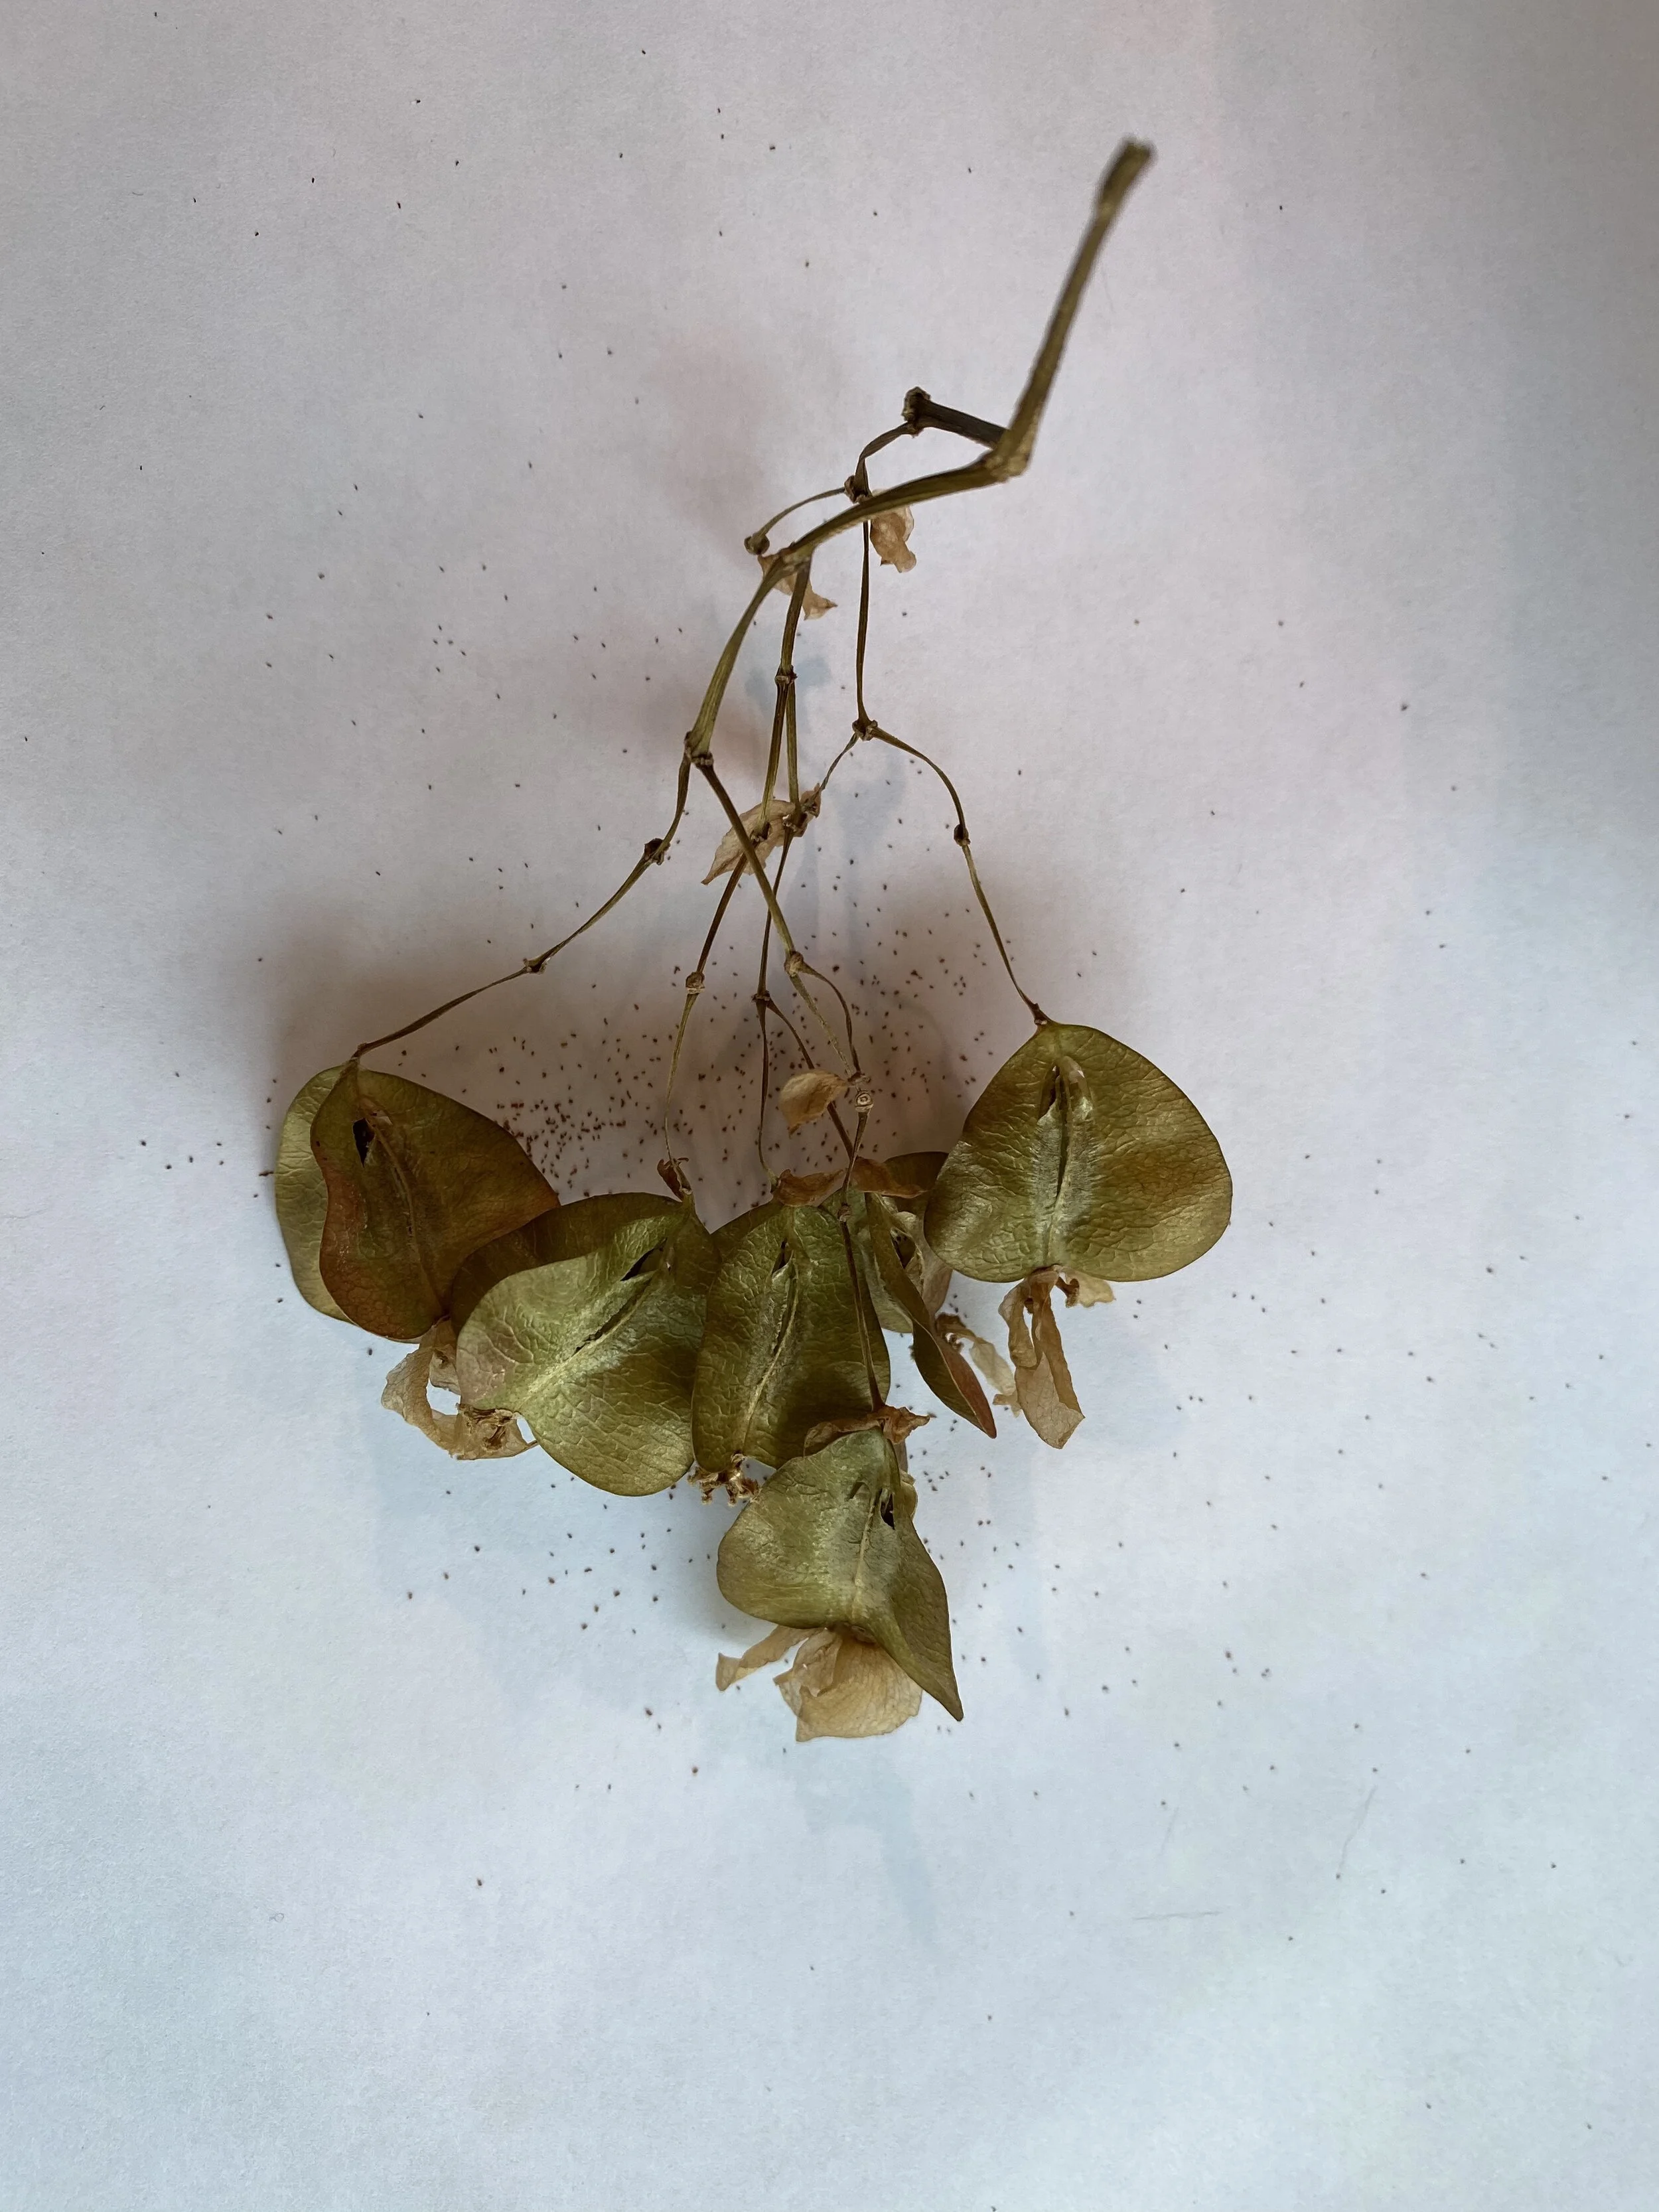
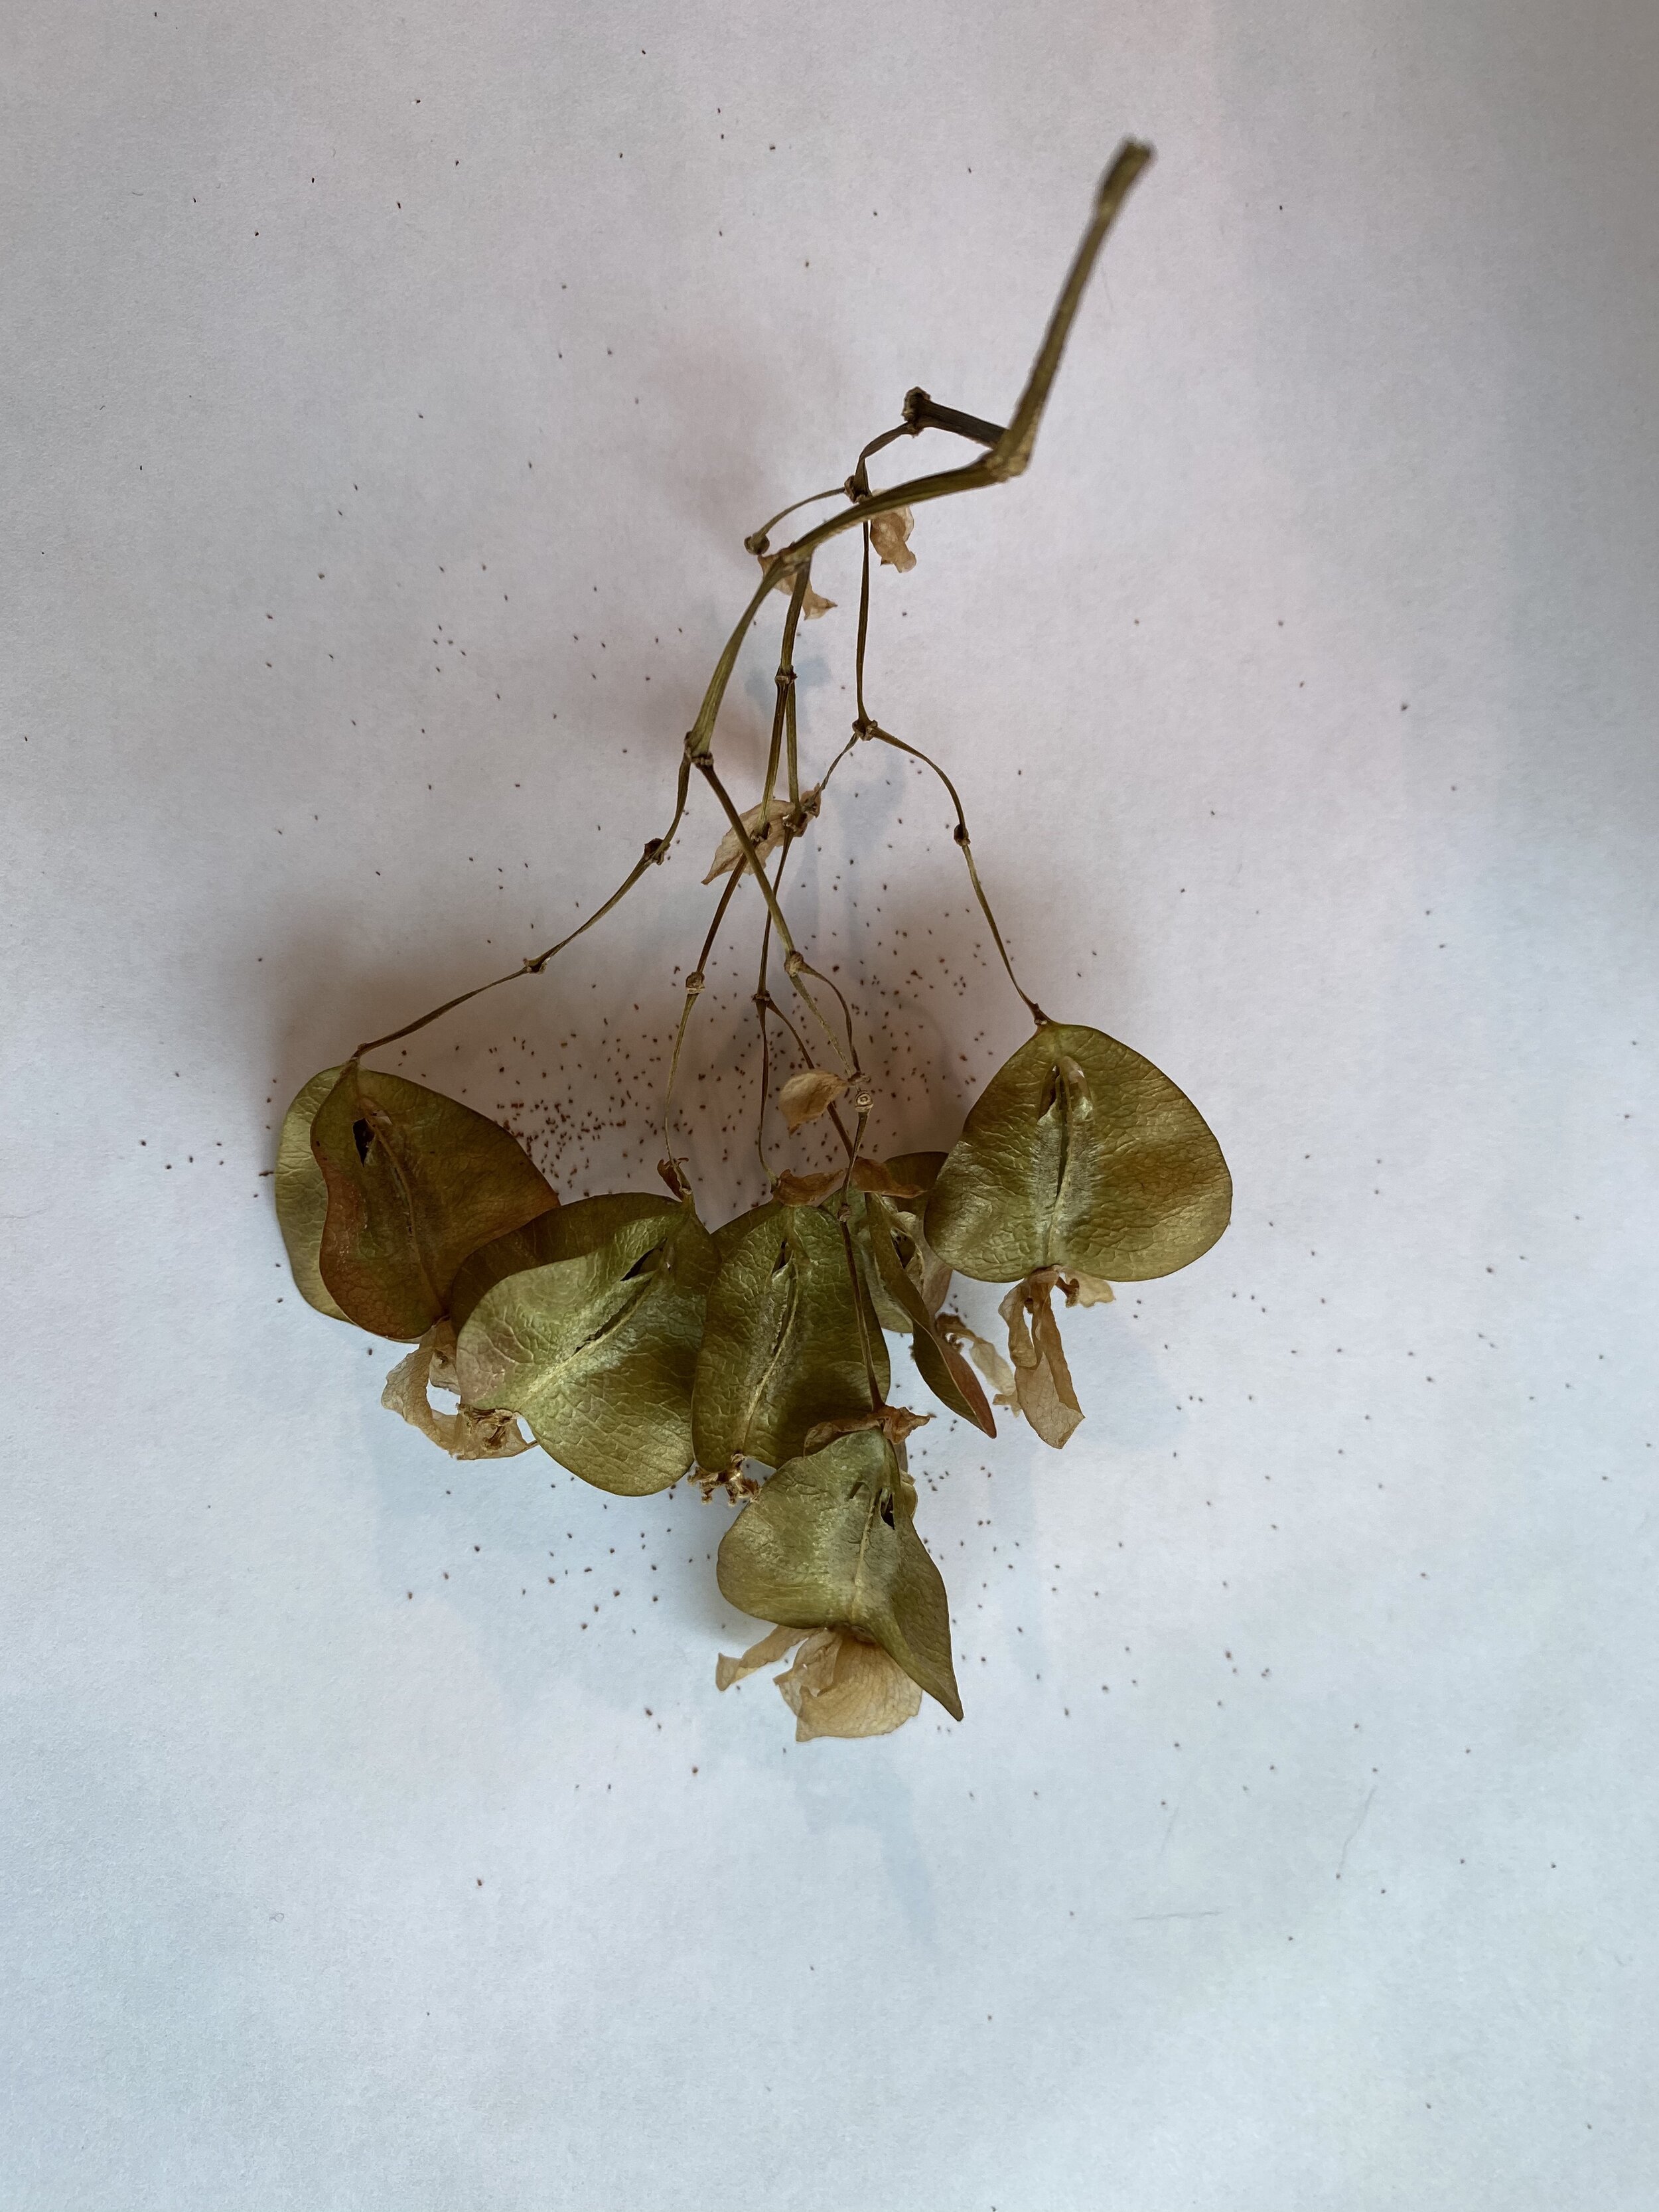
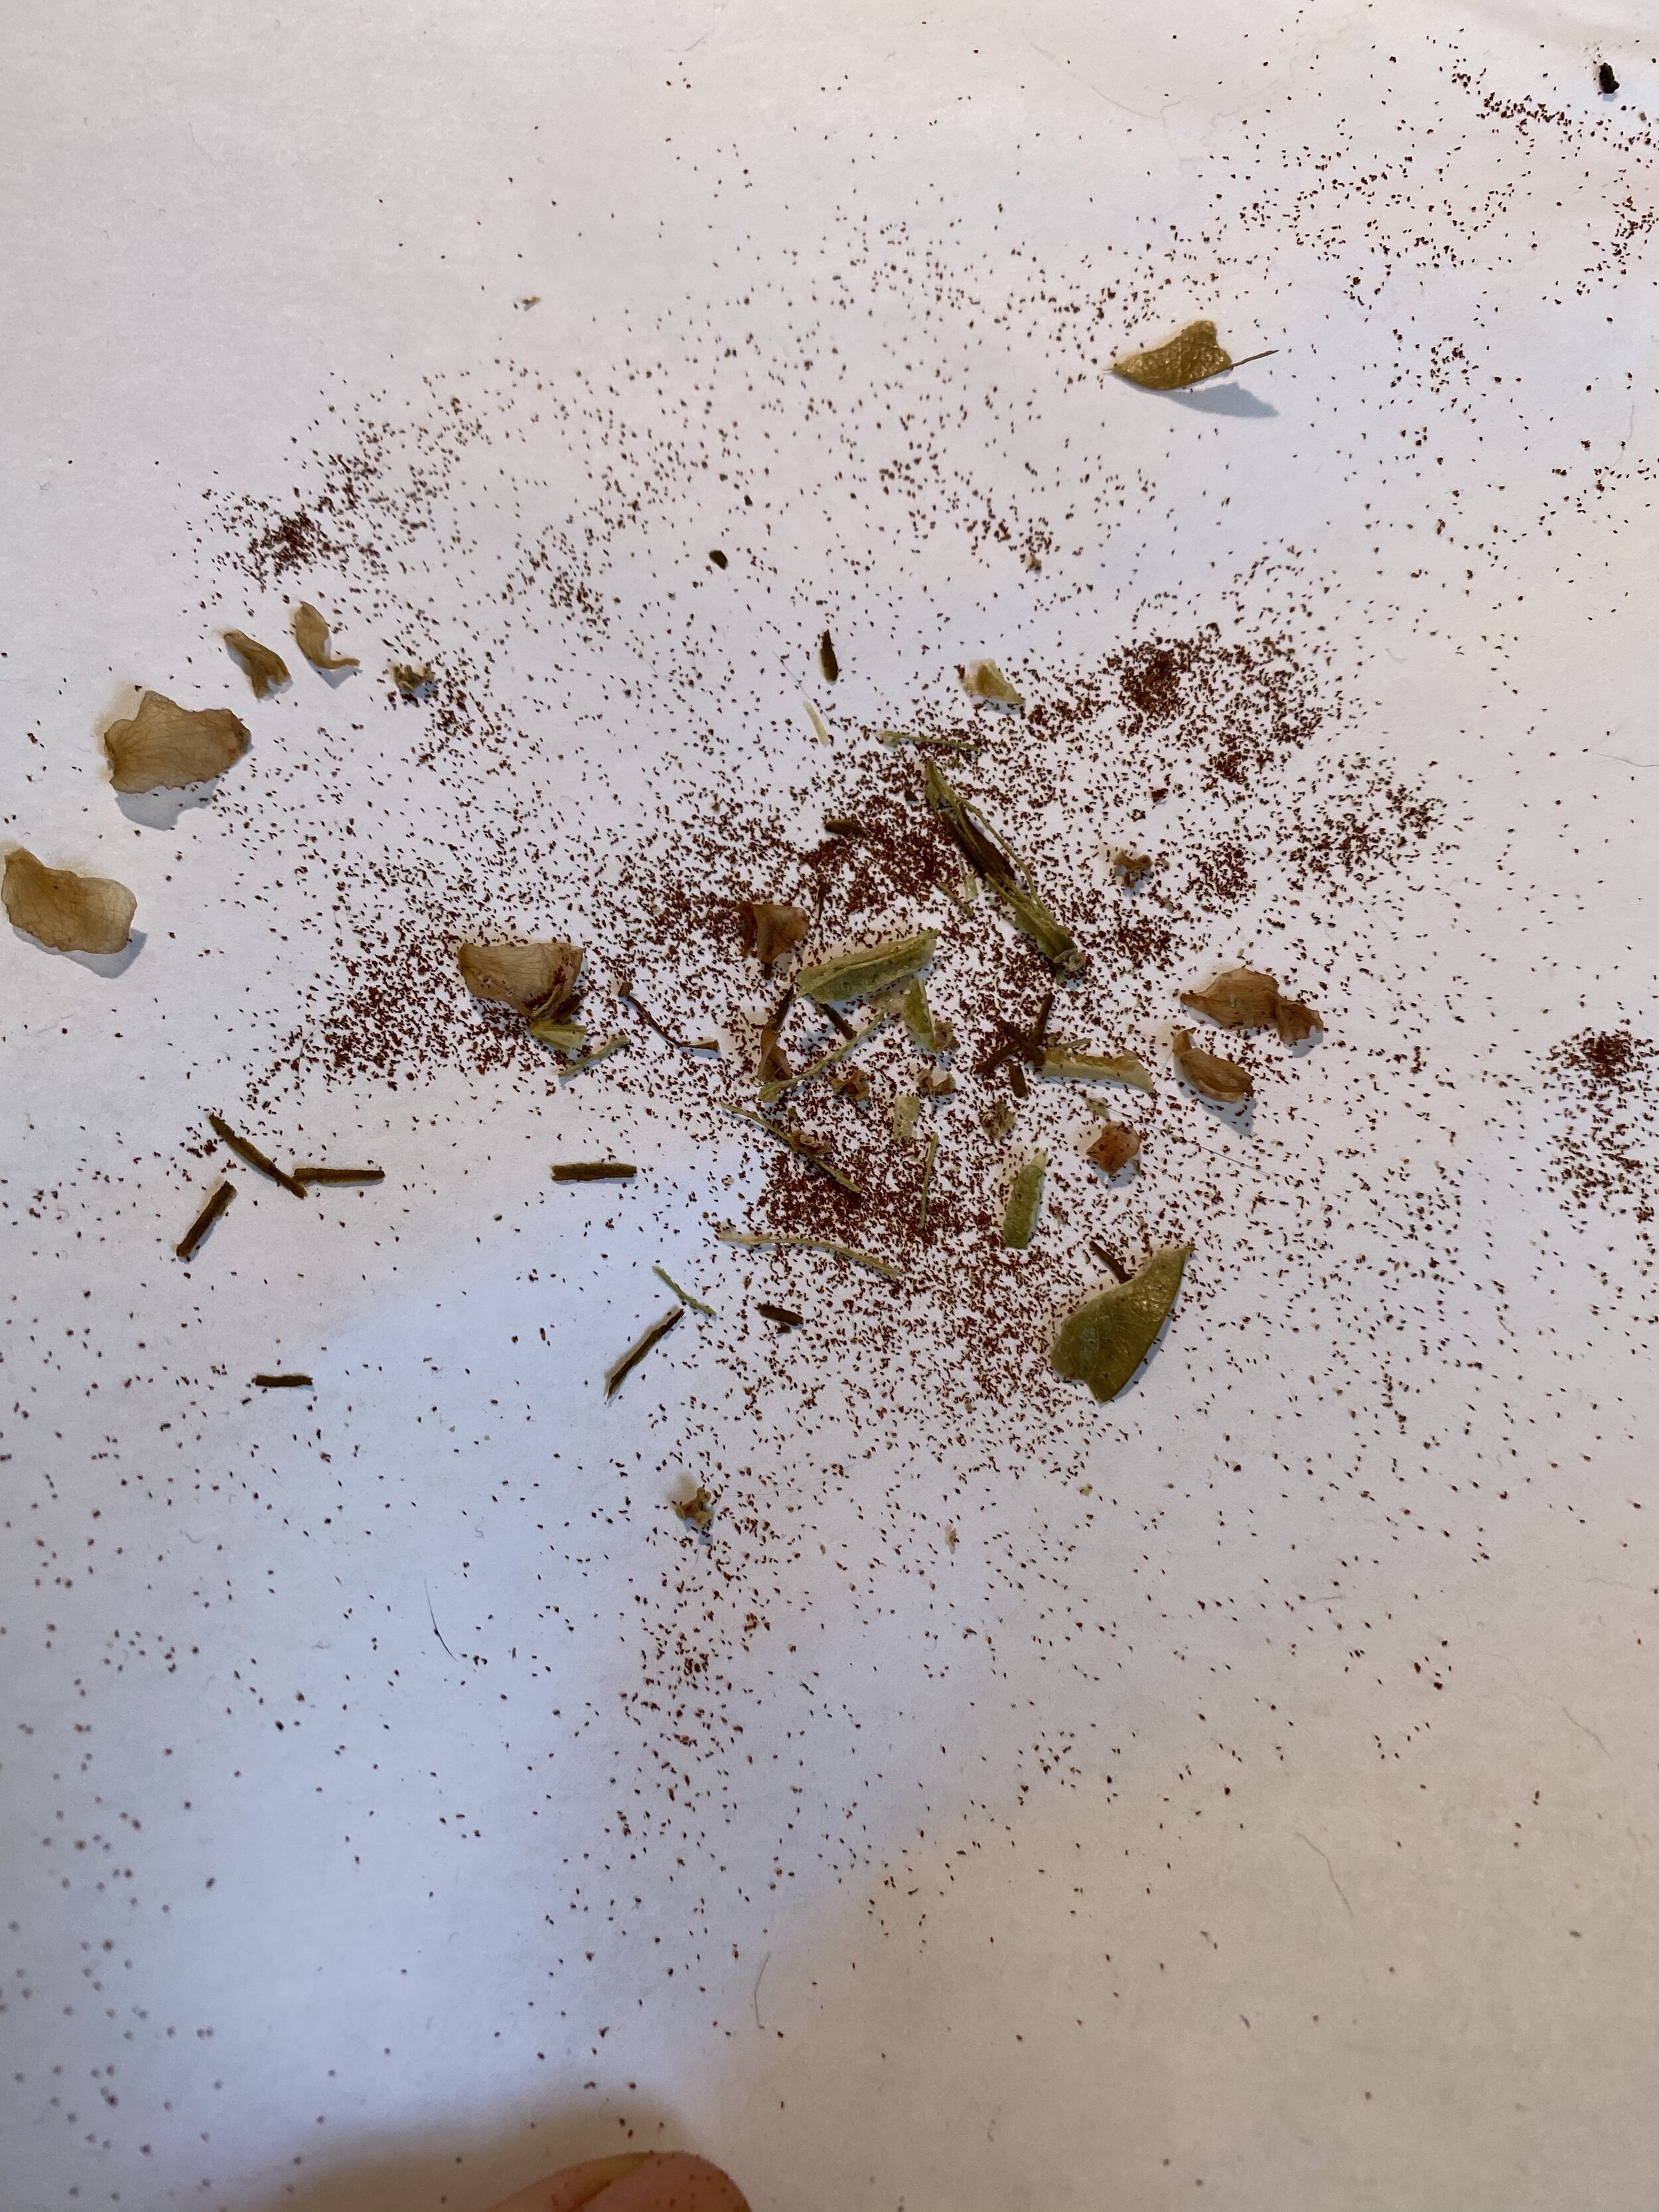
I ended up getting six seed pods out of this experiment, as seen in the photo above. Harvesting and planting these seeds makes up the first update. Hopefully, my seeds will germinate, and the third update will involve sharing my limitless joy over all of my little Begonia ‘Lana’ babies.
I was utterly surprised by how easy it was to pollinate this plant, and it’s completely changed my perspective as a crazy plant lady. The only true downside I can see is the process of waiting. Mind you, I am saying this as someone who’s fresh off the thrill of planting hundreds of Begonia seeds, and not as someone who’s successfully germinated hundreds of Begonia seeds. Talk to me in a couple of months, and I might have something entirely different to say about the complexities of the plant life cycle.
Below are the items I needed to plant my seeds. This isn’t a comprehensive list, it’s just the beginning. We’ll get to the rest later. For now, we have:
Seeds
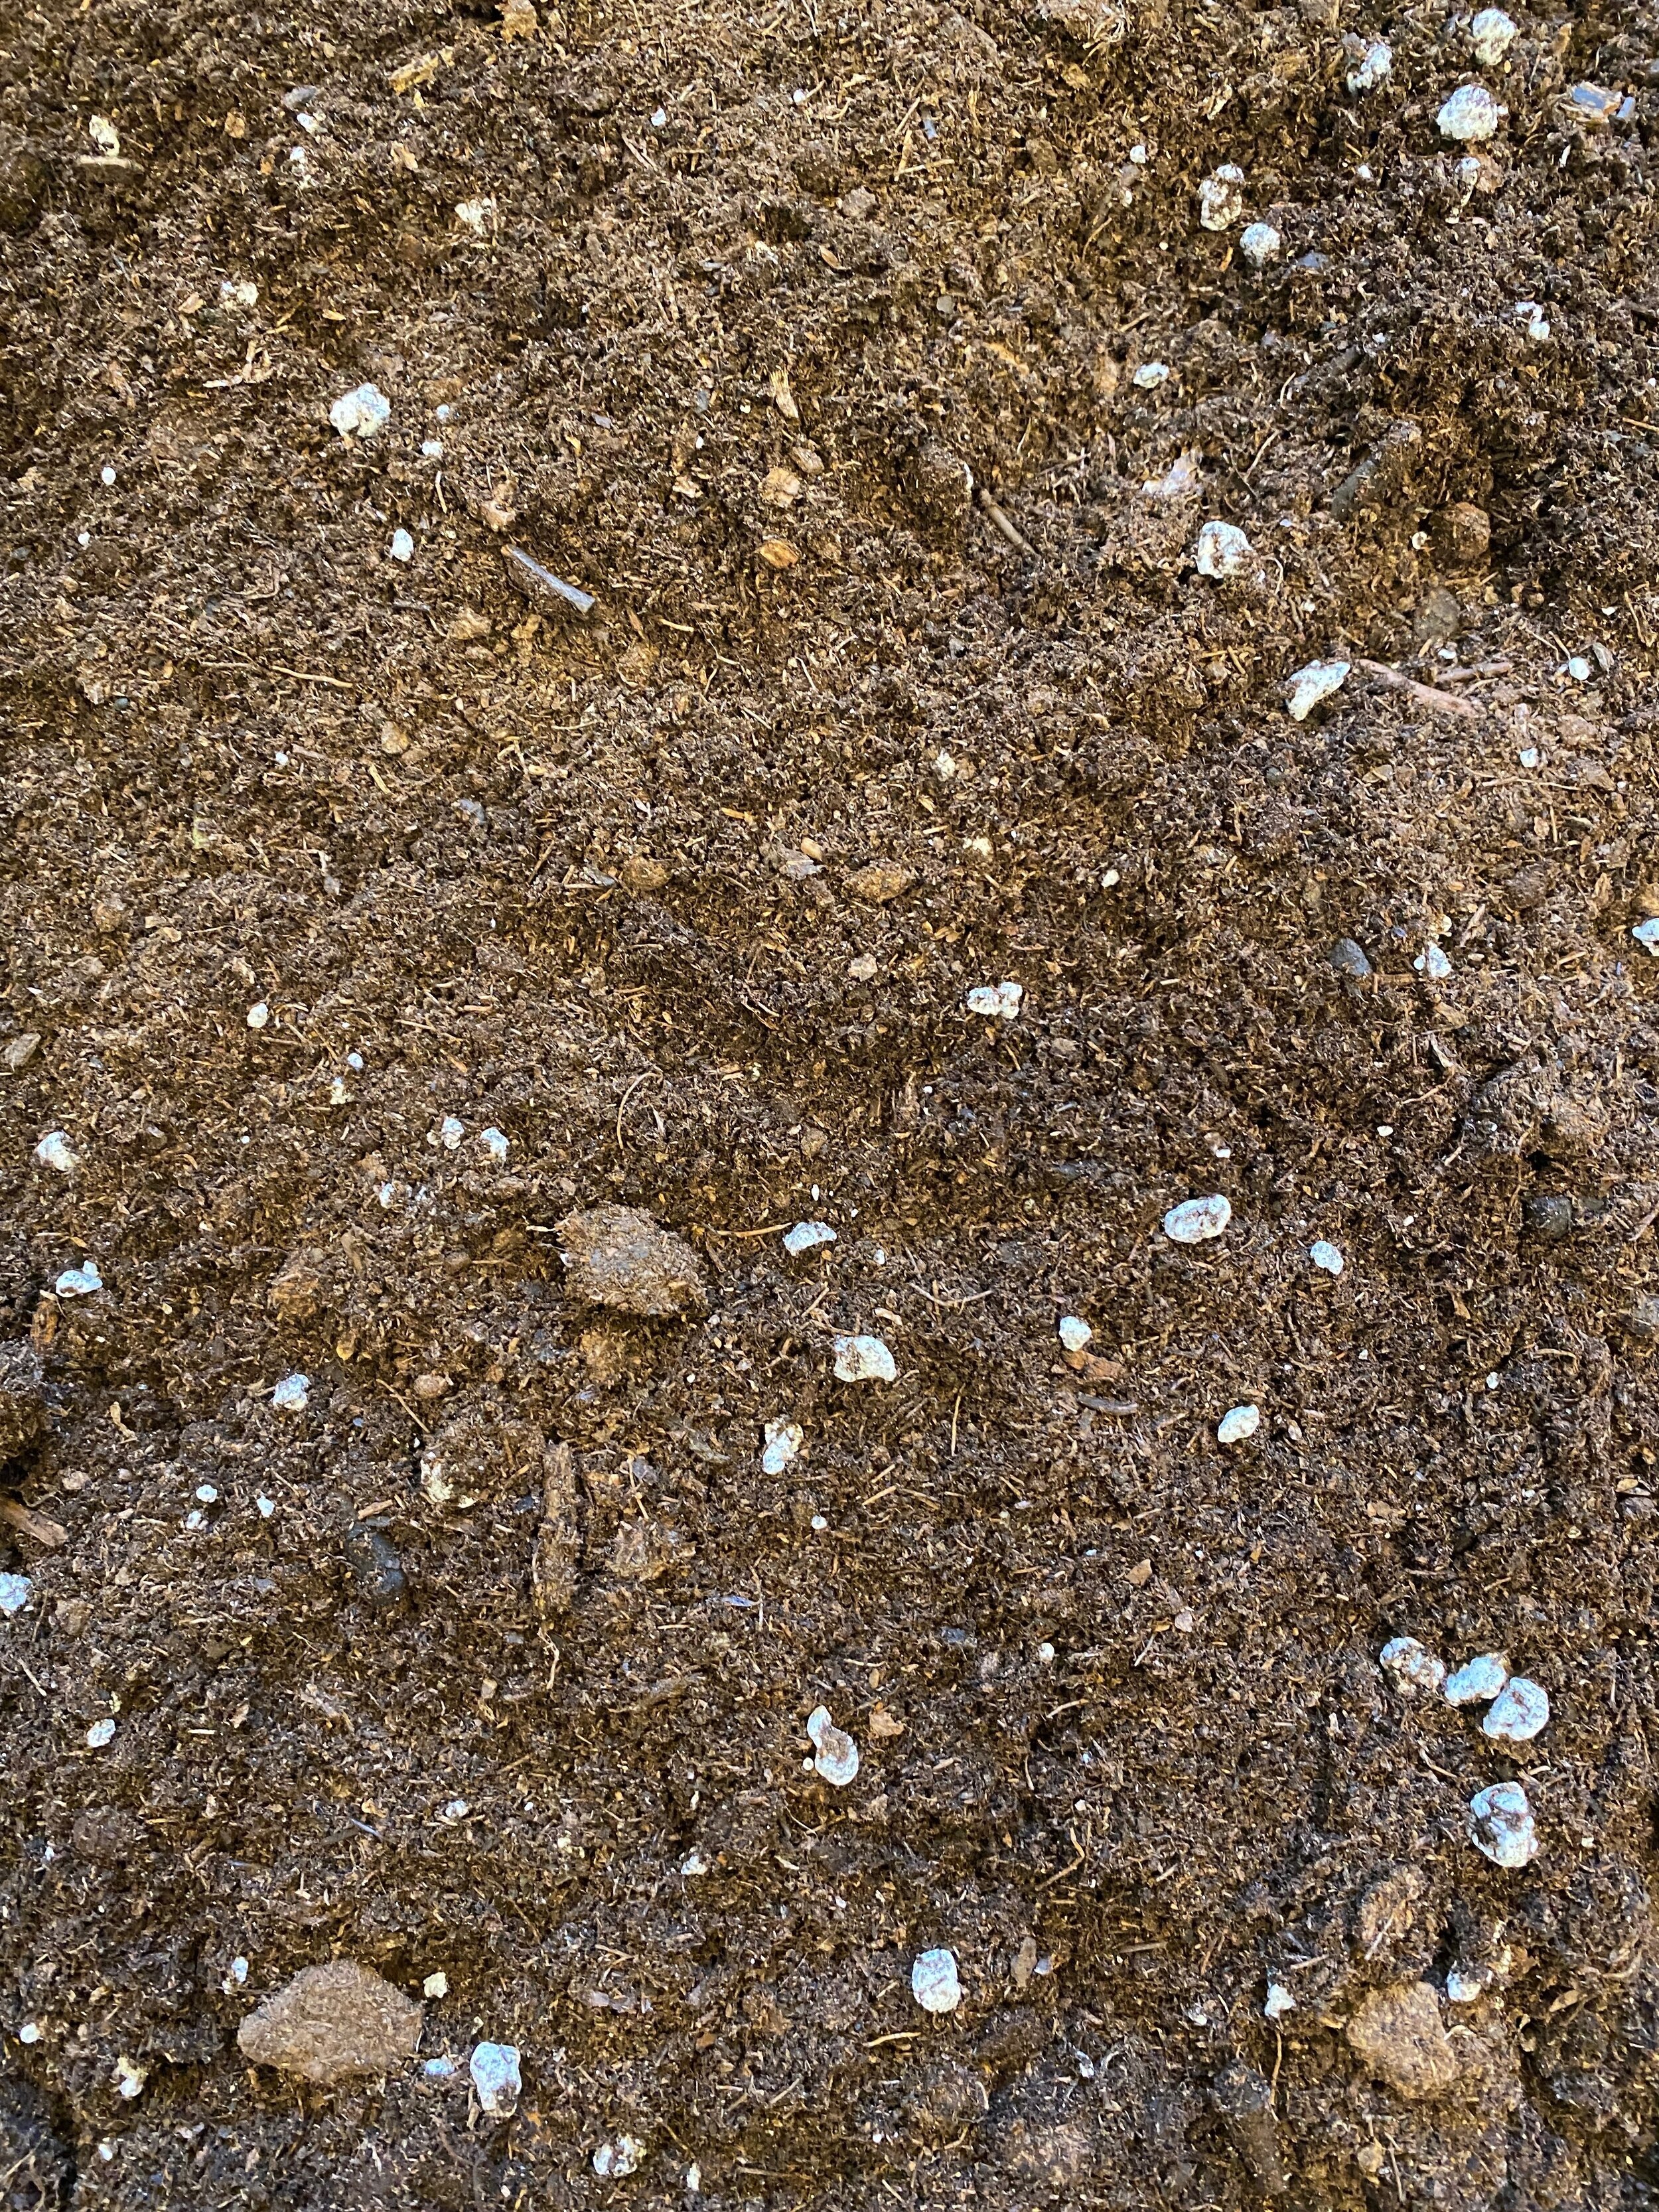
Potting mix - I’m just using the all-purpose potting mix that I buy from my local greenhouse
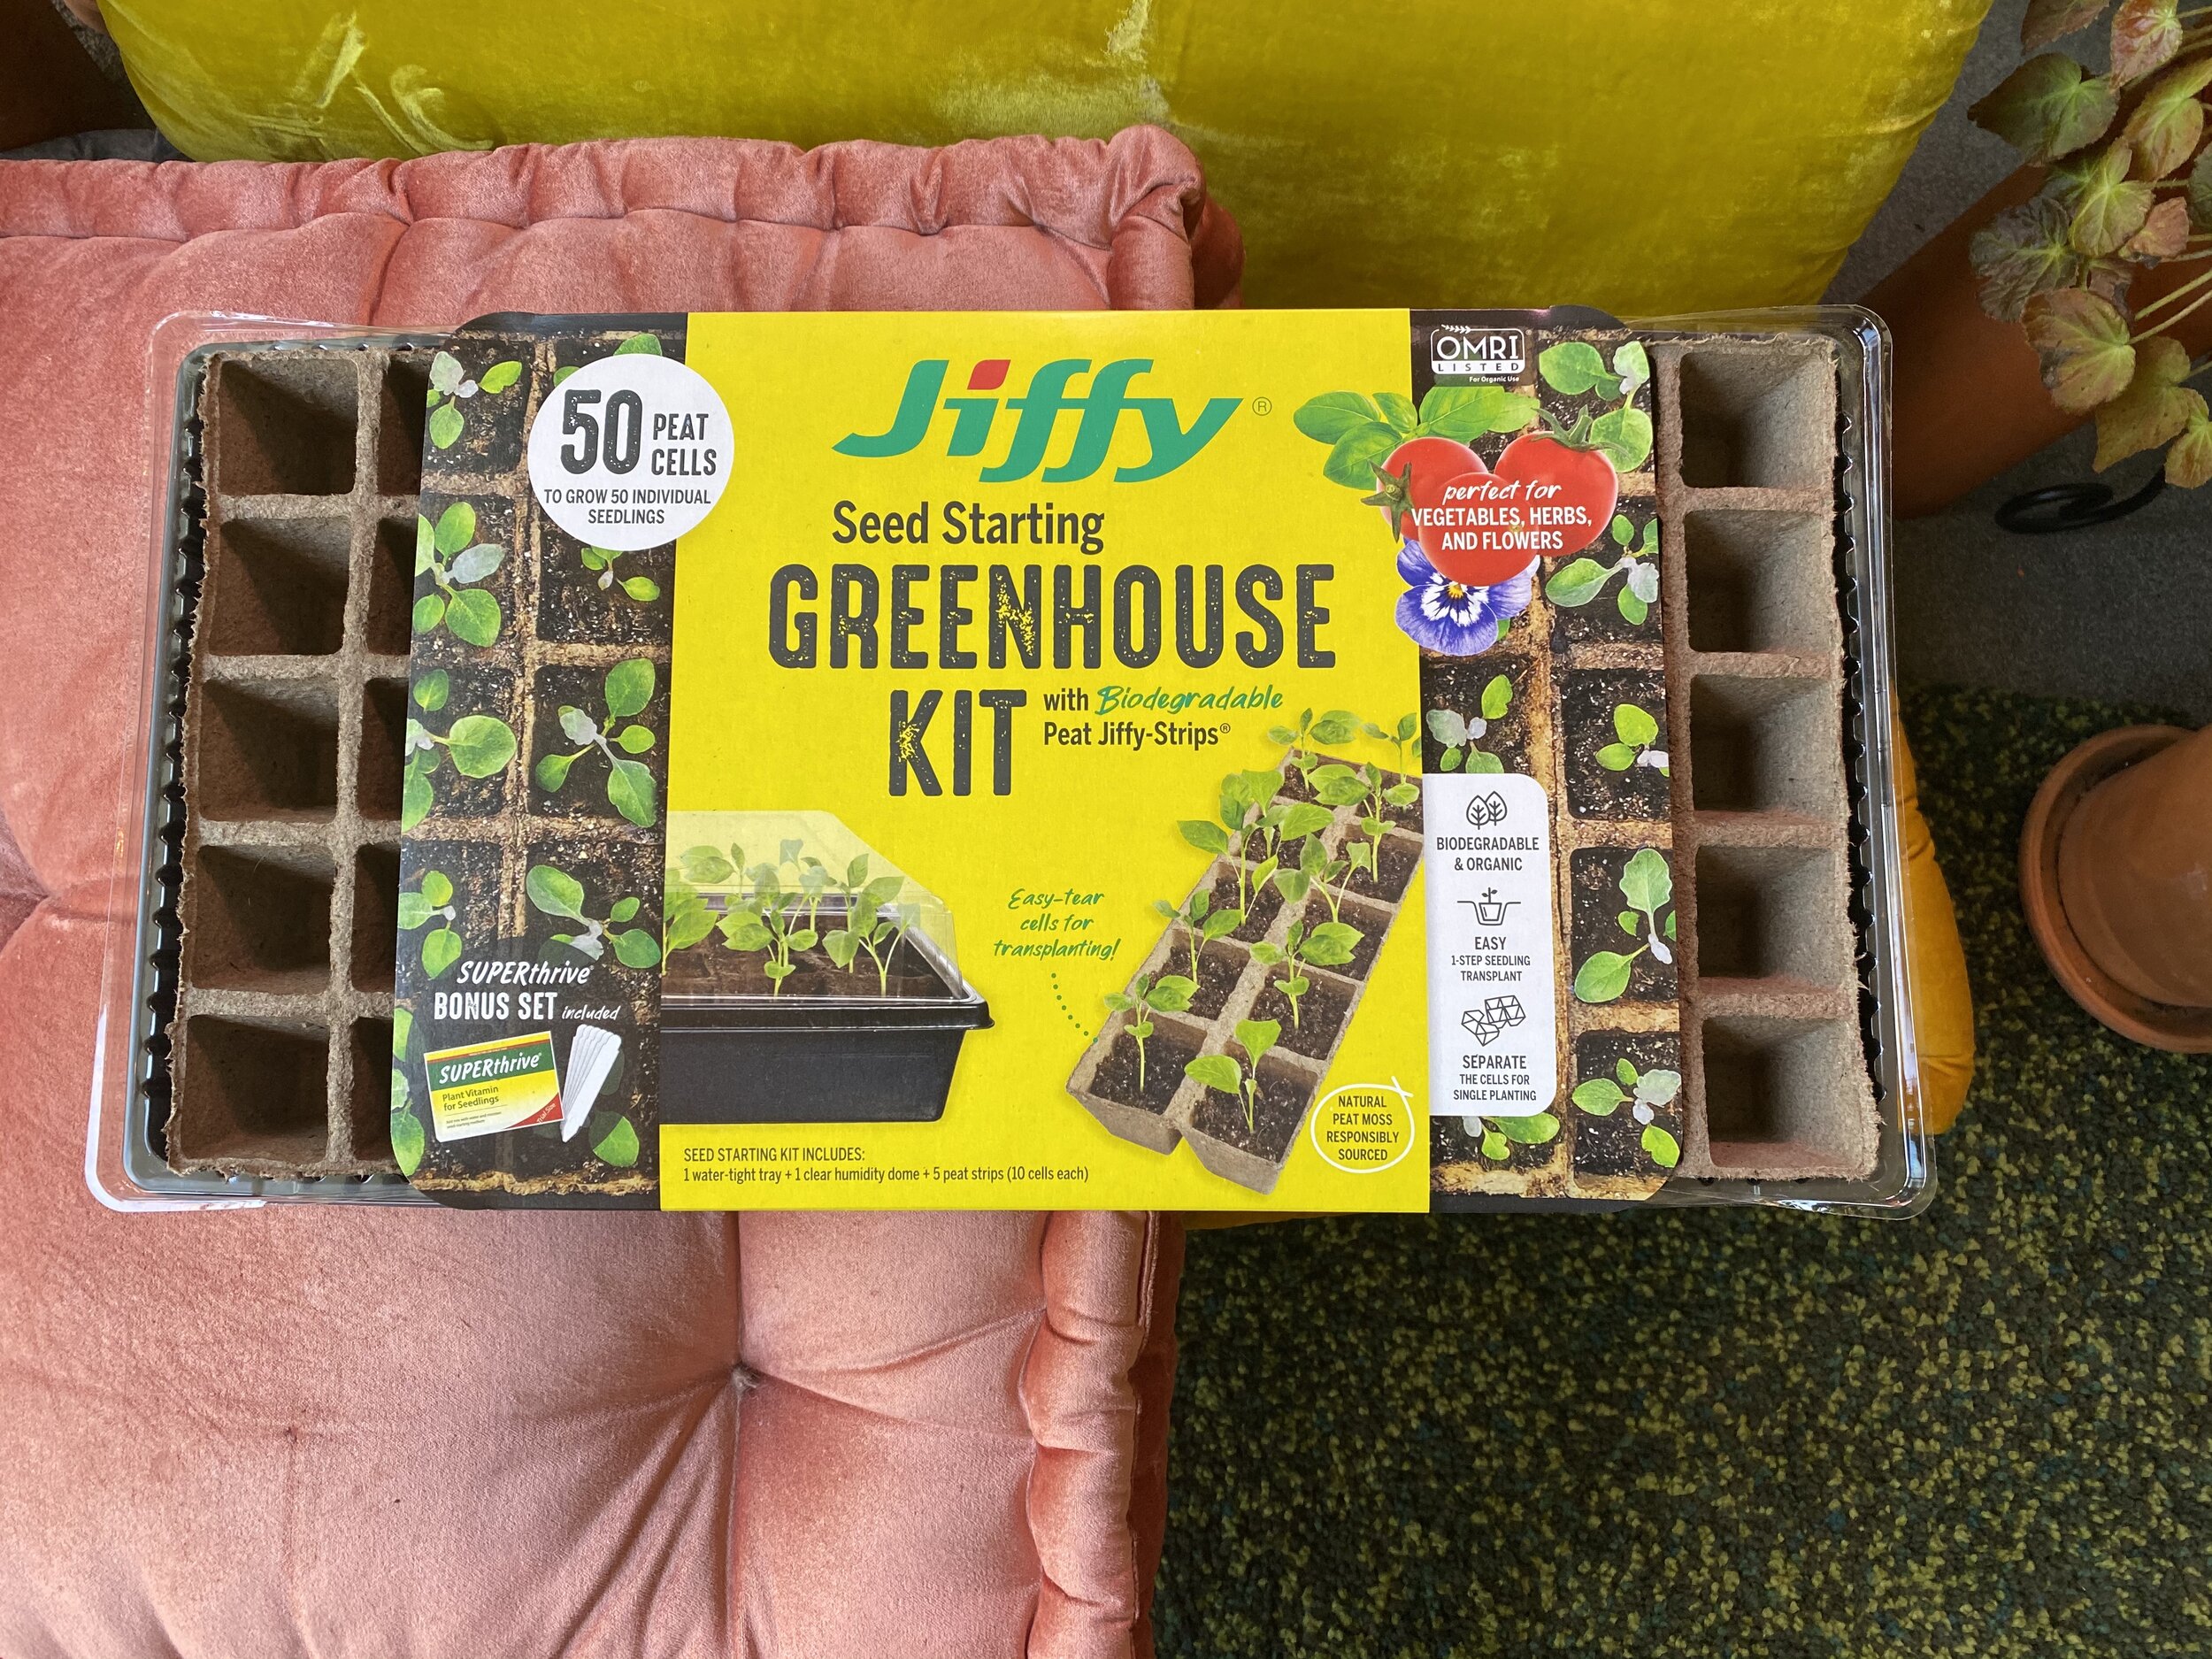
Seed starting kit - I got this one for around $7 at Home Depot
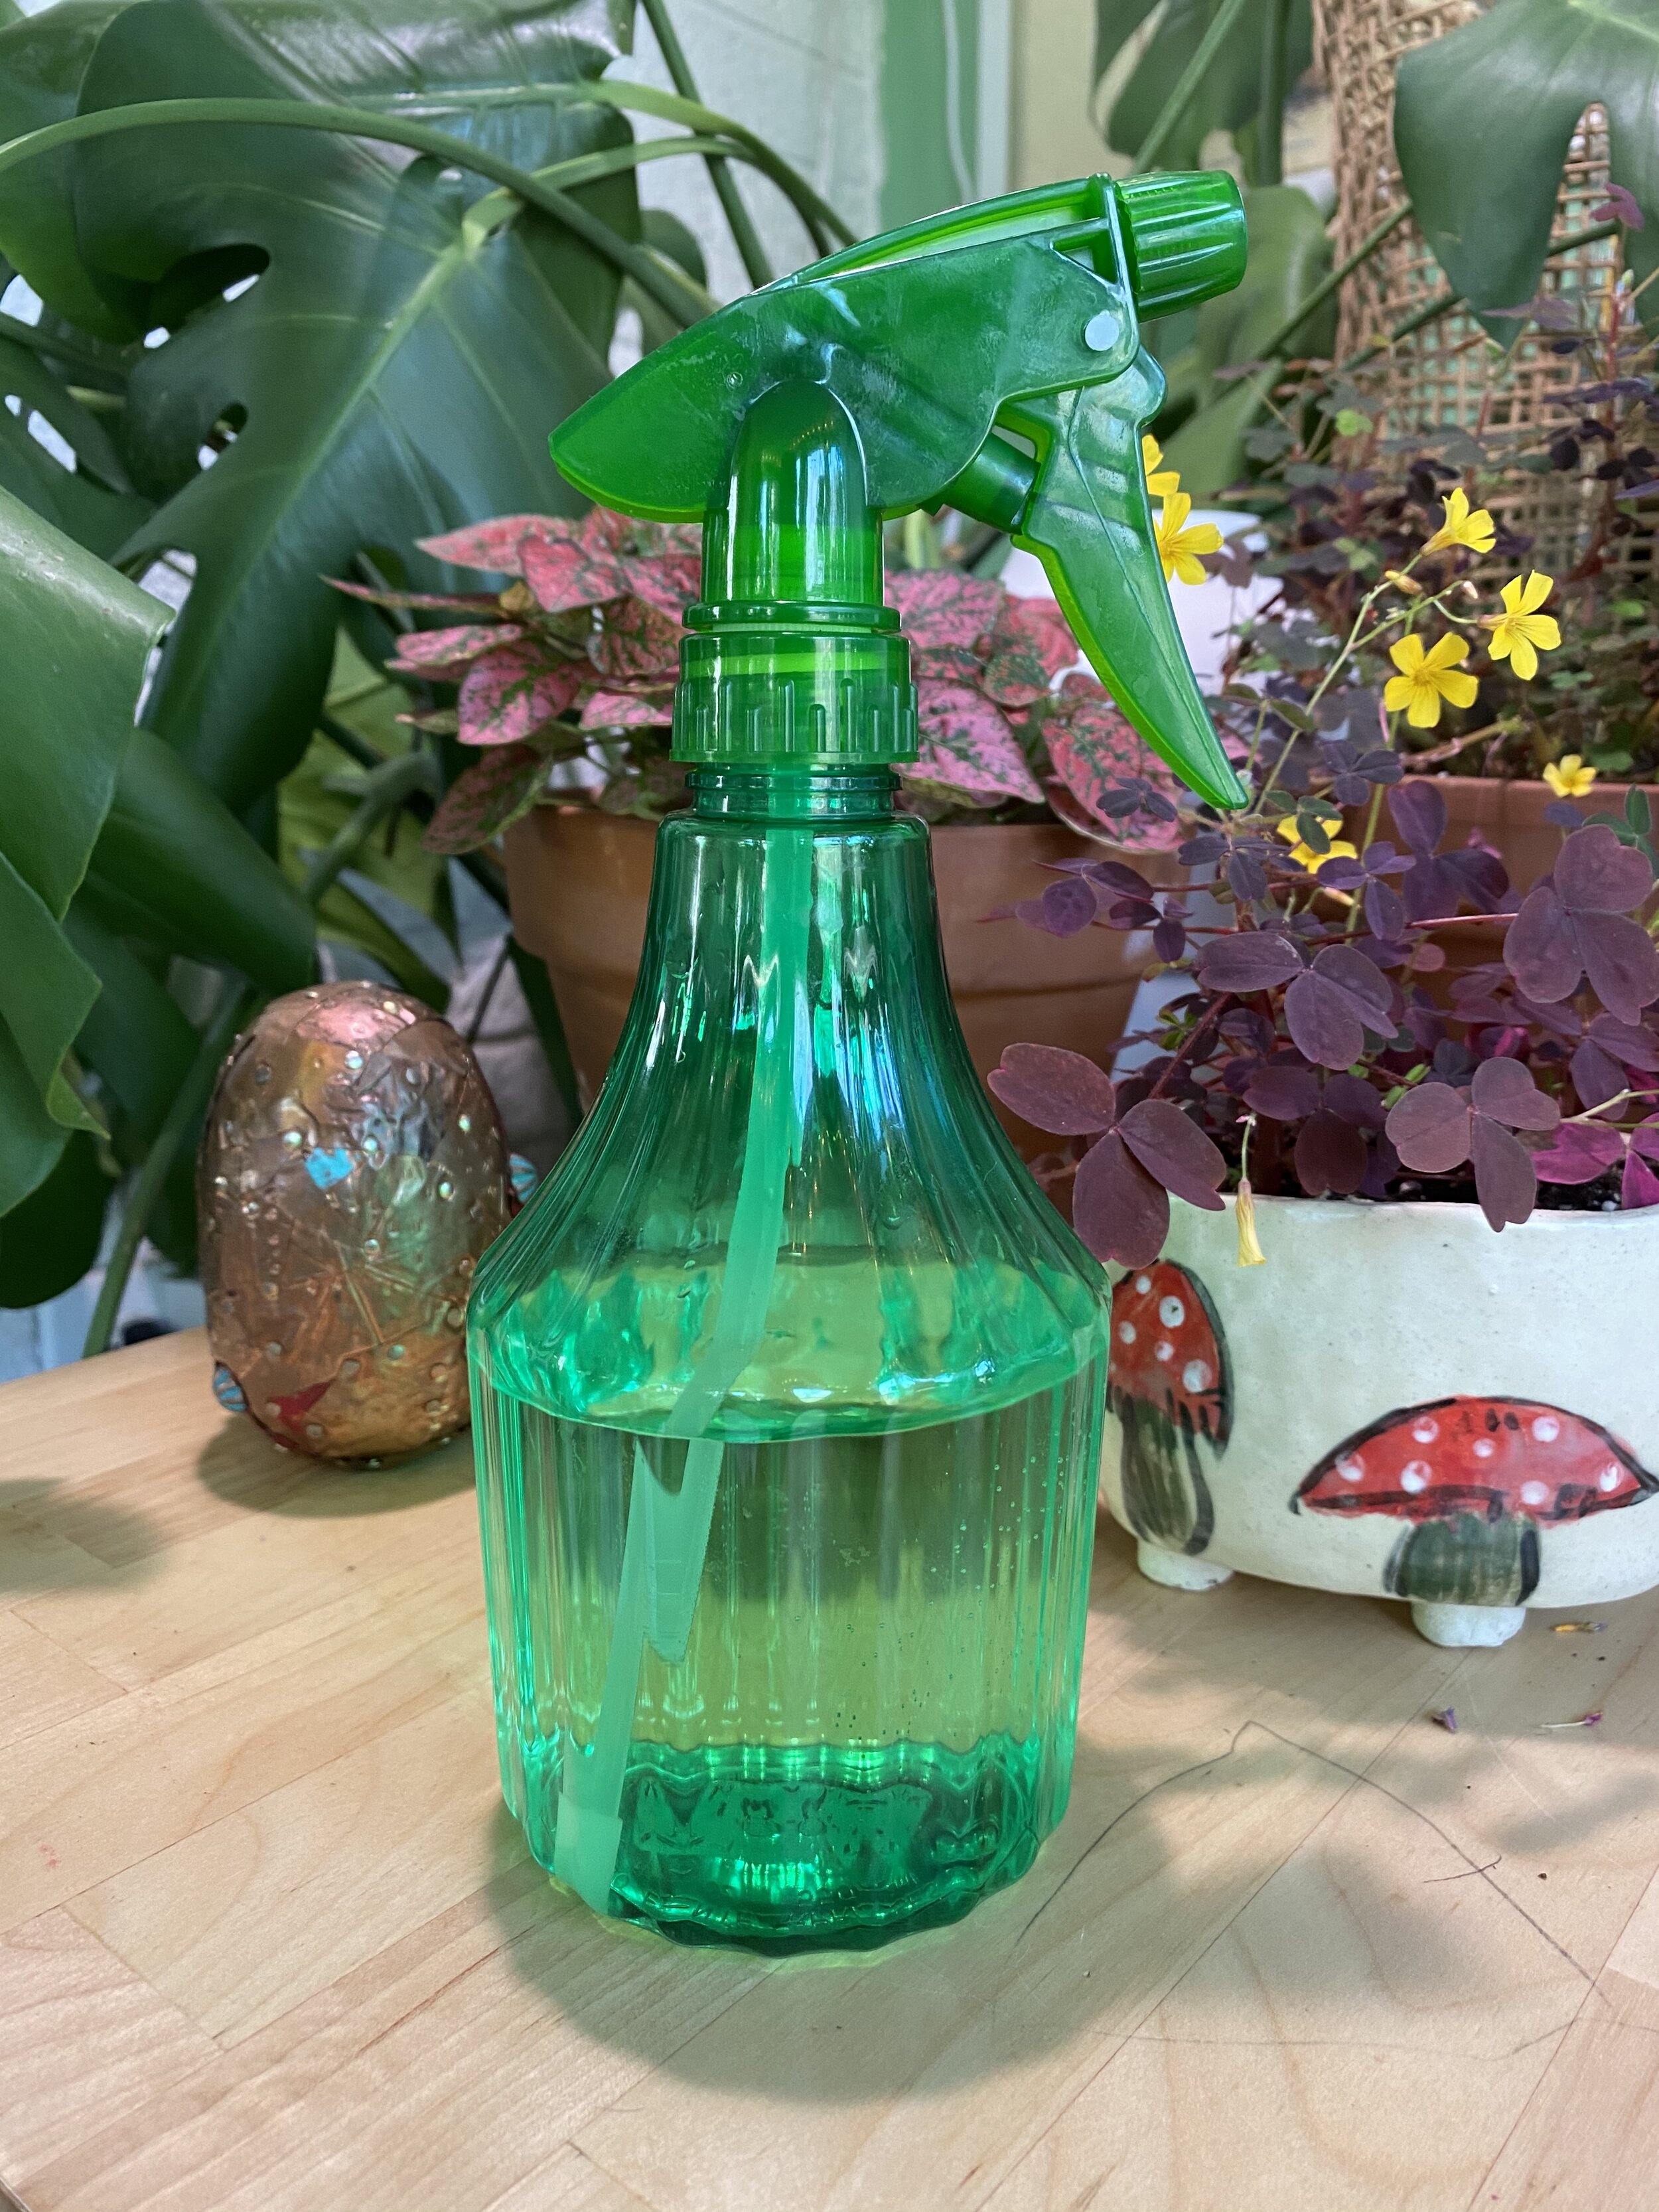
Spray bottle filled with room temperature water
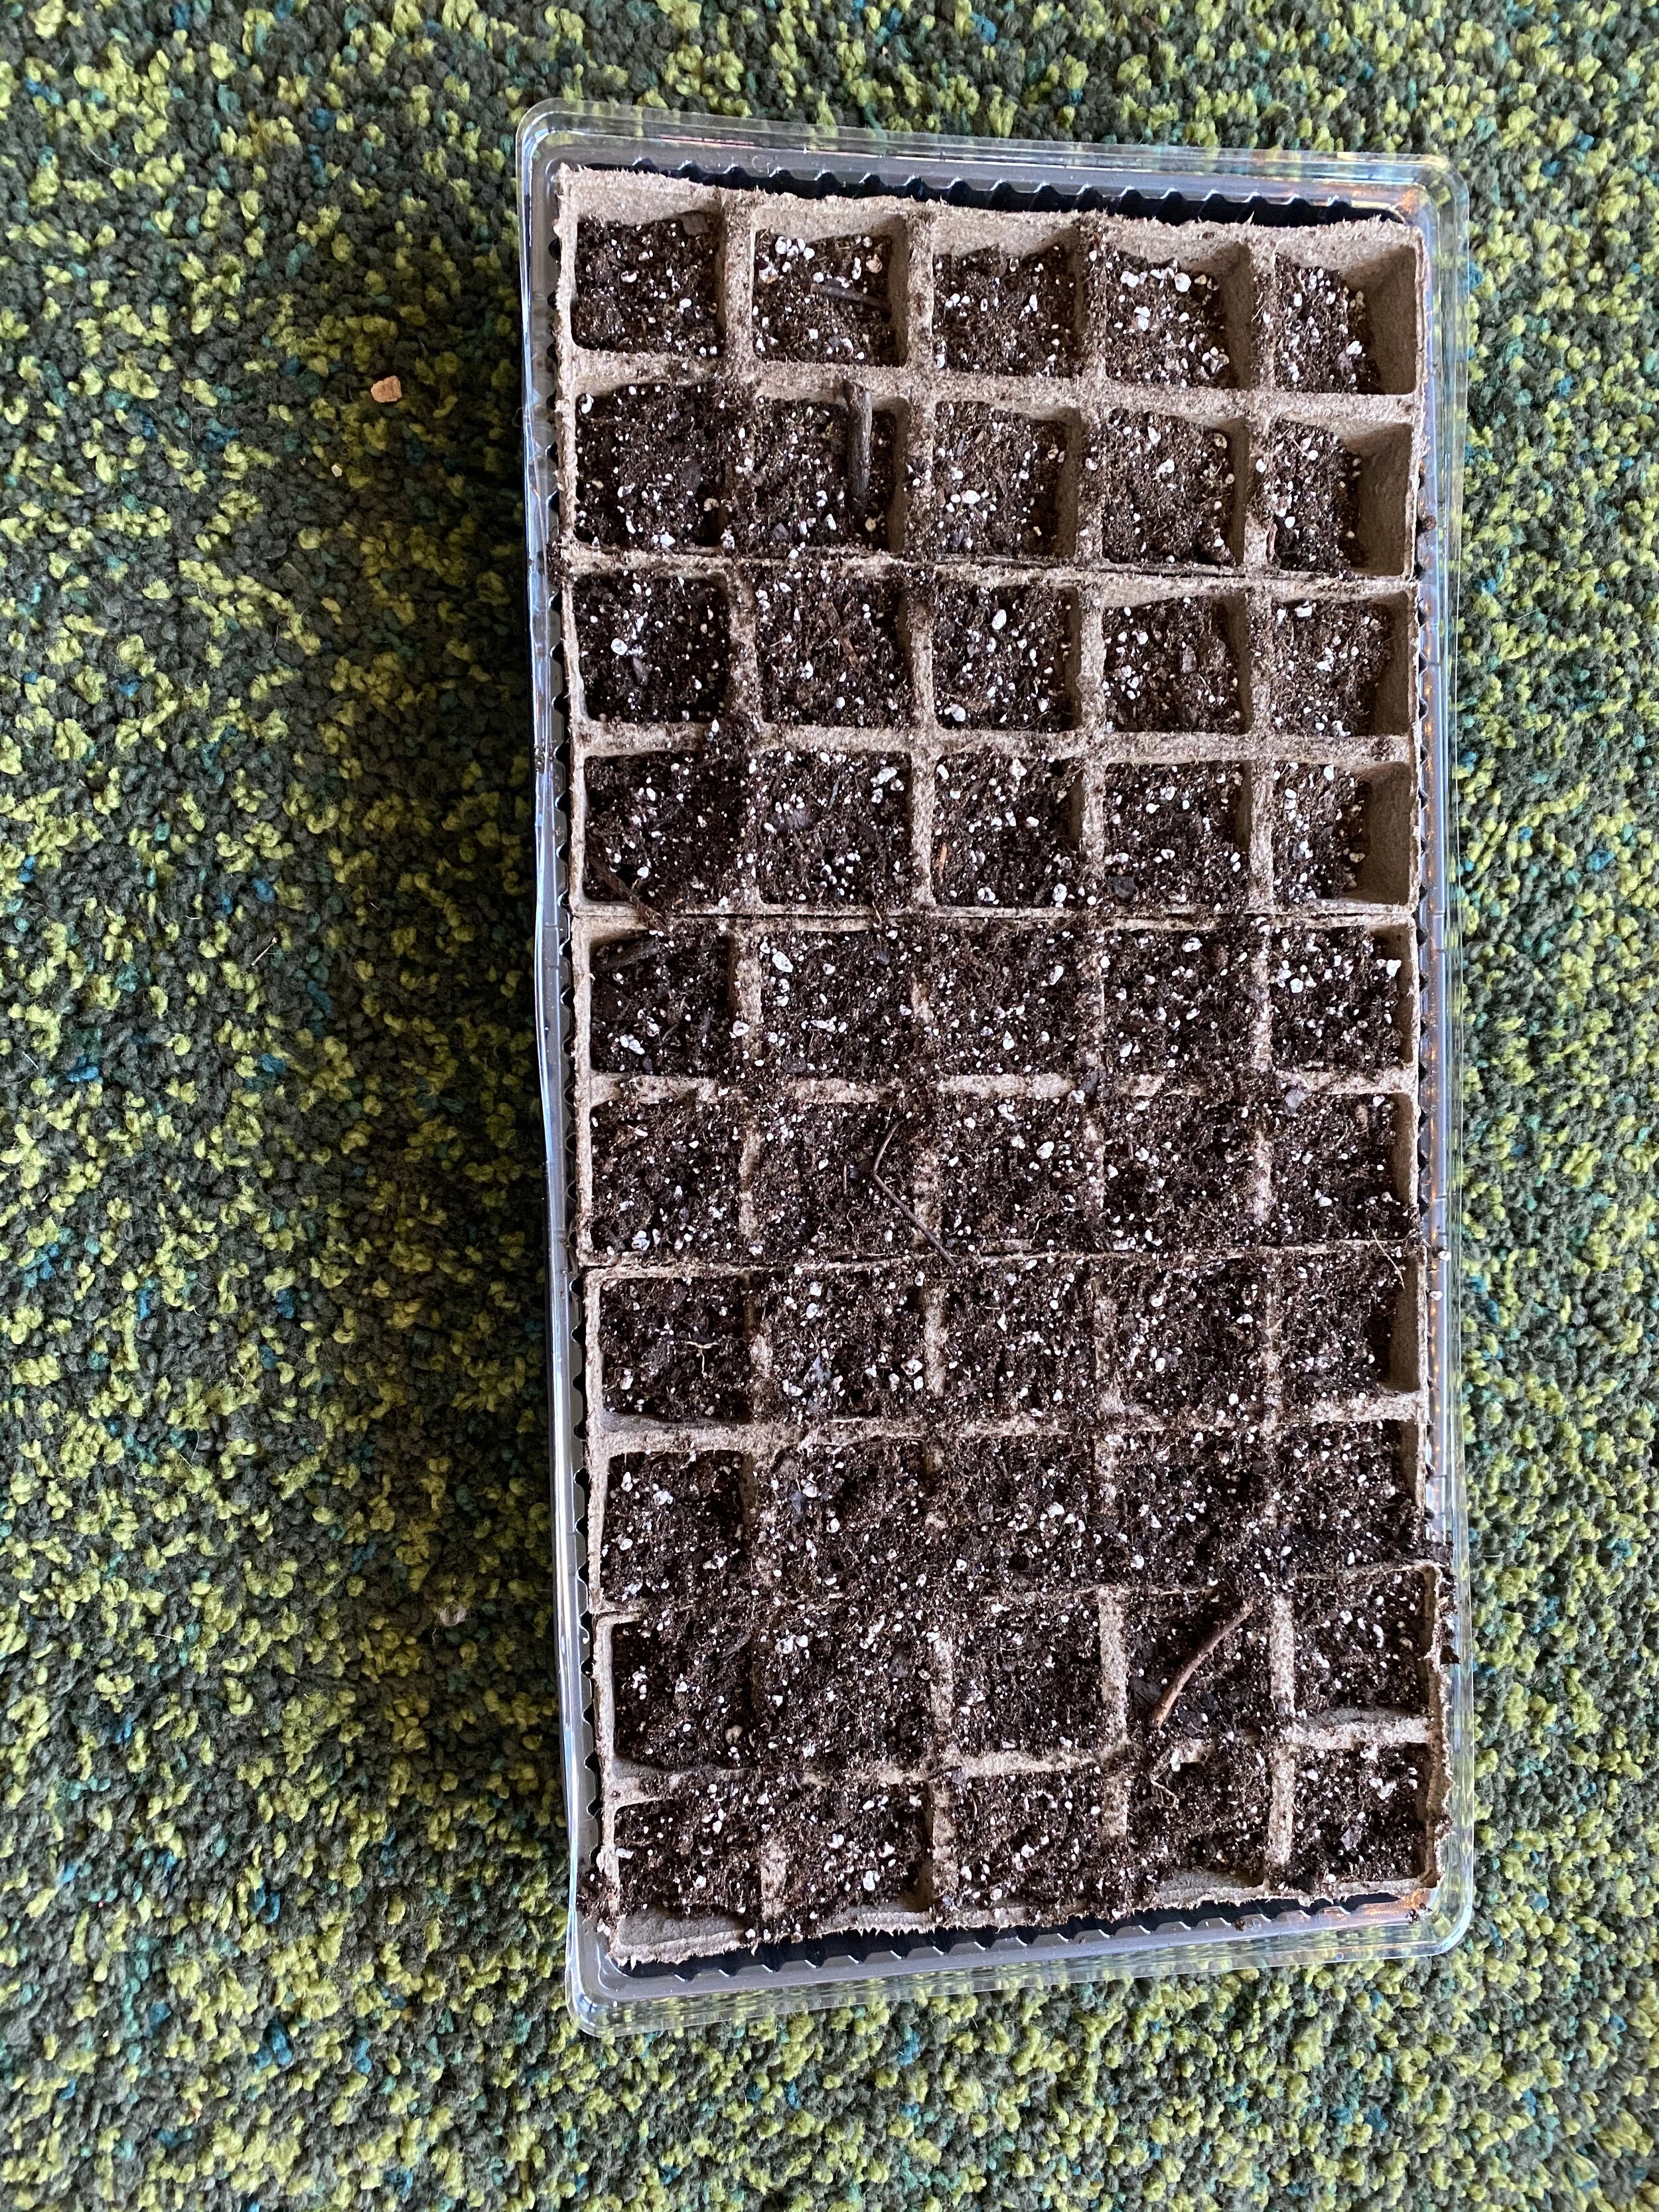
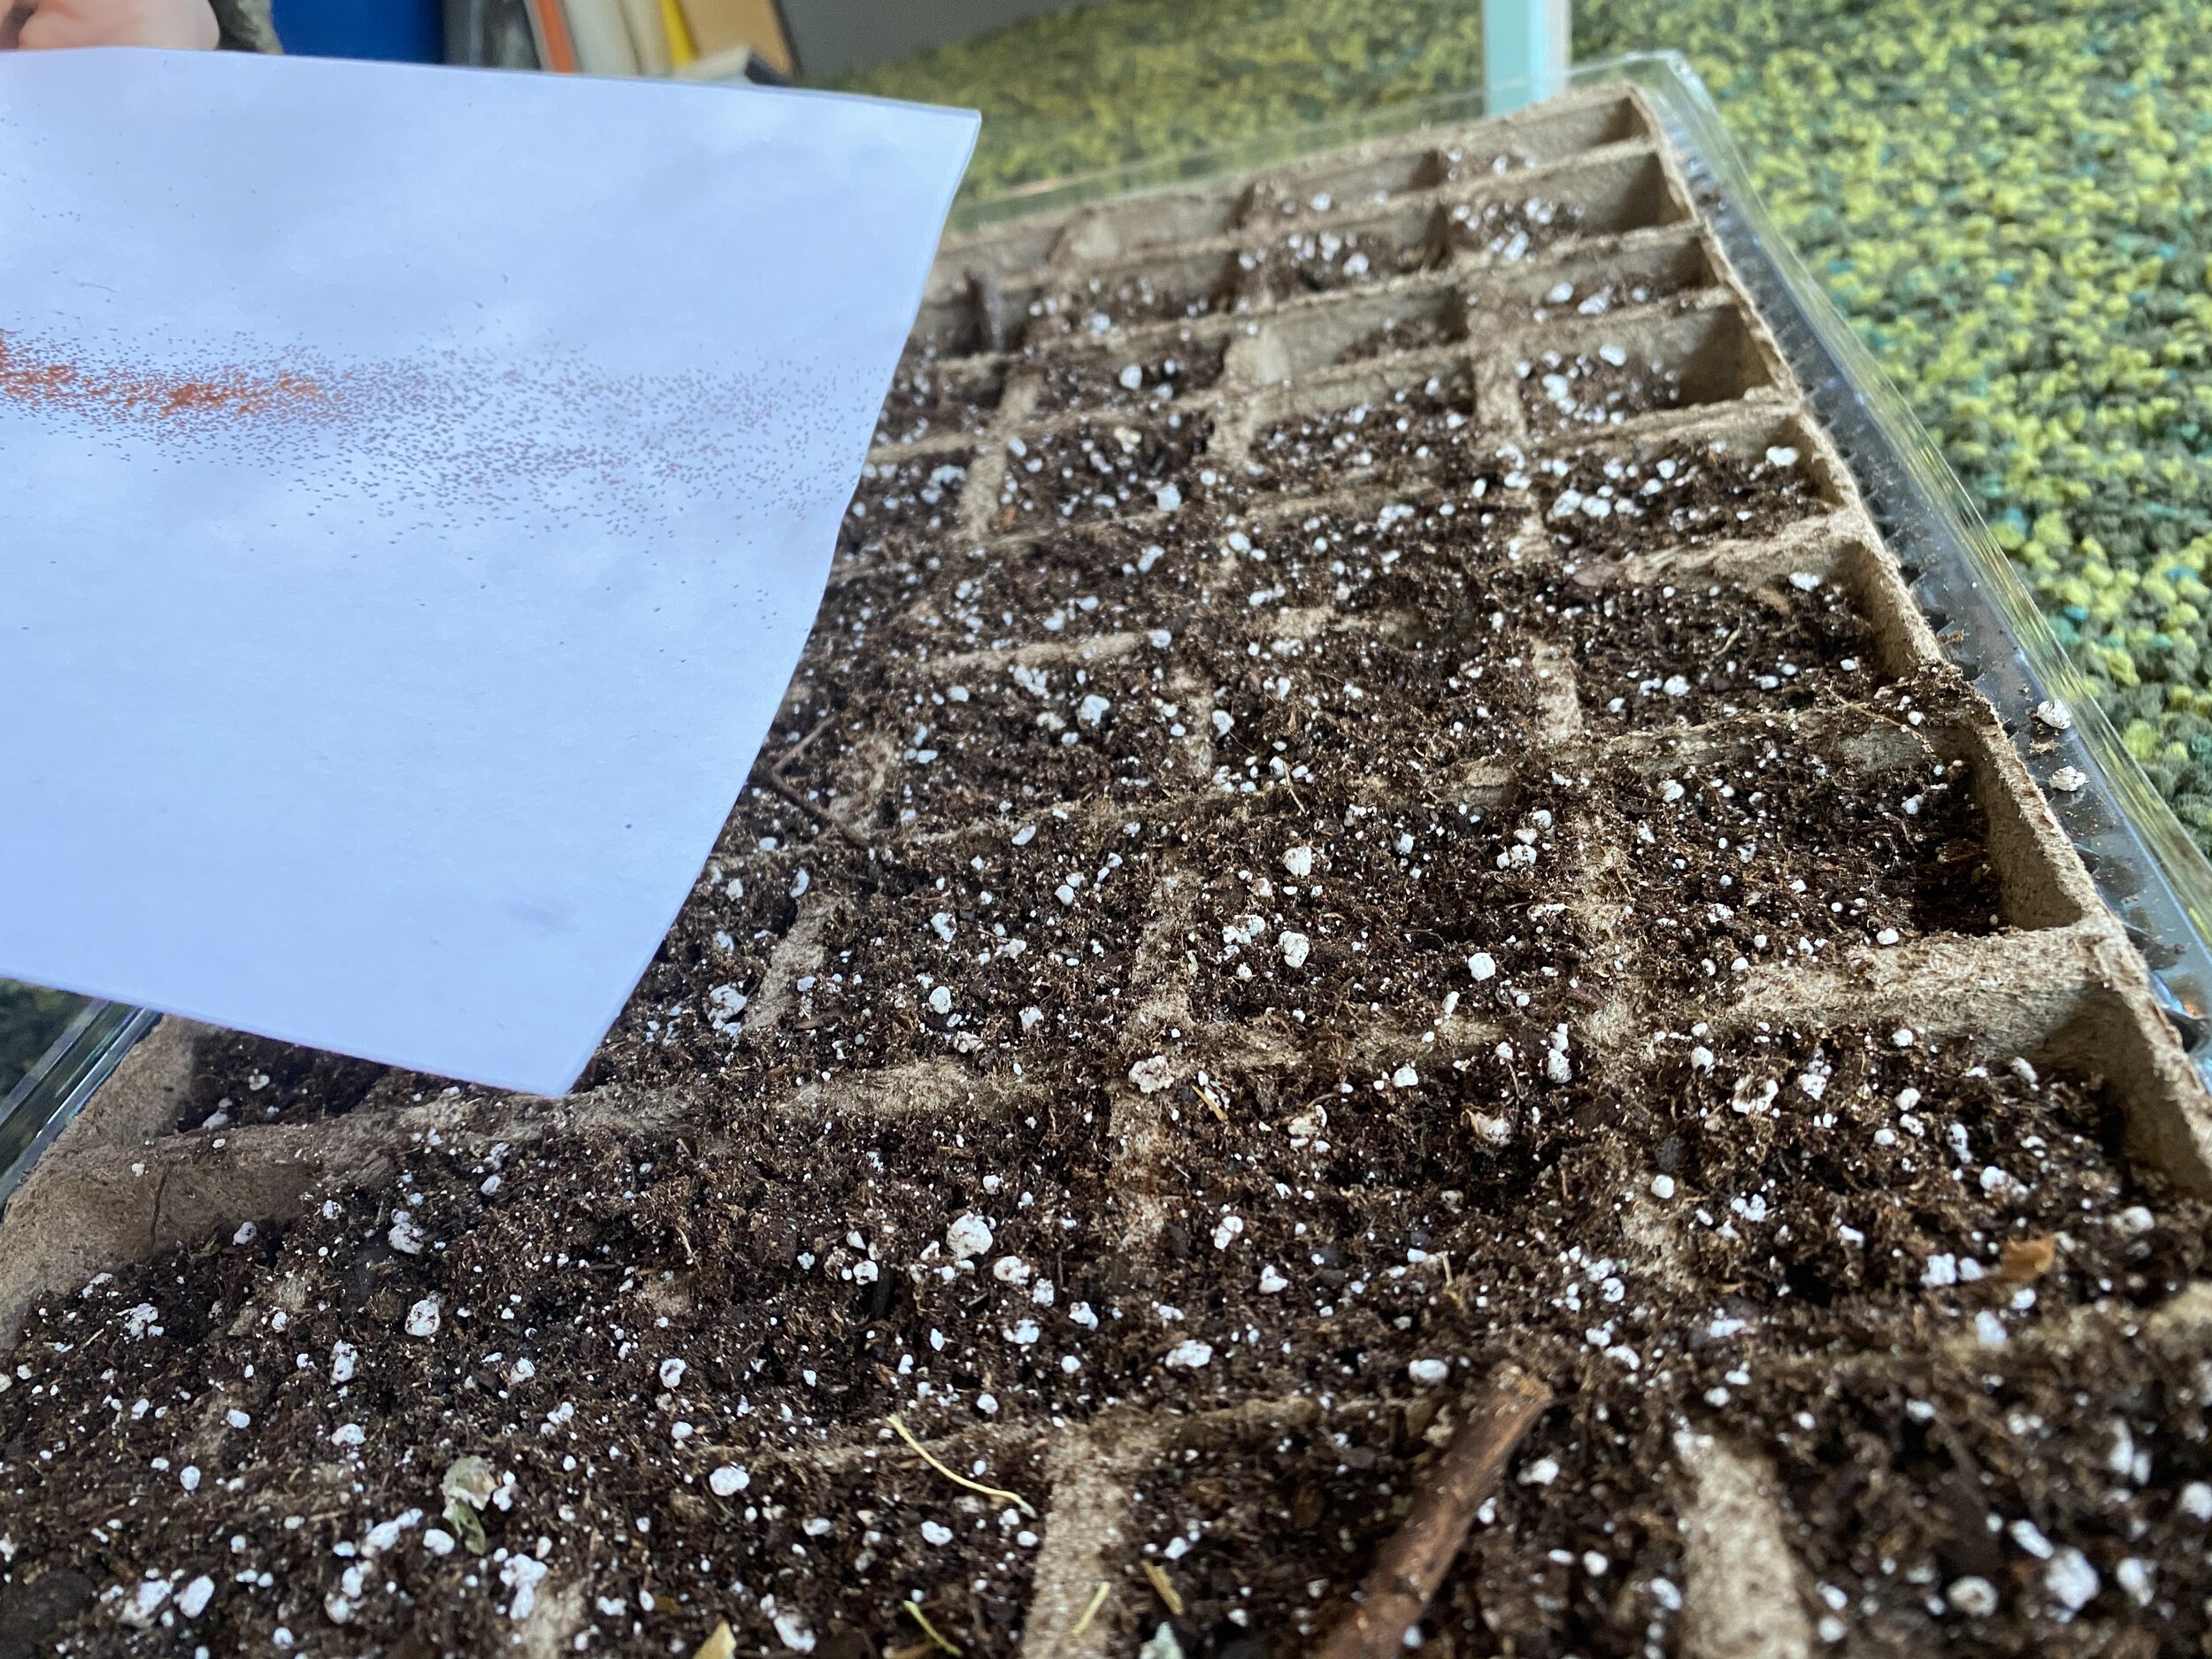
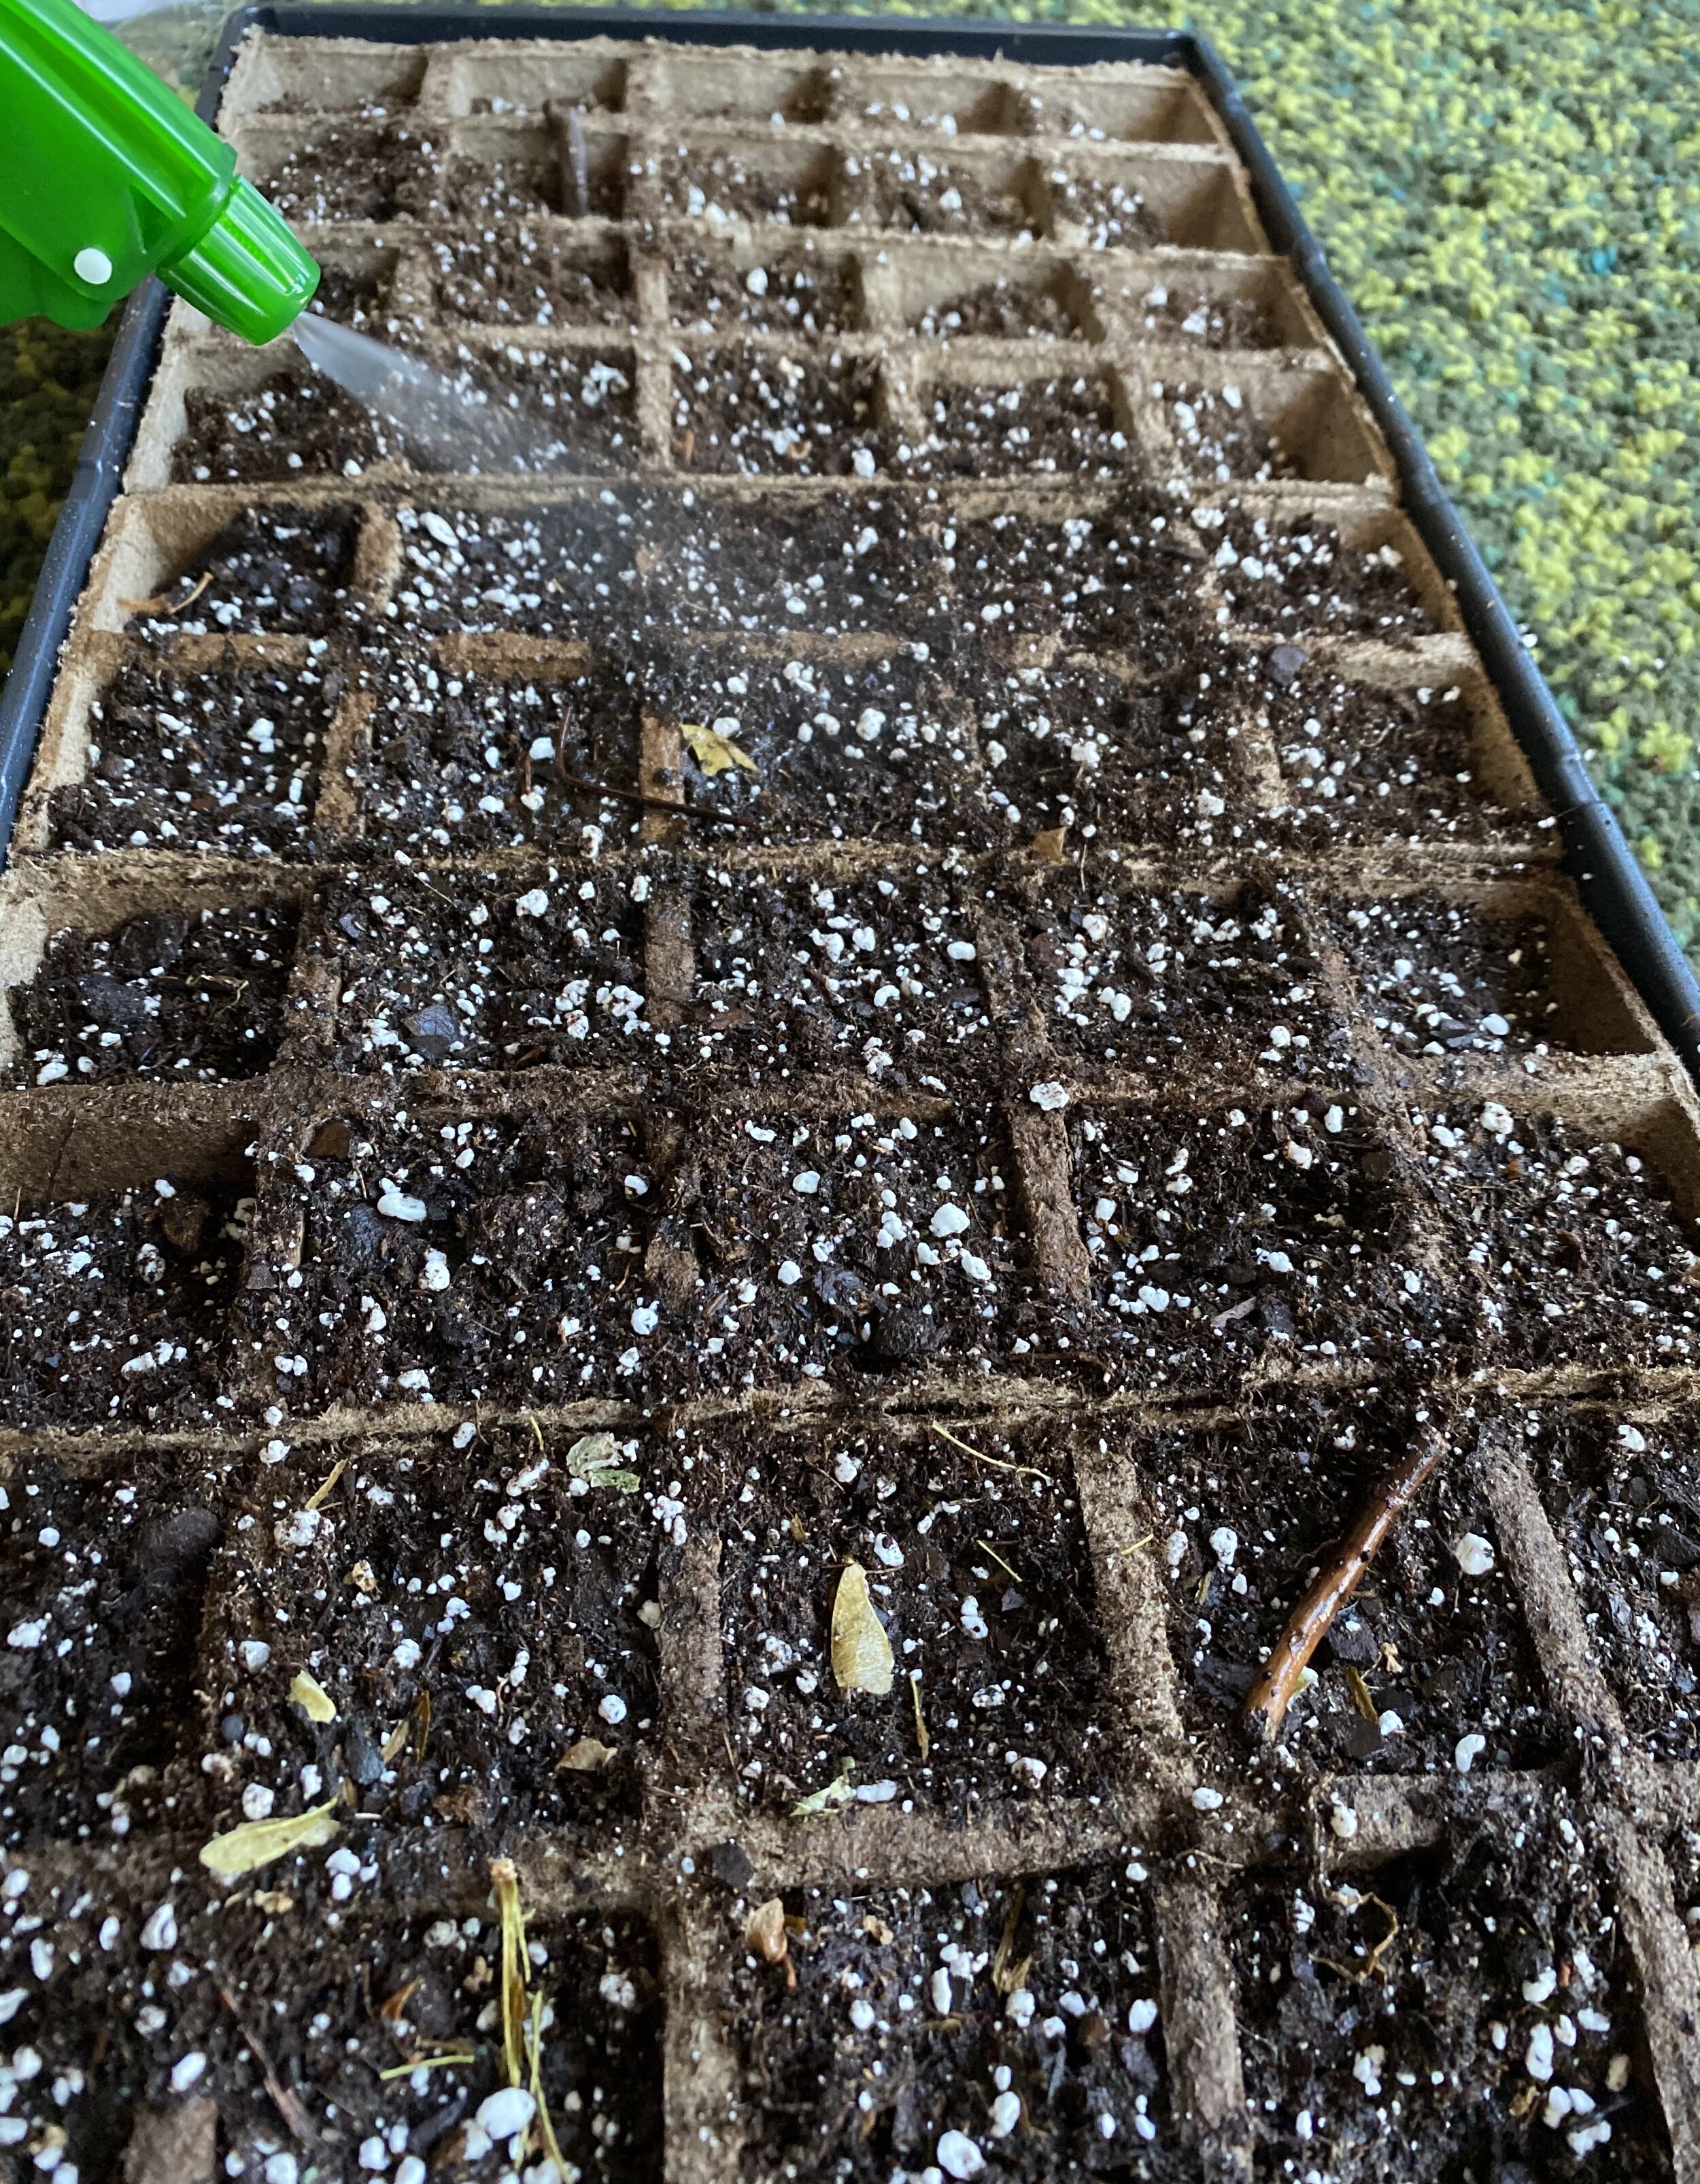
Planting these seeds wasn’t rocket science, as I’m sure anyone could’ve surmised. I started by removing all of my seeds from the pods onto a blank sheet of paper. I set that aside and filled my seed starting tray with my potting mix. Then, I used the sheet of paper to help me sprinkle the seeds onto the top of the potting mix. The seeds are so tiny, and I found that it was best for my hands to make as little contact with them as possible because they stuck to my fingers, and eventually they were toast. After all seeds were spread onto the top of the potting mix, I used my spray bottle set to a fine mist and sprayed down the whole tray until it was evenly moist.
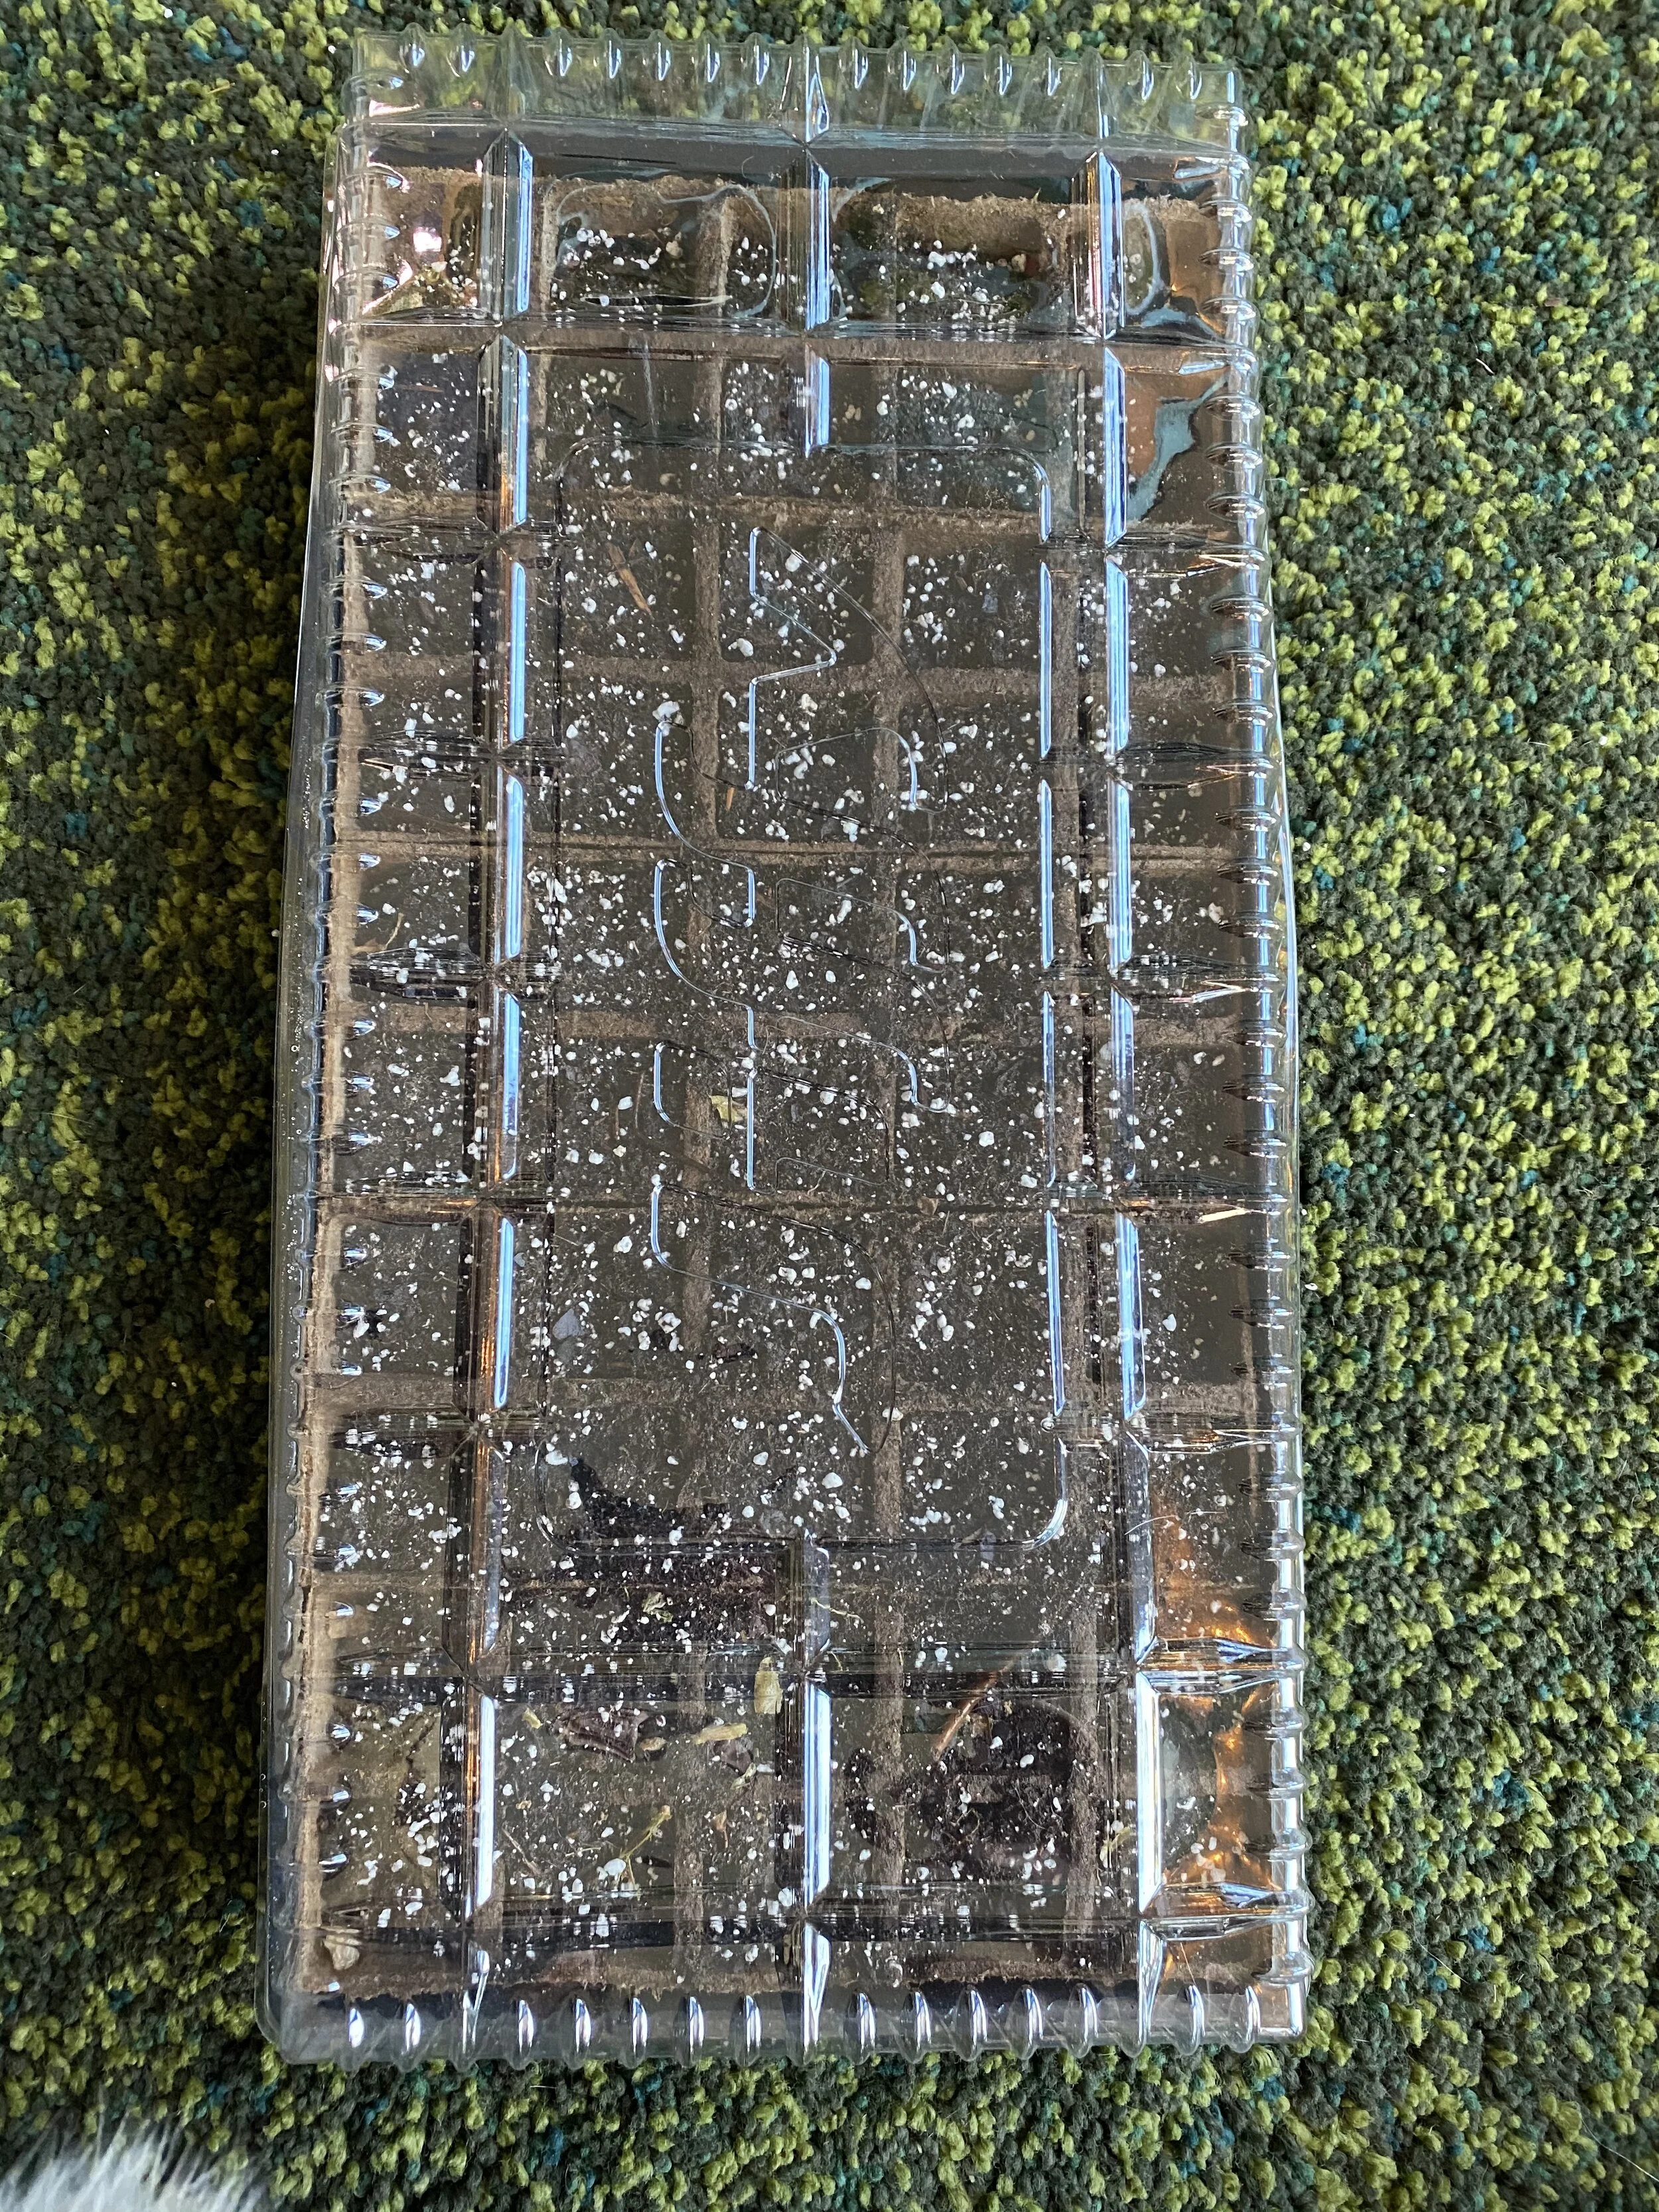
Next, I placed the lid onto the kit. The seeds are all ready to go, now there’s just a little bit of setup remaining before they can be left to do their thing.
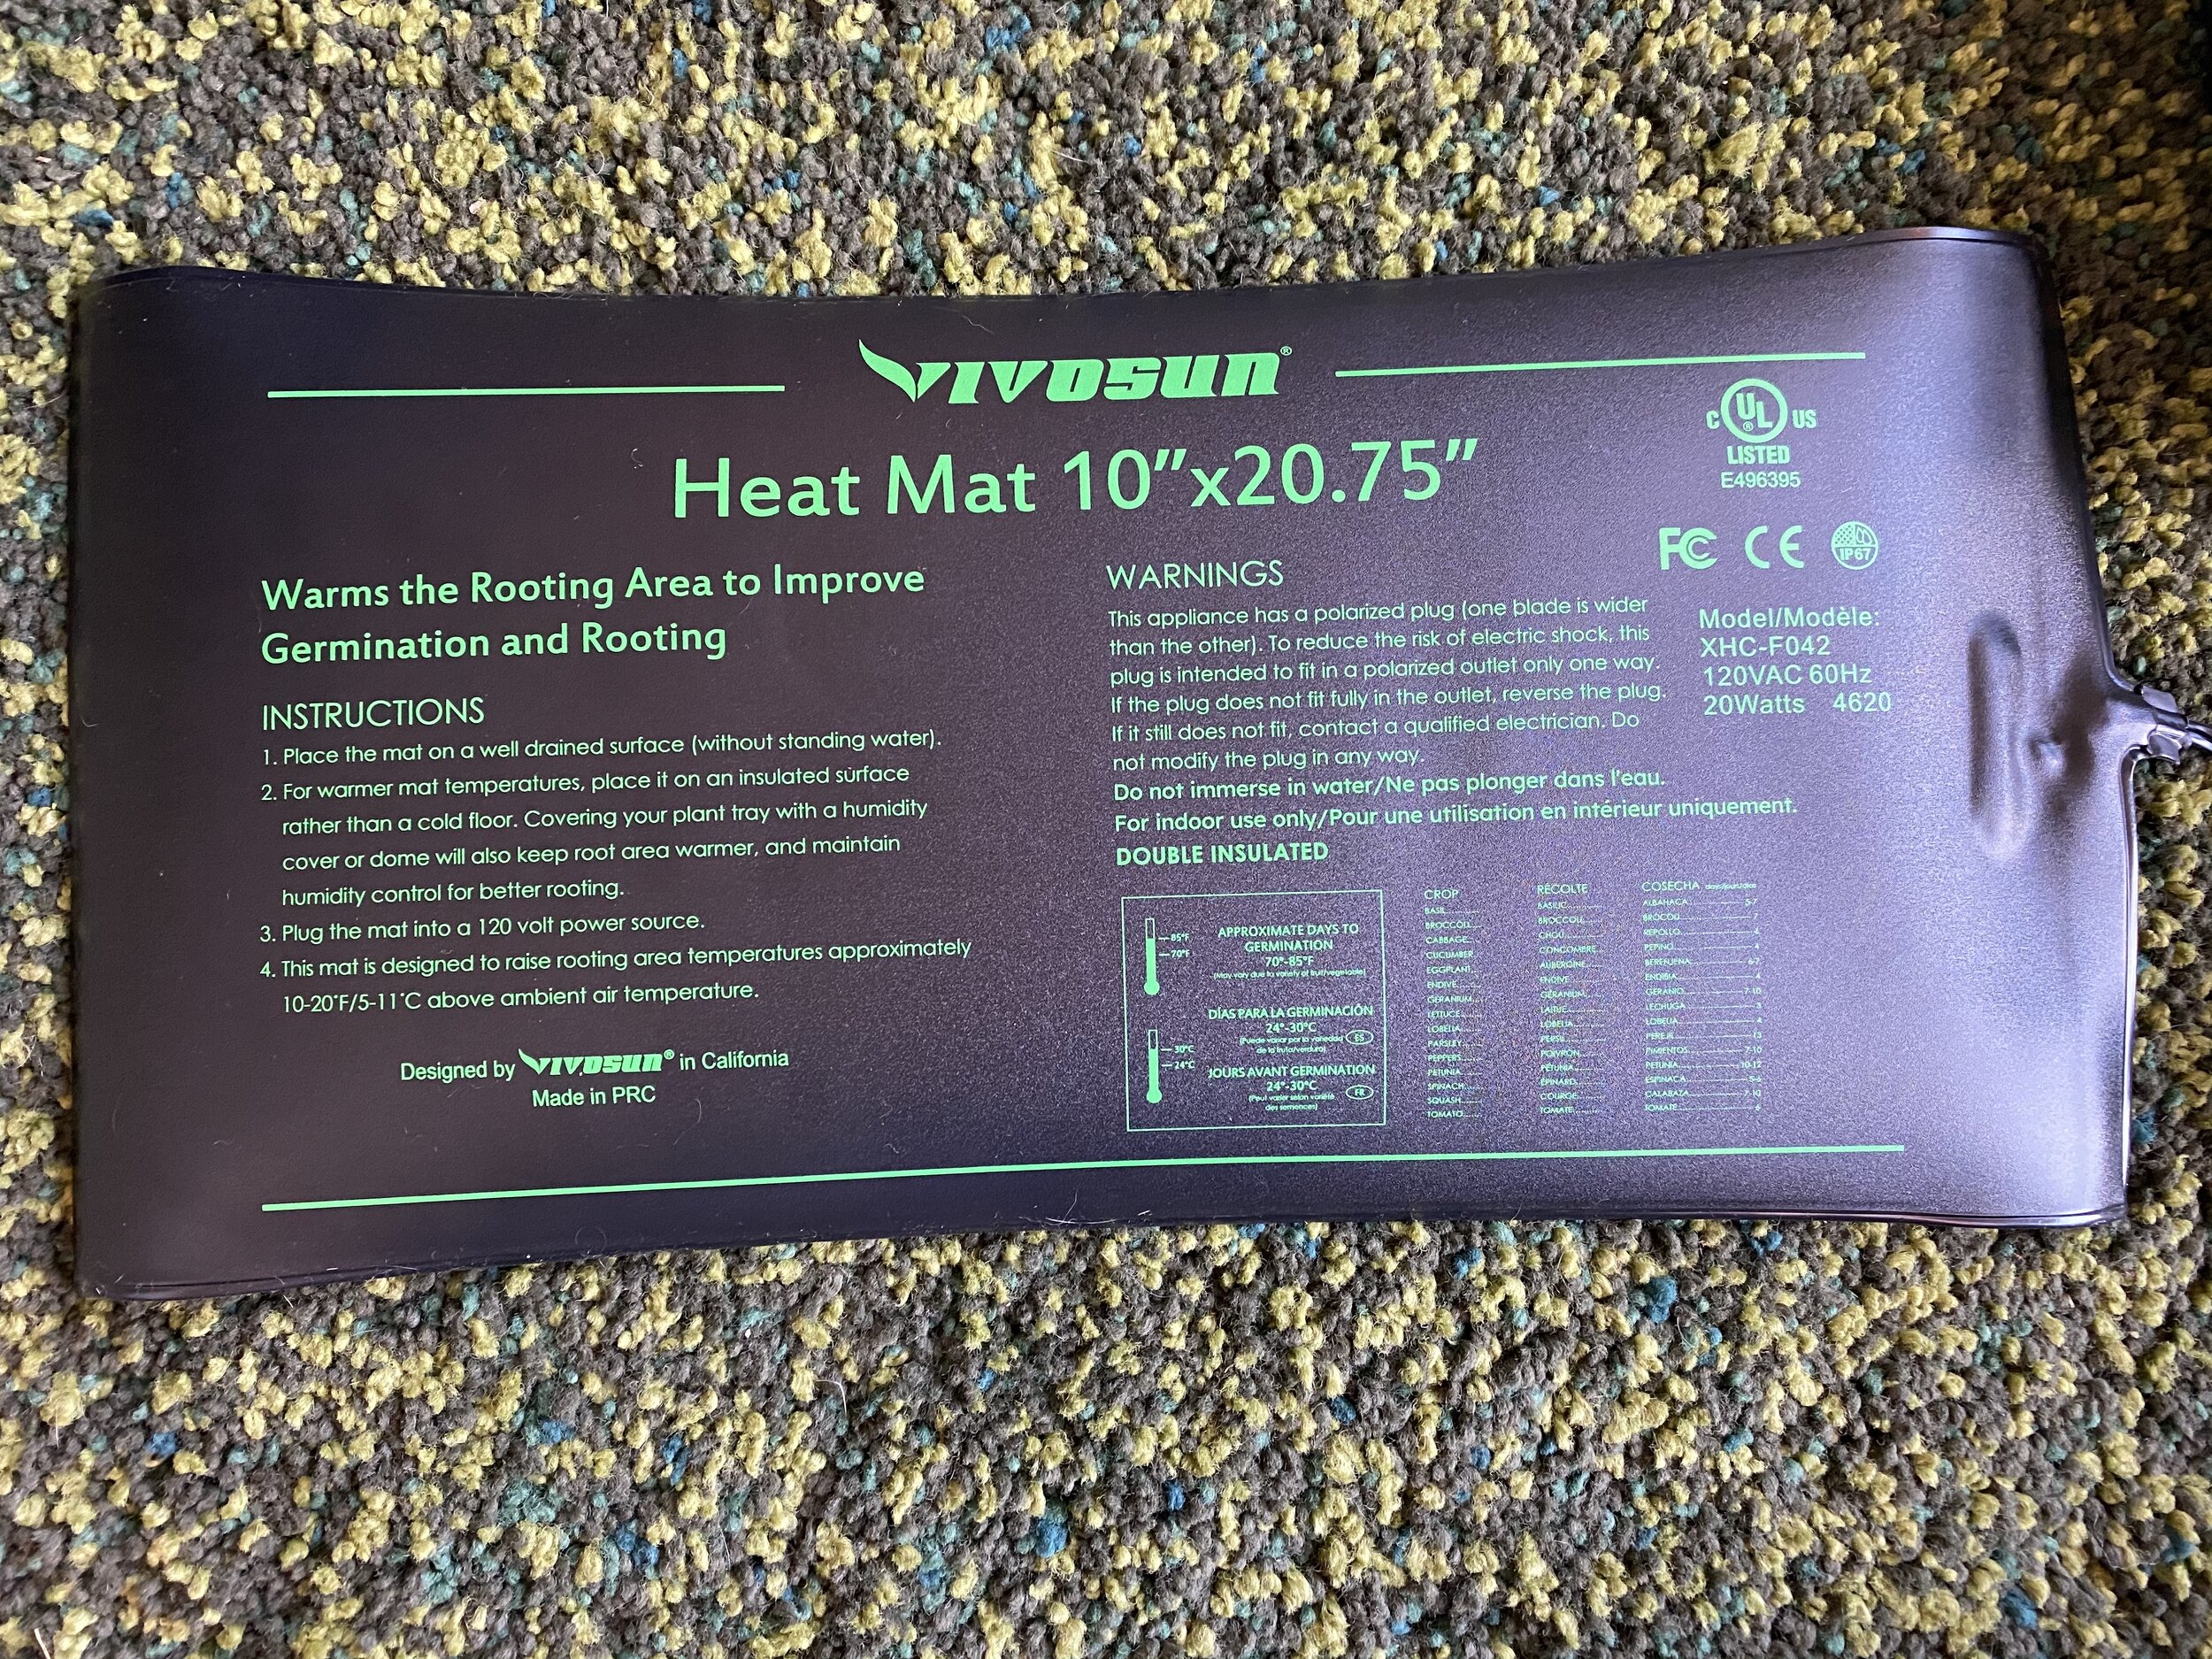
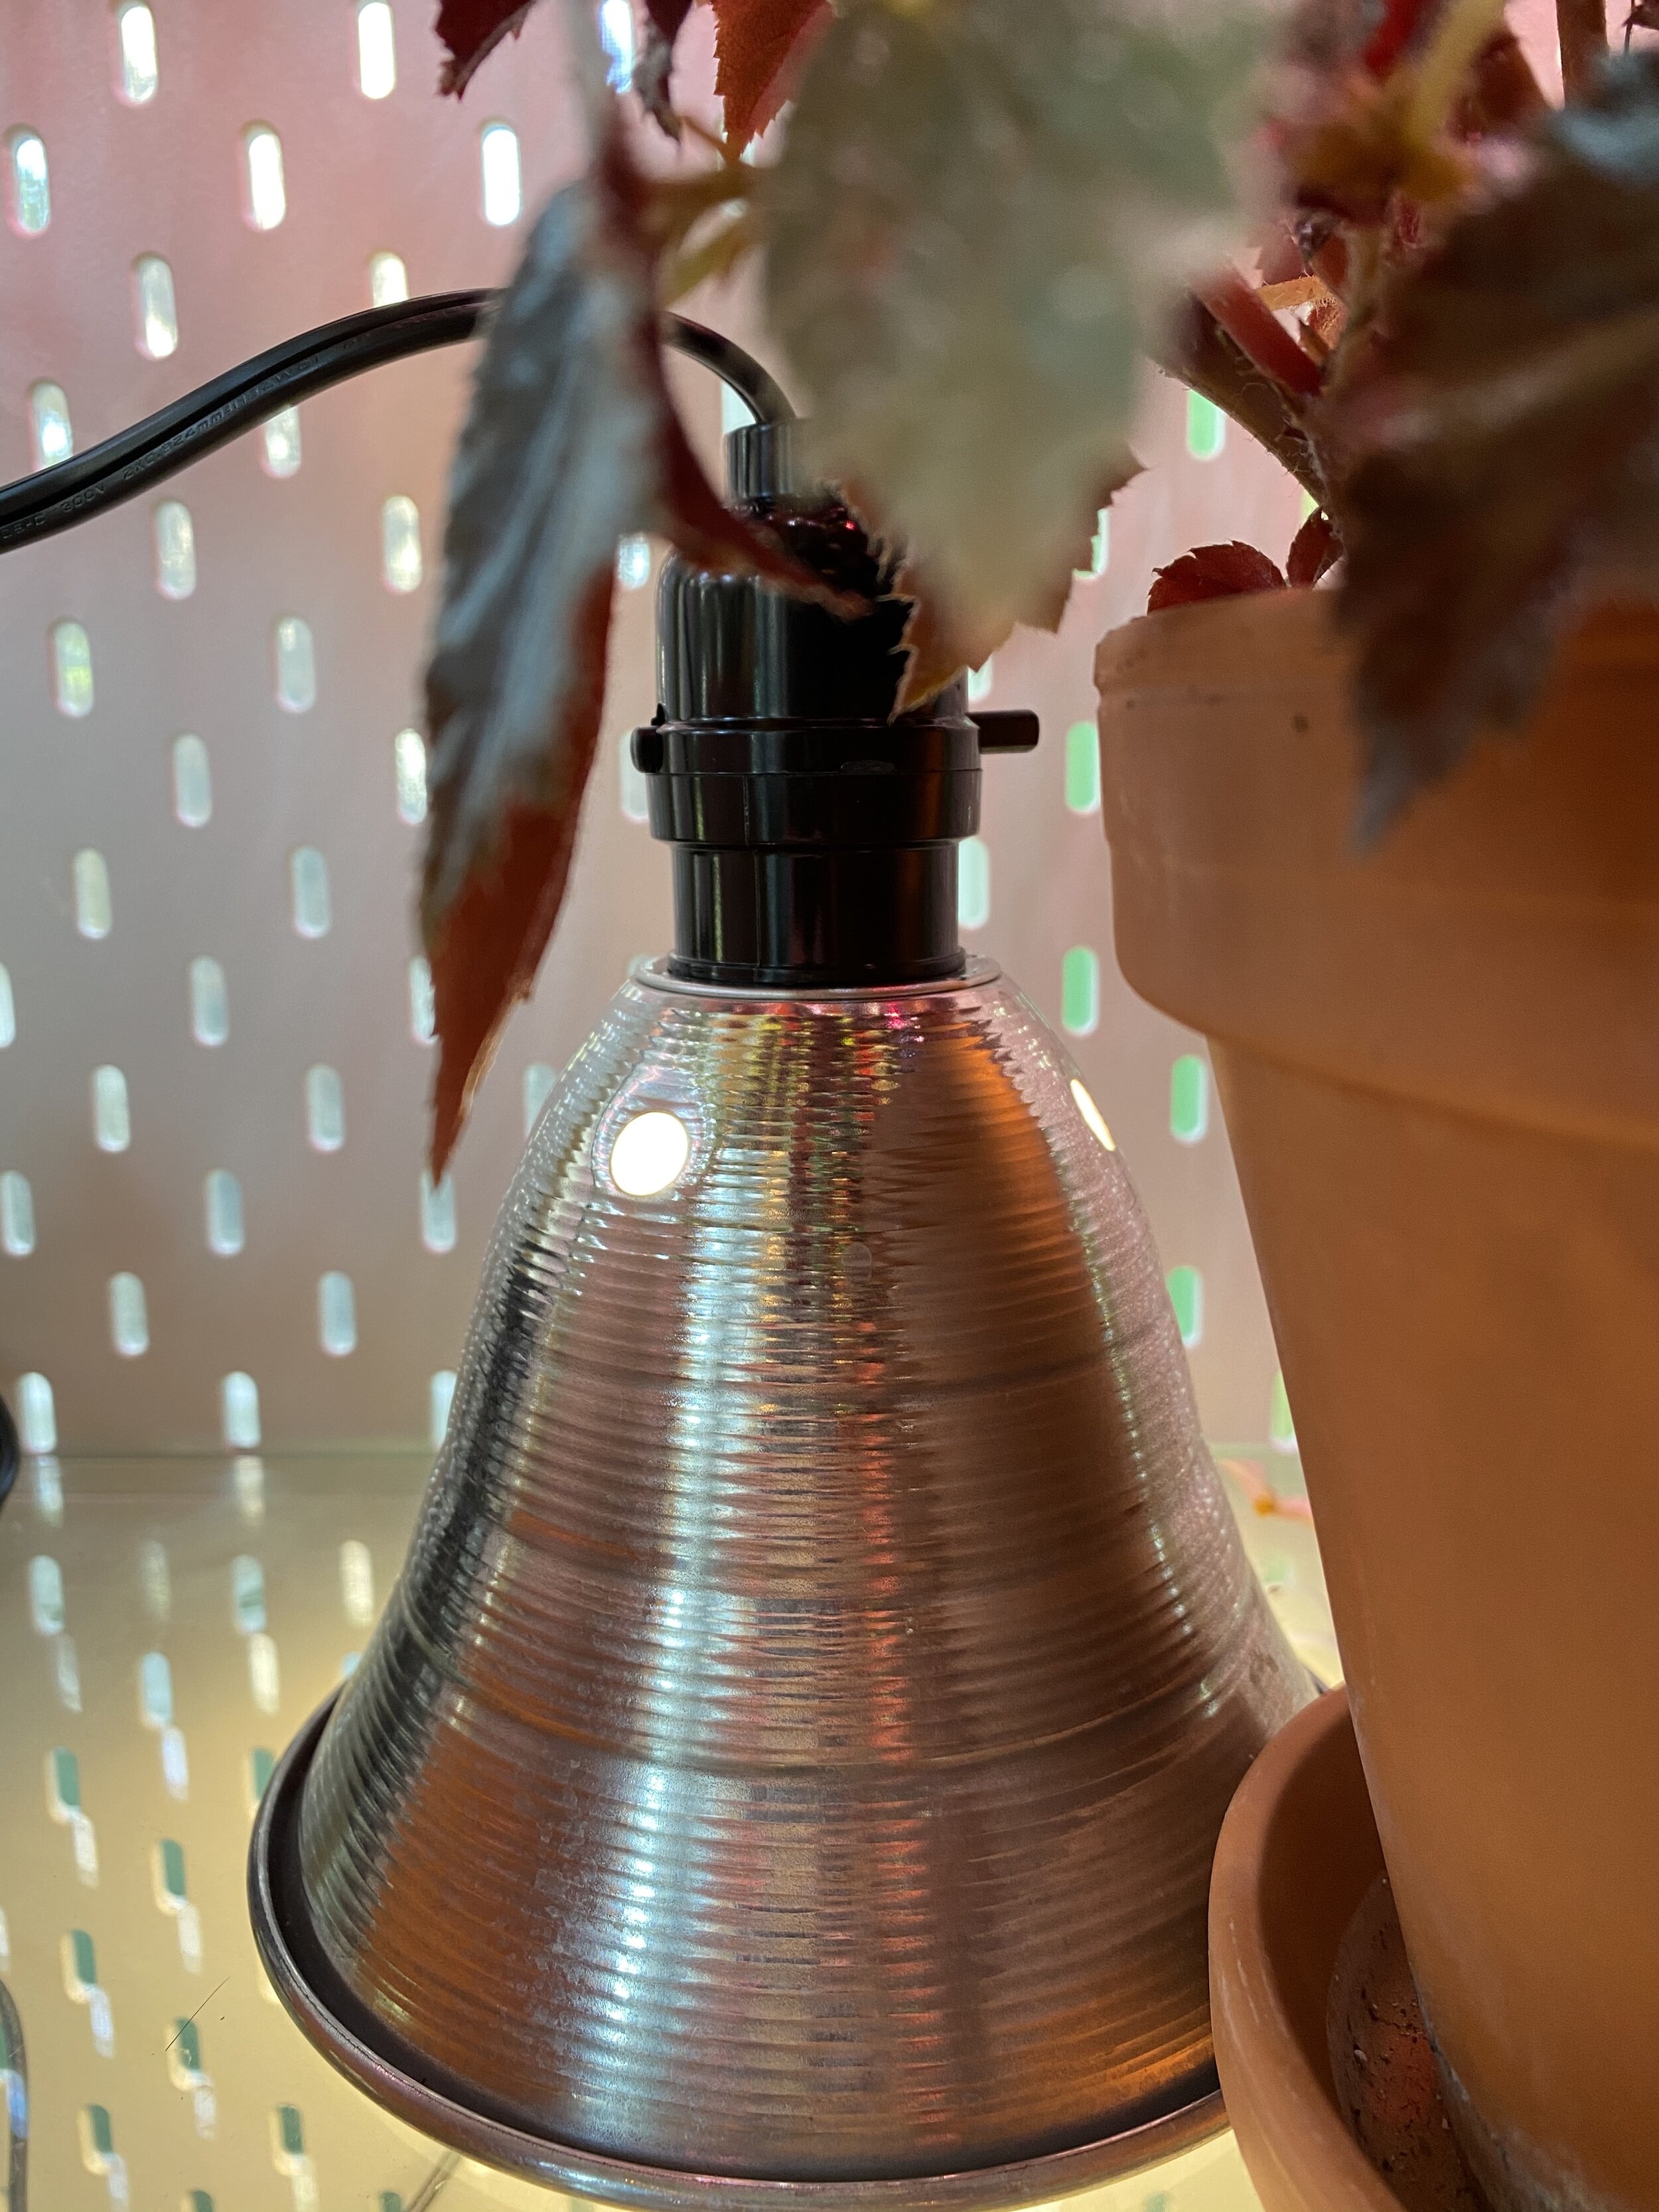
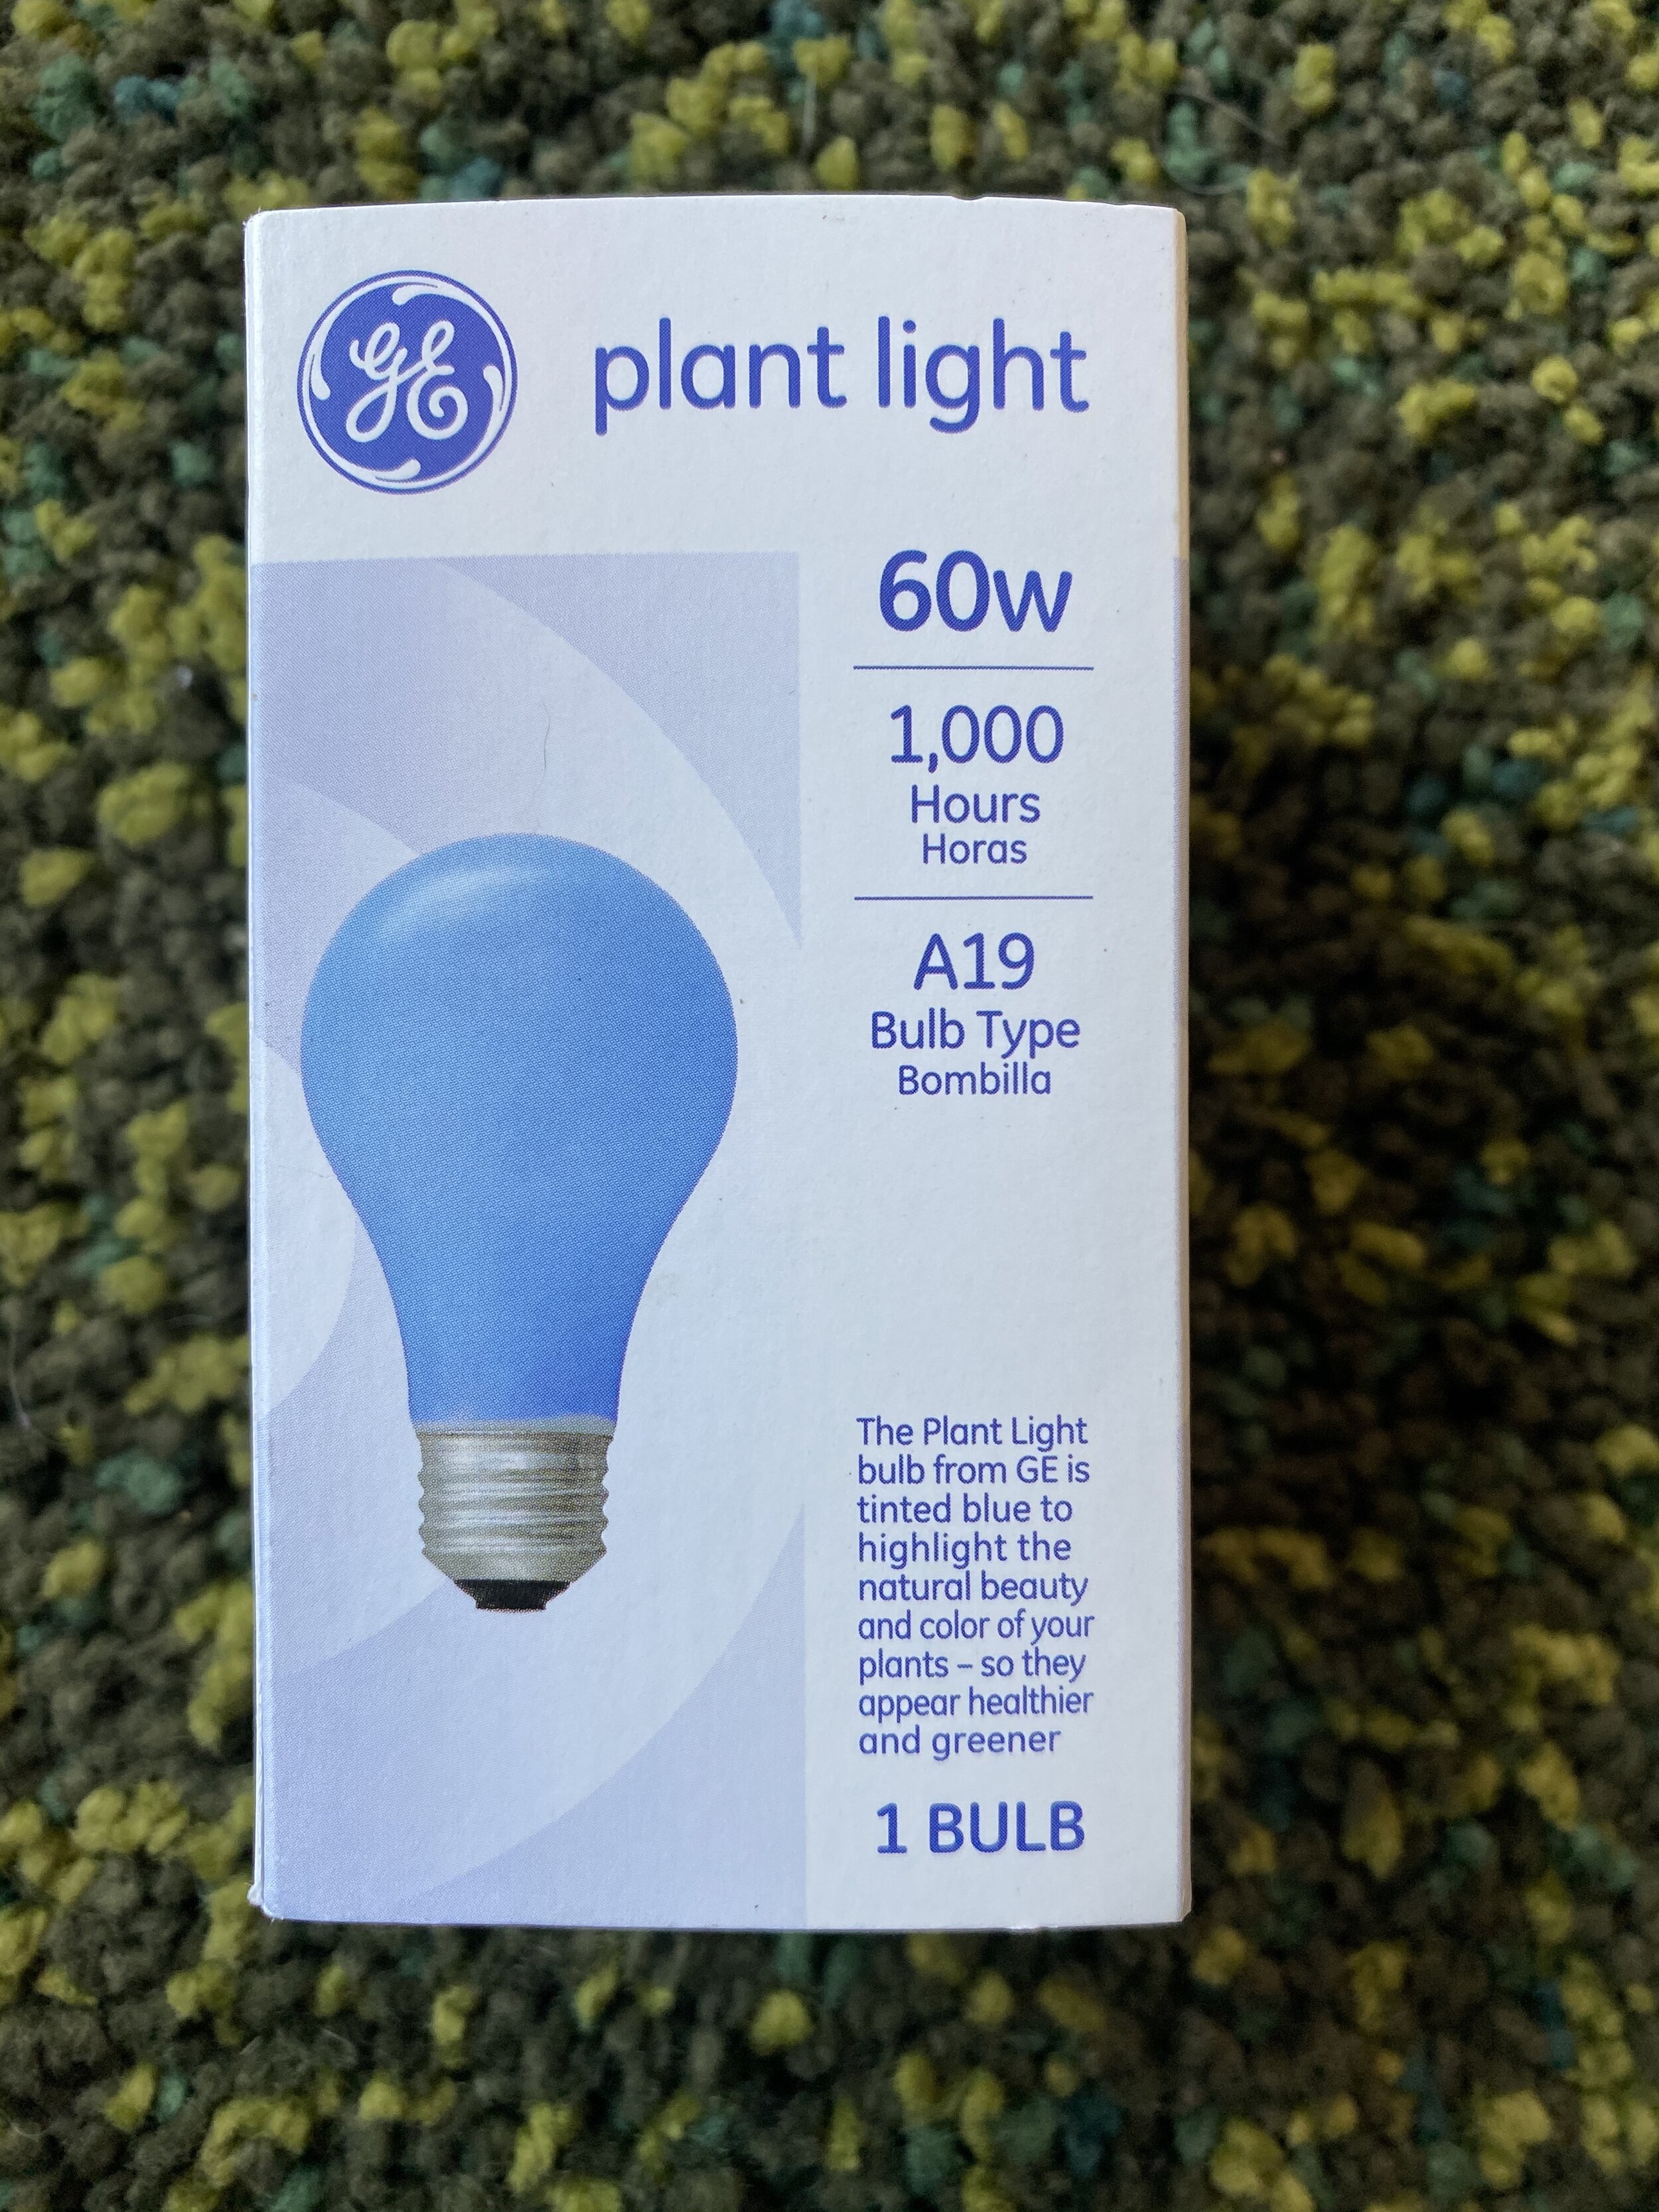
I ordered a heat mat from Amazon for $13. This step was really important to me because I experimented with various seeds over the winter, and I concluded that a lack of sufficient heat was the reason why some of the seeds failed to germinate. I would never expect all of my seeds to germinate, but I do believe that my rate would’ve improved with more warmth under the seeds. The mat fits perfectly under the greenhouse kit, so I know that all seeds will receive heat. I used a utility lamp that I already had sitting around. It was around $6 when I bought it. I love my GE grow lights, so I was really excited when I saw a $5 “Plant light” at Lowe’s when I was gathering other supplies. (READ: The “Plant light” is not a “grow bulb.” From the minimal digging I have done, this is just a blue tinted incandescent bulb, not to be confused with blue spectrum light.) I already had a (powerful) grow light set aside at home, but I decided to give this one a try because the cost was so low and my need for light in this space isn’t substantial. My seeds will be receiving both natural light, and light from another grow lamp in the vicinity, so the need for more light isn’t great. The more intense bulb that I had set aside would likely have been too strong for this application.

I’m putting this setup inside of the Ikea greenhouse cabinet in my office. This isn’t necessary at all. Right now, it’s the space I have available. I’m concerned about cats jumping on top of the mini greenhouse kit, or knocking the whole thing down. At least inside of my big greenhouse cabinet, I know that the seeds will be out of reach of wandering paws like the ones below.

When I closed it all up, I was happy with the temperature and humidity. I will check these seeds daily, and mist them as needed with the spray bottle. I expect to wait 3+ weeks to know for sure if the seeds have germinated successfully. With my light and temperature controlled by timers, the biggest opportunity for disaster lies in my watering, or lack thereof. I should probably set a reminder for myself, but as with most plant related things, I’m going to wing it.
