
Pottery Studio Refresh
Recently, I talked about my journey into pottery, and a little bit about converting the storage area in my basement into a very small studio that has everything I need. Some of my “next steps” were to start making over this area, not only to make it more functional, but because I believe that sprucing up the space really improves the energy. It makes me more eager to enter into the studio, and I feel like I’ve made it my own. I’ve slowly done this with every room in my house, and these “refresh” jobs are some of my favorite projects.
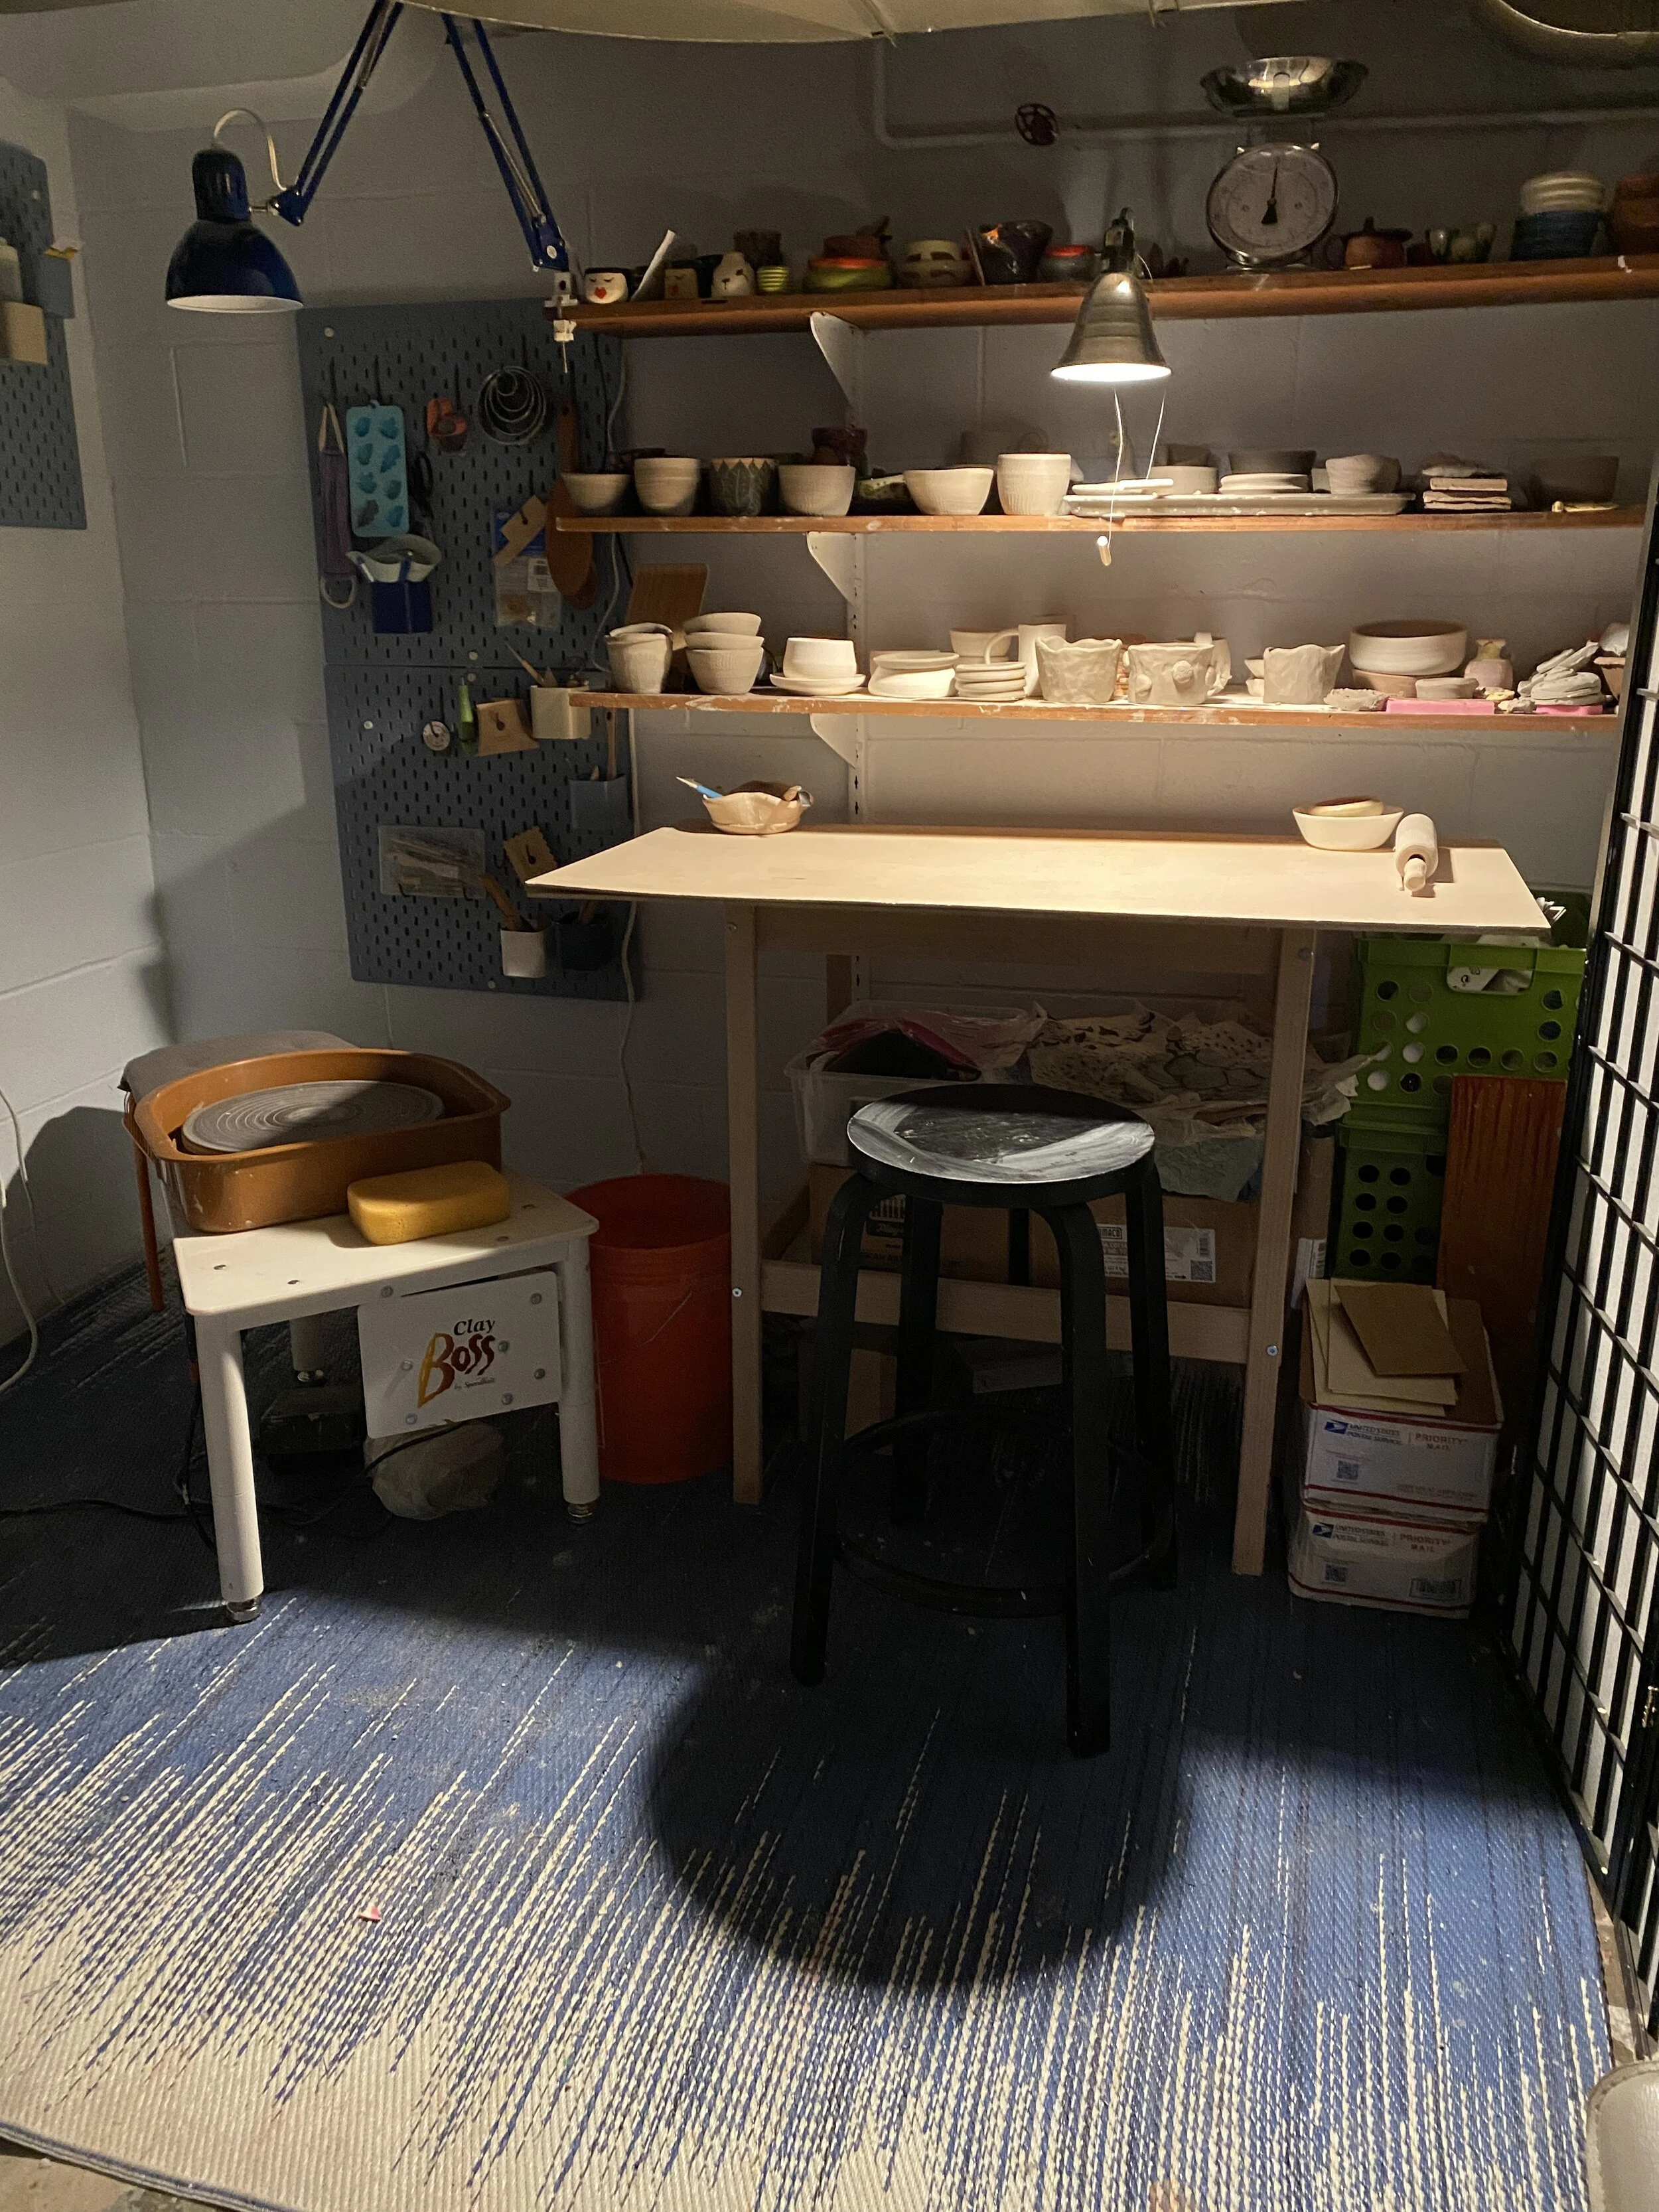
I wasn’t planning on doing the makeover immediately, but that’s how it worked out. Immediately. I didn’t realize how much the dingy walls and disorganization were getting to me until they weren’t anymore. Just to be perfectly clear, this is what the room looked like before the makeover.
My house is old, built in 1939, and sometimes a project isn’t as simple as setting a goal and reaching it. Sometimes a fresh coat of paint actually involves removing about 30 layers of peeling paint that previous owners had layered on over the years. That’s fine with me. I have about a hundred scrapers, and I’m pretty well acquainted with them at this point.
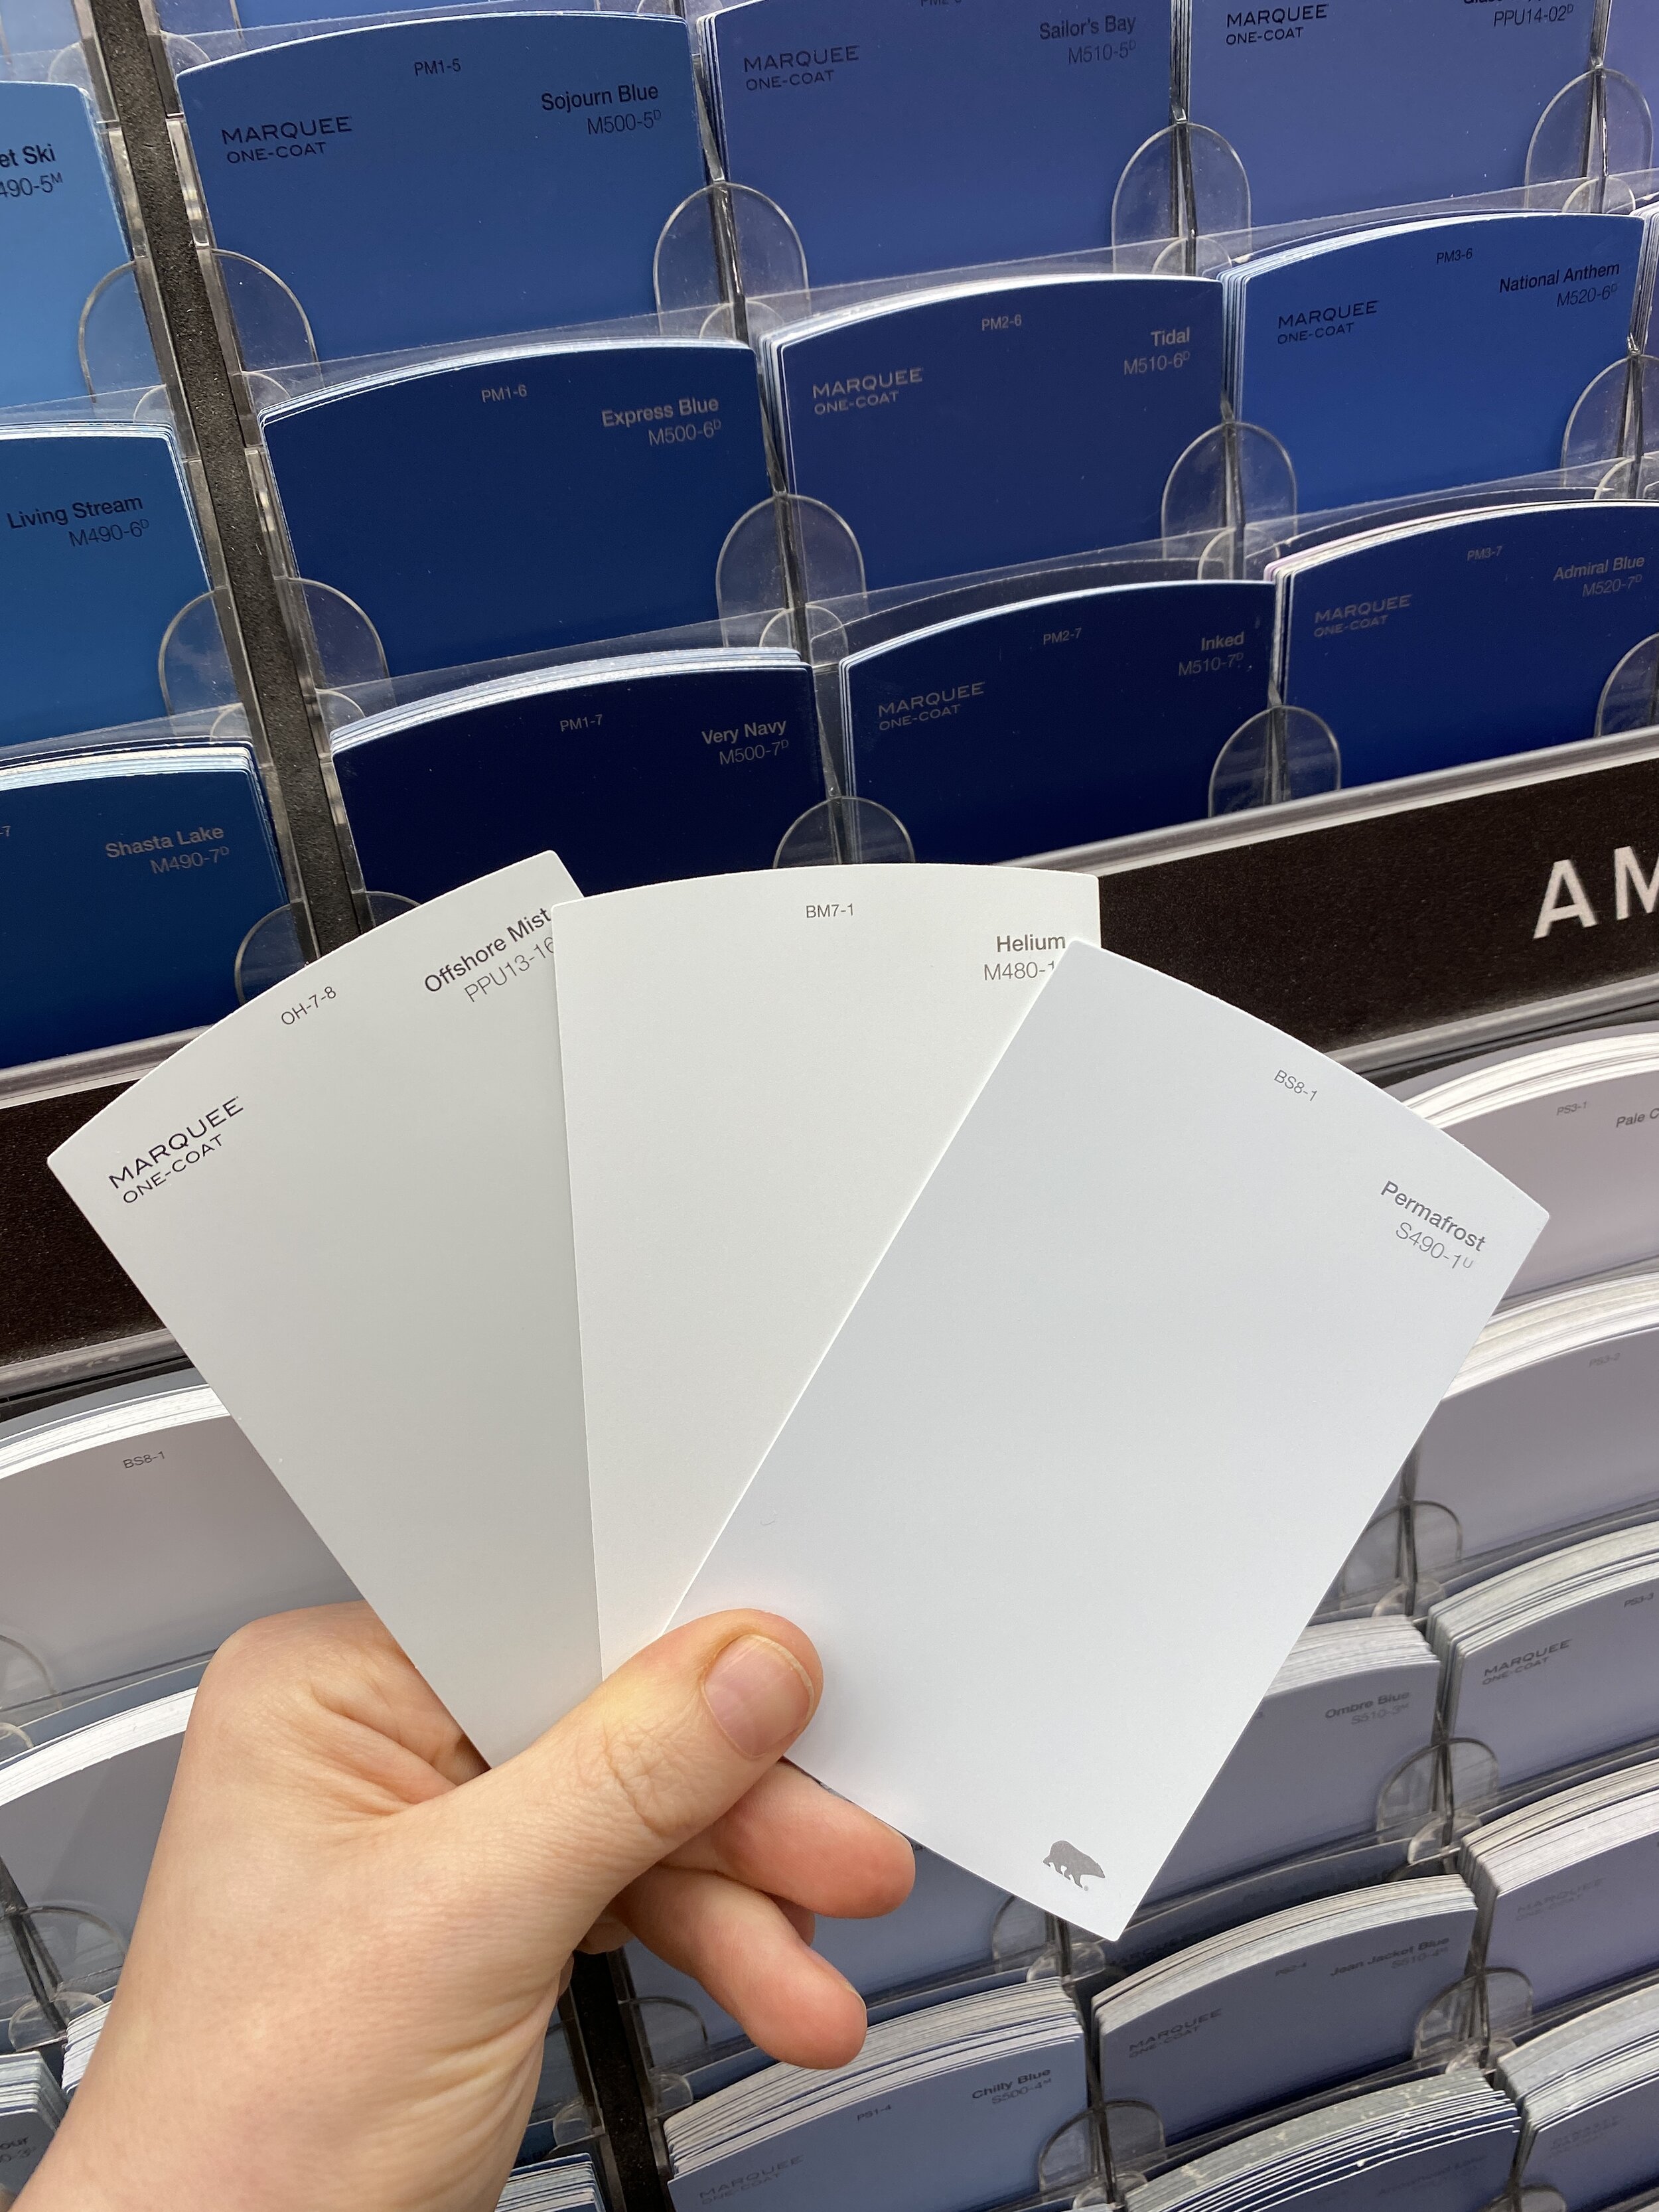
I don’t know why, but I had always envisioned a soft blue for this space. I looked at color swatches online, but there’s nothing quite like going into the store and looking at the colors next to each other. I like to compare them side-by-side. These were my final three, and I ultimately decided on Helium.
I thought about going with white, but I’m such a maximalist, I couldn’t allow myself to paint the walls white. I like to pack in the color. I often find myself going into the homes of others and loving the look of their white walls, but I feel a major “I know I can’t pull this off” vibe. It’s just not my comfort zone.
After I chose the color, I had to get two different rollers. One wall is drywall, while the others are the cinderblock foundation of my house. It wasn’t possible to use one roller for both surfaces, so I threw the two rollers into the shopping cart. Also into the shopping cart went some Kilz primer because those walls have seen some dank days, and I wasn’t willing to risk, well…a few things. First of all, I knew I’d be scraping. I knew moisture can sometimes accumulate in there. Fortunately, the basement is pretty free from leaks, at least in this area of the basement. Finally, I wanted the color to be as true to the swatch as possible, and the best way to do this on different surfaces was with primer.

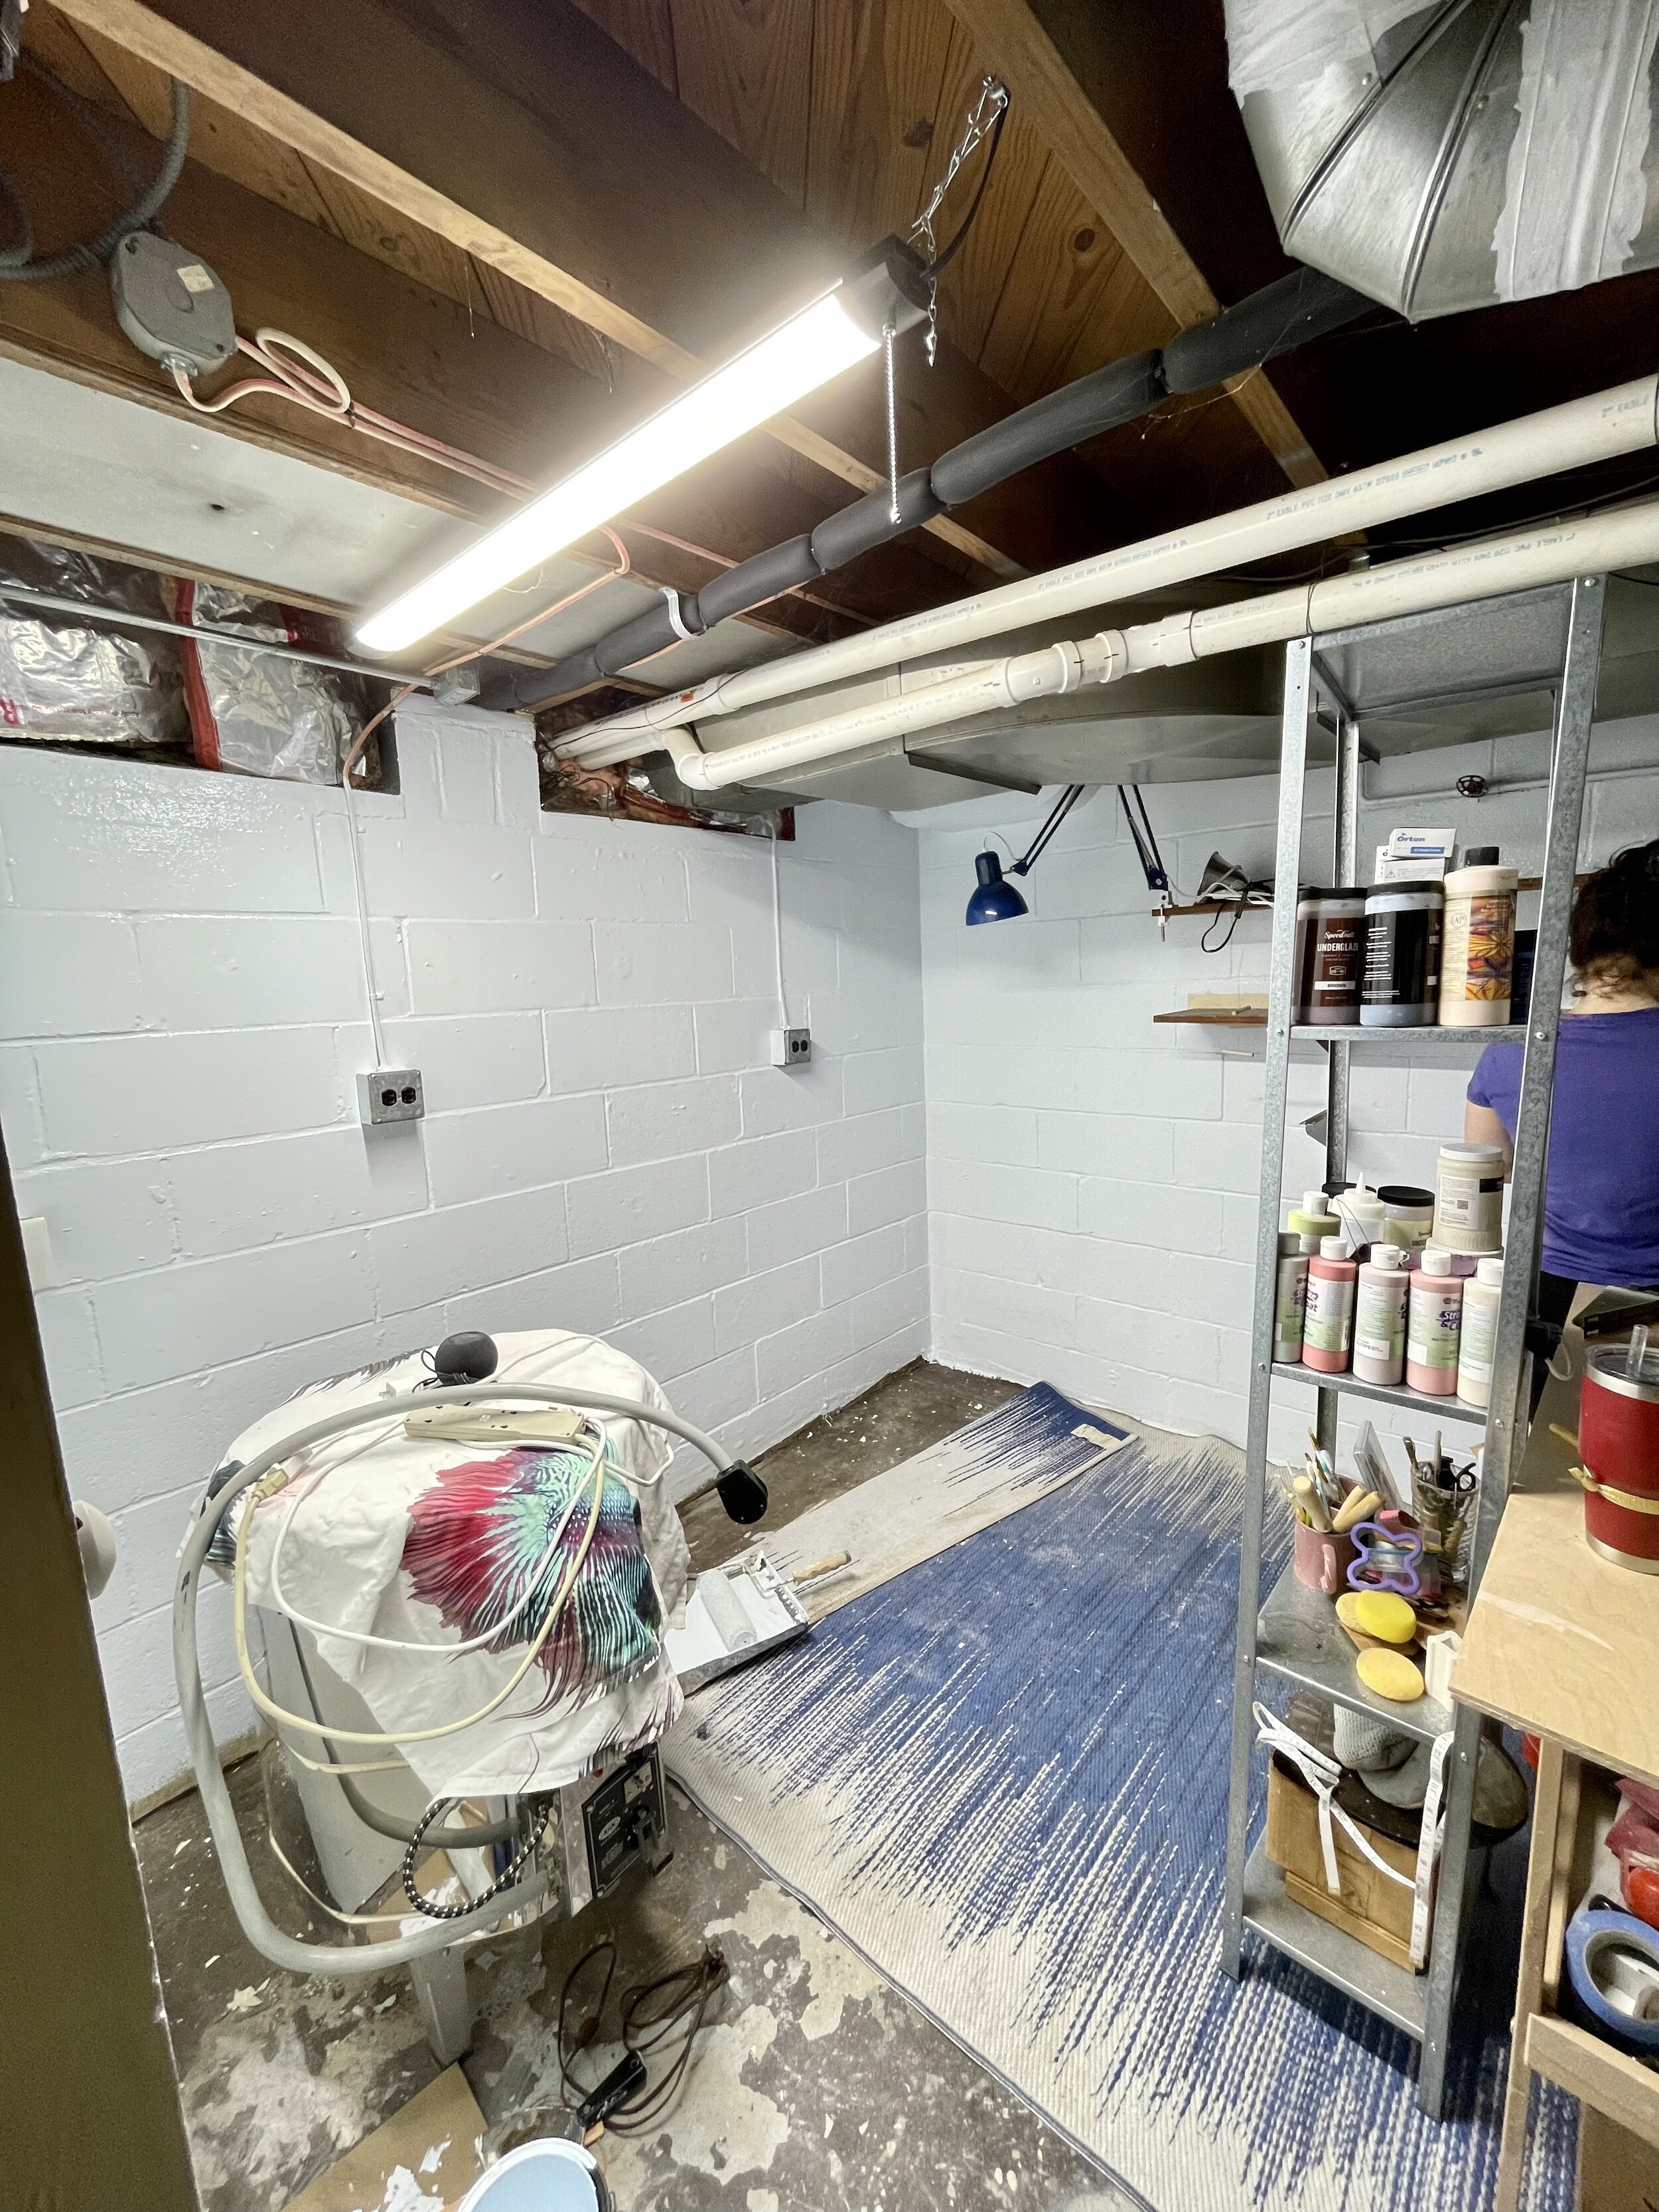
I scraped away any loose paint and applied primer anywhere with exposed cinderblock. I had intended to sand the shelves down, and leave the unfinished wood. I ended up wiping them down for the time being, and leaving it at that. I’ll get to the sanding one day, but not right now. I really hate sanding, and I avoid it when possible, as seen here. Next, the paint went on. A few coats, actually. Below, you can see the new light (a major upgrade for only $20), as well as the fresh paint.
I decided to keep the old IKEA outdoor rug, because what’s the point of getting a new rug when it’s job is to catch clay and whatever else? Next, I decided to hang pegboards to organize all of my tools. I need a pegboard for my brushes and other glaze accessories, a board for my hand building tools, and one for my wheel tools like ribs and trimming tools. Remarkably, perfecting these pegboards was absolutely the most annoying part of this entire endeavor. The drill bit for this job was not within budget, so the best alternative was special nails that can only go into the mortar sections. The nails were not nearly as efficient as marketed, so I ended up coating them with Gorilla Glue and leaving each metal pegboard hanger (three in total) to dry for over 24 hours. I thought this part of the project would take about an hour, but it ended up taking over three days. I had to rig some pretty MacGyver-esque systems to hold the hangers in perfect place while the glue dried, and I was definitely very frustrated with the unexpected and unwelcome complexity of the situation. BUT…the goal was to get the peg boards on the wall, and that’s where they ended up. The pegboards are designed to work a certain way that simply wasn’t going to be possible with the nails only able to go into mortar rather than the cinderblocks. Luckily, these IKEA pegboards are also designed to be versatile, so I was able to make them slide up next to each other even with the constraints of the mortar nails limiting my creative freedom. There were many mishaps with this pegboard situation, and chipping the paint was just one of them.

Finally, the stars aligned, and I was able to get the end result I wanted.
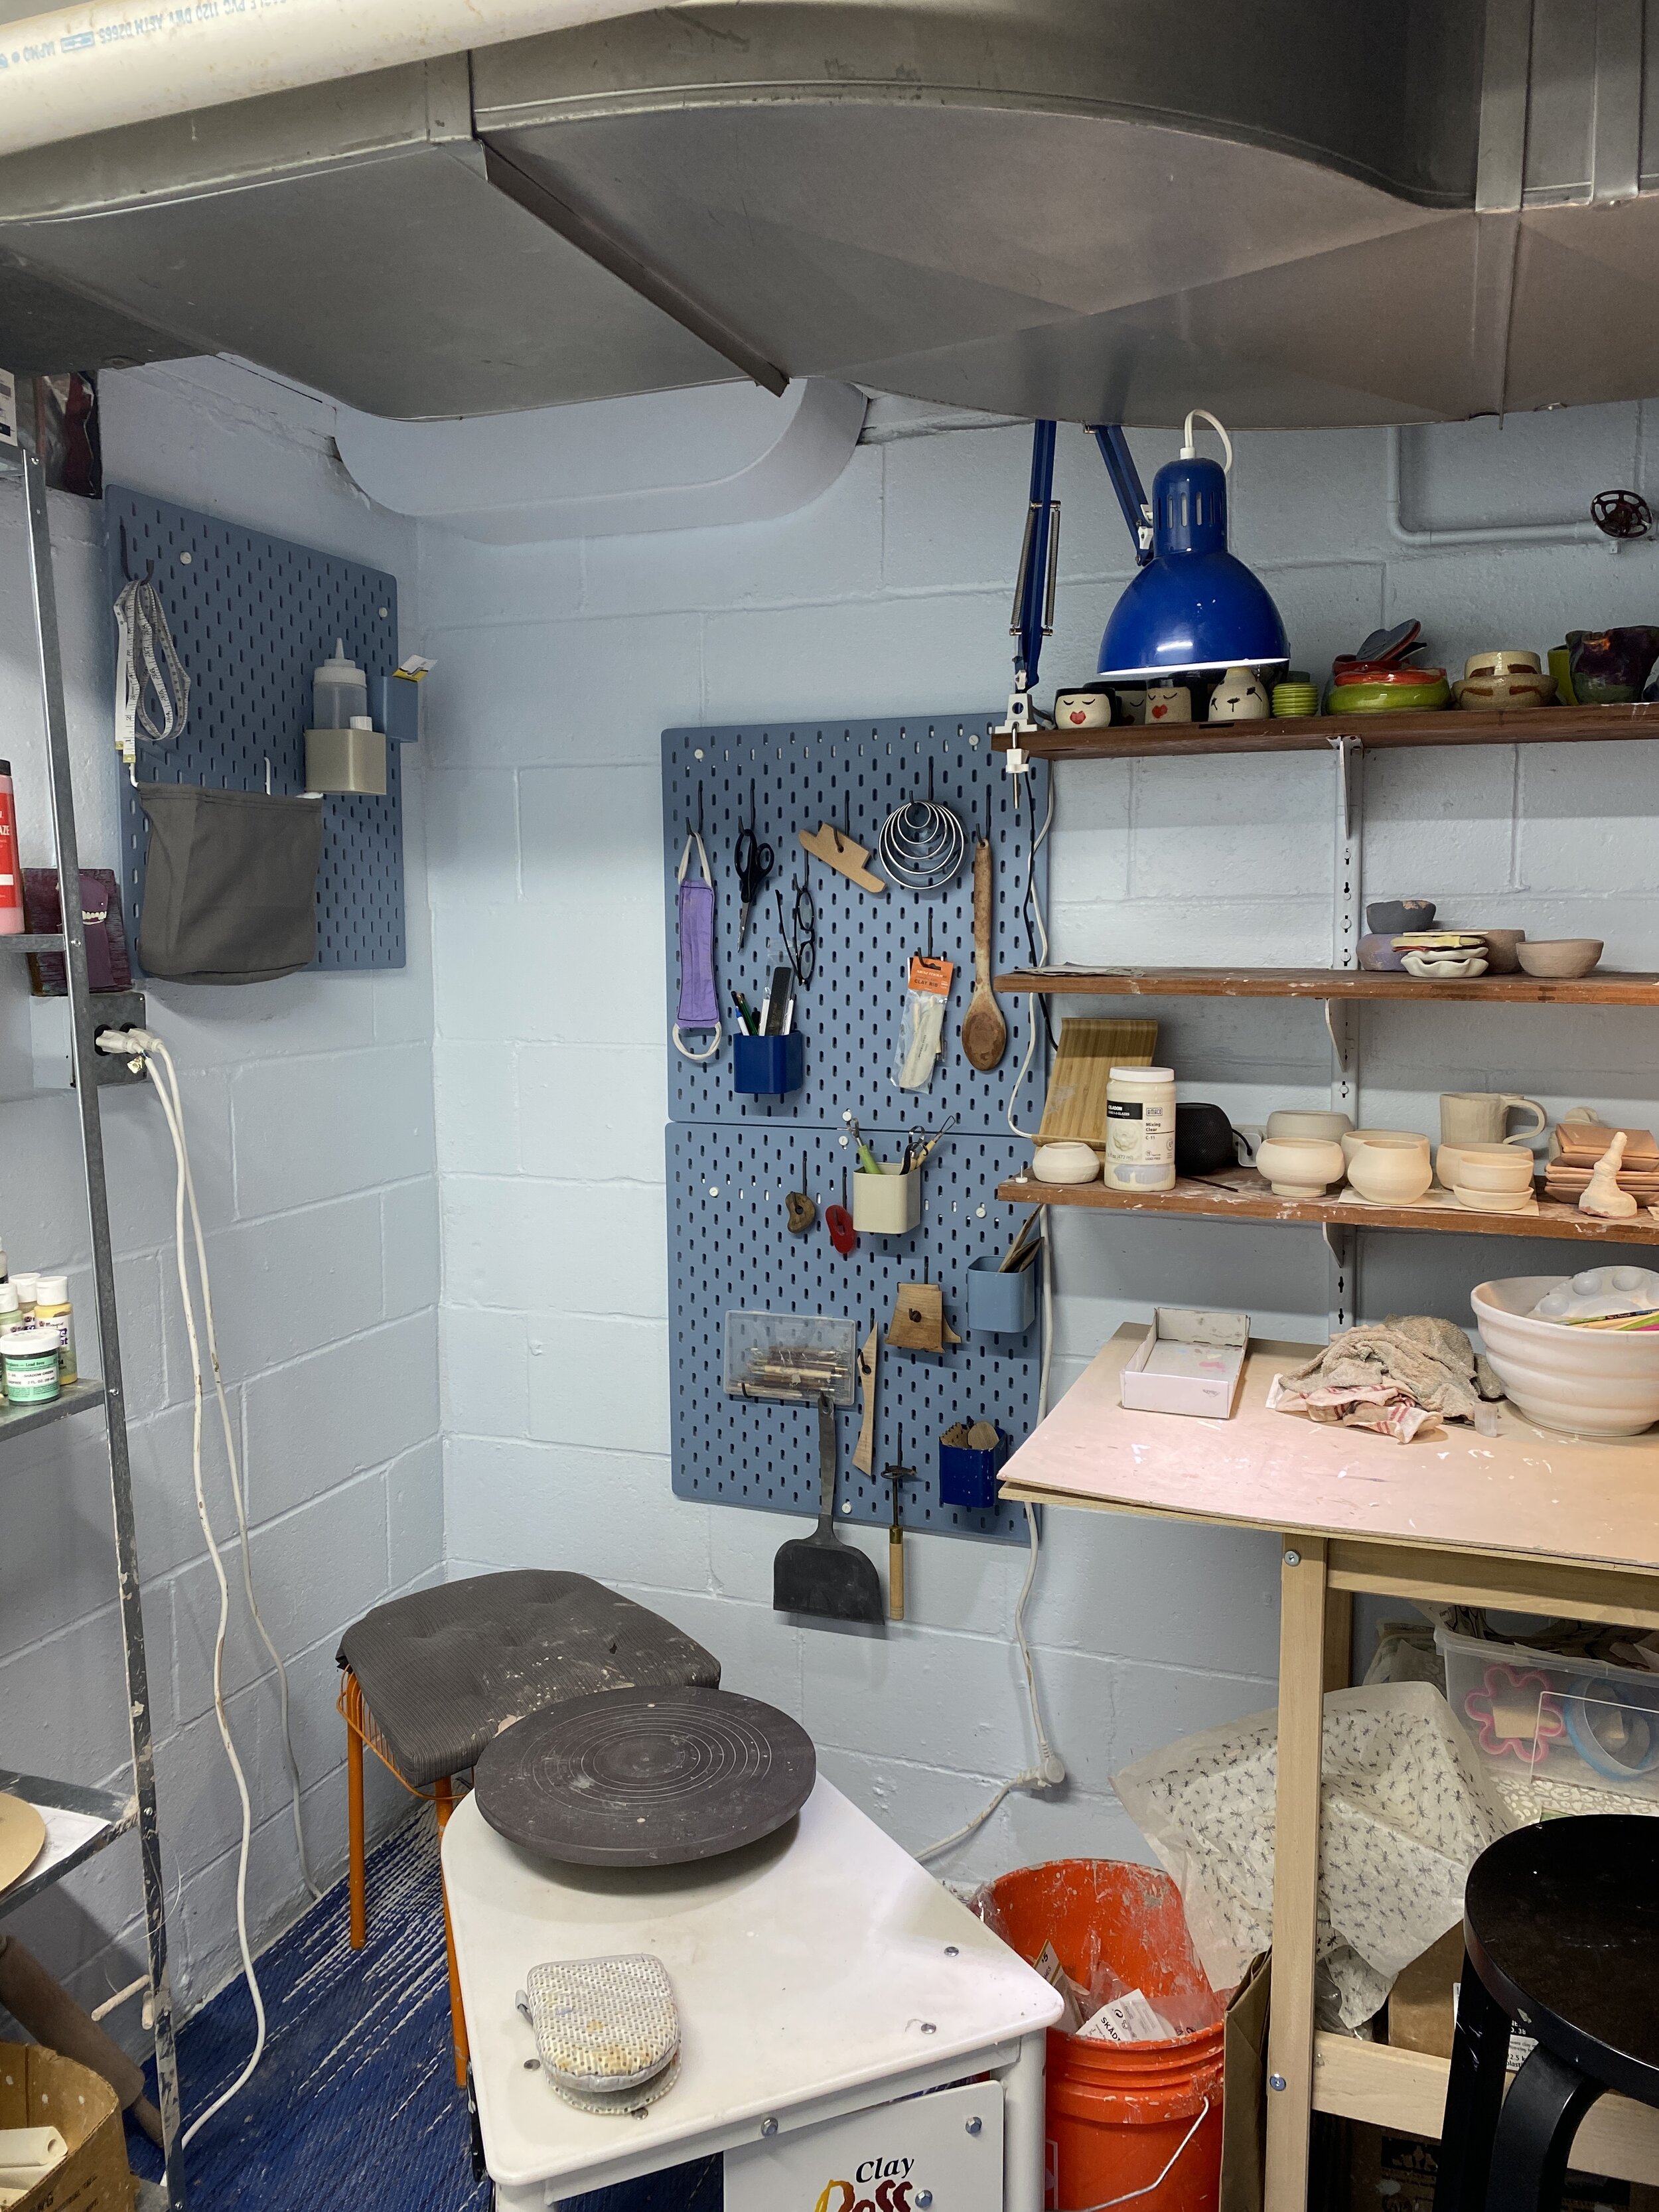

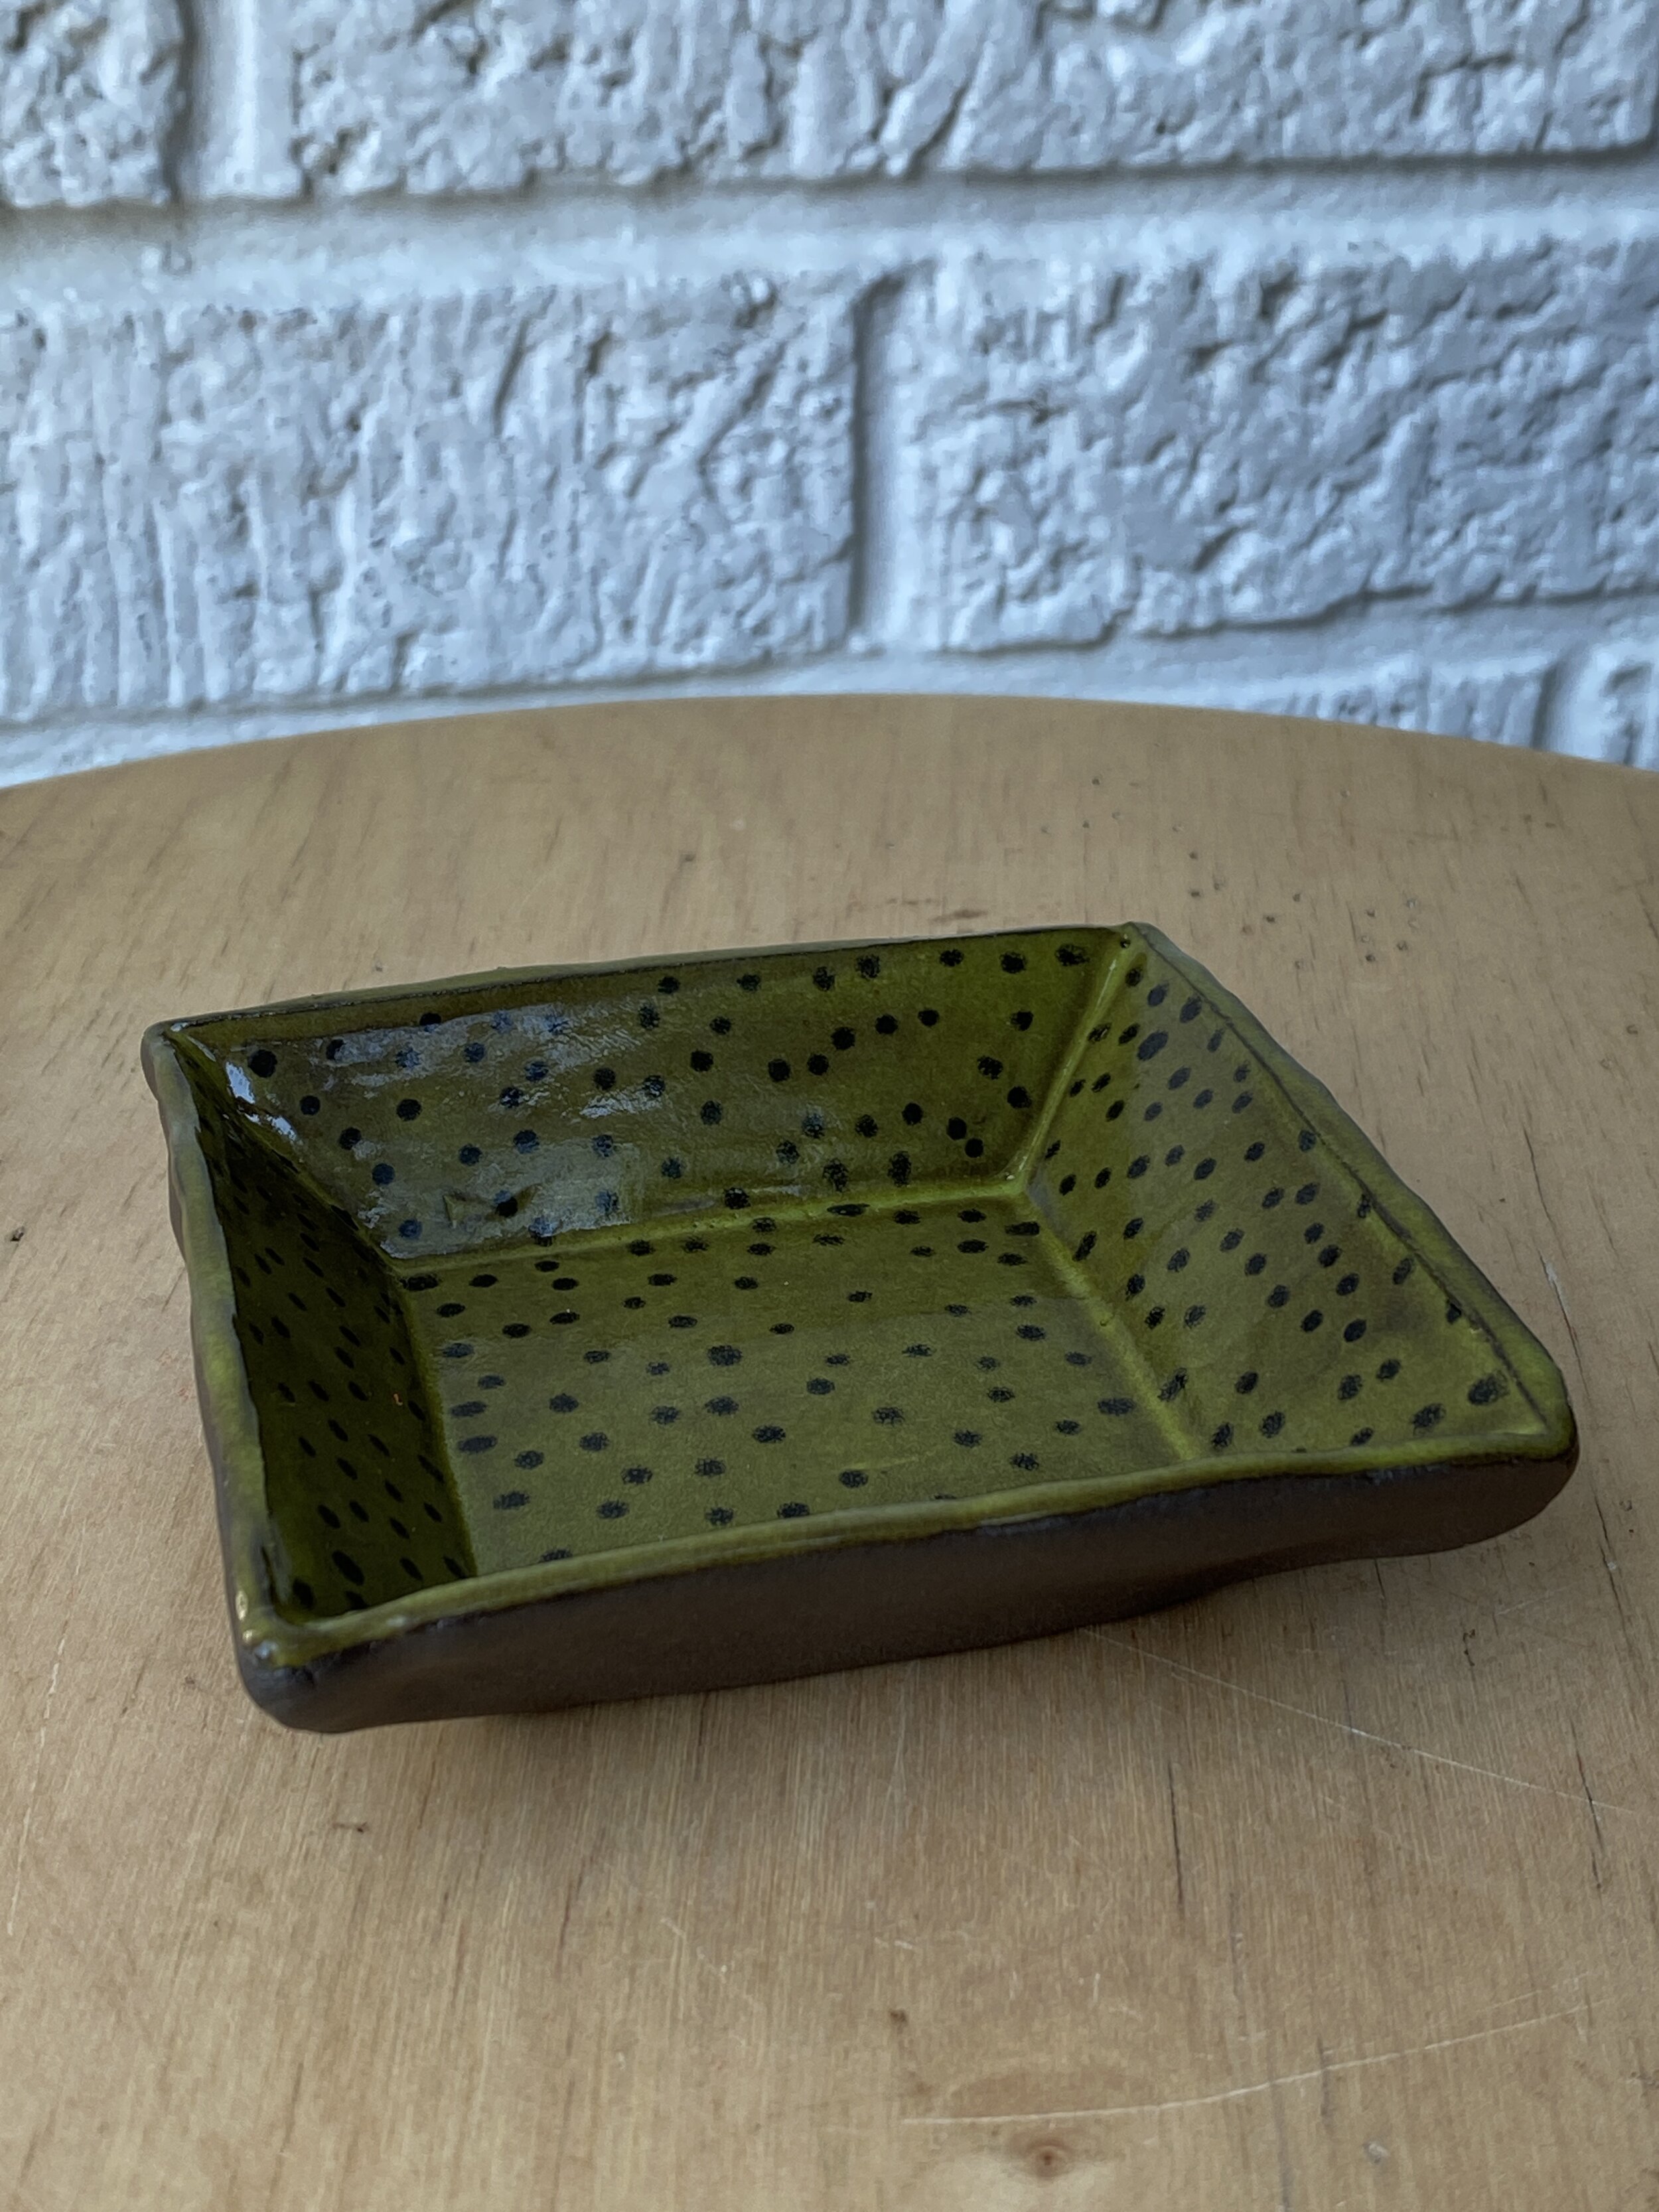
It’s so convenient to have my tools right next to the pottery wheel. I love how many of my favorite Garrity tools have a convenient hole in the center, perfect for hanging next to my wheel! Lots of kitchen-tools-turned-pottery-tools like spatulas, cookie cutters, and spoons also fit on the hooks.
It might be an understatement to say that I’m fond of organization. Having a hook for each of my regularly used items is so nice! And the pegboards offer so much space. I know that as my collection of tools grows and changes, I can add hooks to fit everything.
You can see the results of the makeover below!
What’s Next?
My studio space is off to a great start, but I still have some aspirations. I want to add ventilation to the room via a window fan. I would love to look into a separate ventilation system specifically for my kiln, but I’m not sure if that’s realistic given the age of my kiln. I’m sure it’s possible that somewhere out there is a ventilation system that can accommodate a veteran kiln, I just need to do some research and probably learn how to install it. With that being said, the window fan is top priority before this fall. Right now, I’m able to open windows and doors, and I know that I won’t always have that option in the cooler months, even with a 2000 degree kiln in action!
As mentioned above, I still need to take my shelves down and sand them down a few layers so they’re fresh. In all honesty, I will avoid this step forever if I can.
I plan to get 2-3 more Hyllis shelves from IKEA. As I prepare more pottery pieces, I need more storage for “In progress” work, and probably a full shelf just for pieces that are drying out.
The Farmers Market
Based on the advice of a plant-loving pottery guru/lifeline from @arrowsaimgreenhouse, Farmer’s Markets are the way to go. I signed up for several dates at a nearby market, and I can’t wait to get out there and see how it goes! The market nearest to me only takes vendors at the start of the season, so I just missed that cutoff date. Luckily, another was wiling to take me! I had another that was also willing, but I am hesitant to make the trip farther away until I see how my products are received.
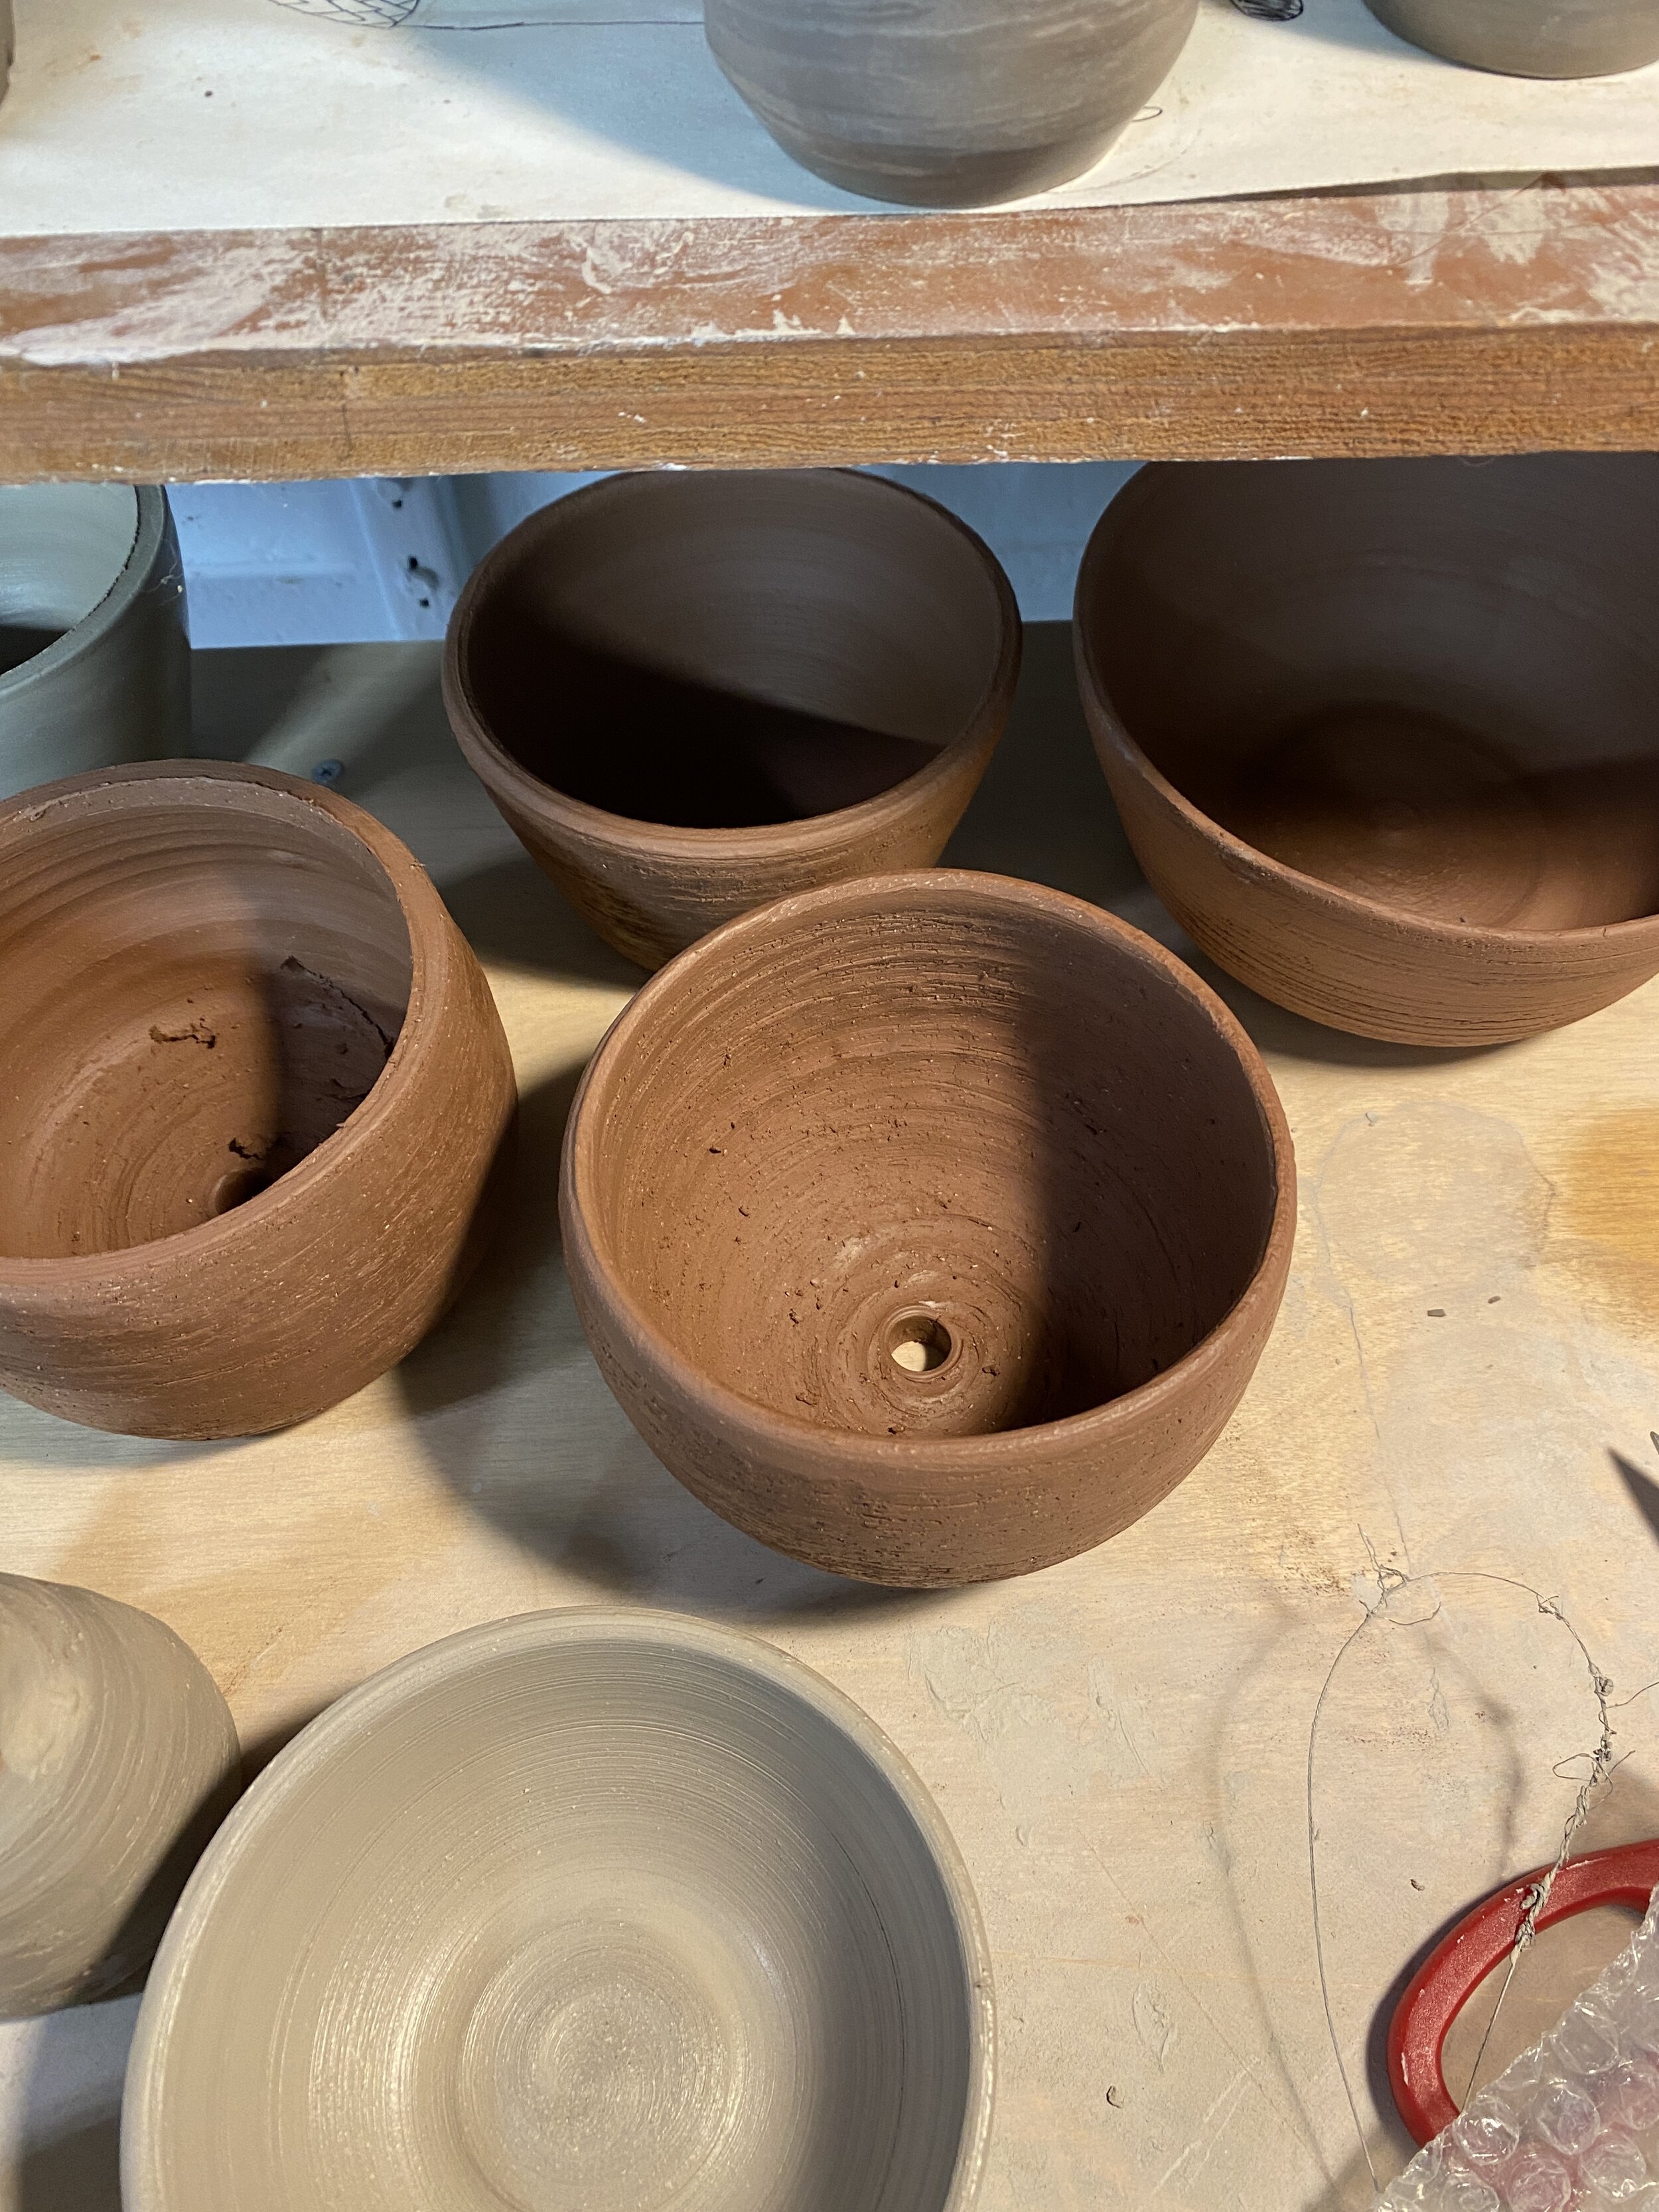
I didn’t sign up for the full season because it takes a long time to make pottery from start to finish. Depending on the drying times of each piece, sometimes it takes weeks just for one piece to be ready to fire in the kiln. I was concerned that, even if I sell a small number of pieces per week, I wouldn’t be able to keep up with the Farmer’s Market, plus Etsy, plus the few custom orders that I periodically take. This year will hopefully be a transitional time for me to feel out exactly what supply vs. demand looks like in the pottery world, as it pertains to me. Then, if necessary, I can spend my winter “off-season” building up my supply for next year.
Vacation
Yes, I’m on vacation! I’m going to some greenhouses, doing some relaxing, and trying really really hard to do nothing. I hope to use this time to get some research done on a few blog posts I’ve been meaning to write. I’m also working, albeit minimally, on some other writing projects that I have on the back burner. This is a time for me to shift from project to project based on how I’m feeling!
I’m still on call! Feel free to email me, find me on Instagram, or leave a comment below!