DIY Coir Pole.
Call it what you want: Coir Pole, Totem, Moss Pole, Coconut Fiber Pole, or any other name. Its meaning and purpose are still the same. We all need a little support to be our best, and climbing plants are no different. Plant parents love healthy, happy plants with big juicy leaves, and for nature to bestow those wonders upon us, we need accessories that replicate the natural homes of our plant babies. A totem provides a welcoming home in which to sink their grabby little climbing roots so they can do what they were born to do. Climb.
As an aside: Climbing Roots are a type of Adventitious Roots that are common in plants (like some Aroids and other Epiphytes) that depend on climbing up into a tree canopy for better light and nutrients. They commonly grow from the nodes or internodes of the plant, and their purpose is to provide structural support so maximum growth can be achieved.
My need for a totem came about as my plant collection grew…literally. In the beginning of a plant journey (okay, plant addiction) we might be purchasing “starter plants” that aren’t big enough for full-on floor to ceiling growth, or perhaps we are buying plants that are already replete with a built-in totem that they’ll one day outgrow. With a couple of plants, I had reached the stage where I needed to keep the totem flowing so they could grow to their potential. I had perused the offerings of the internet, and I wasn’t quite pleased with any of the options I found for purchase. It wasn’t until a plant friend suggested, with tips, that I build my own custom totem that I realized how helpful it is to have this cheap, quick and easy plant fix in my tool belt.
There are many ways you can go about this project. You can forage a stick outdoors, use a wooden ladder, or train a vine up a wall with a rope or line. I’m not ruling those things out in my own future, but for now, I’m just listing the way I build totems for my plants.
You’ll need:
PVC Pipe from the hardware store. The thickness depends on the plant you need to support. I often use a 2” thick pipe, and I purchased the pre-cut pieces from my local store. If the pre-cut pieces aren’t available to you, most hardware stores will cut in-store for you.
Coconut fiber sheet from a large roll. I purchase mine from my local nursery. You can order this online, but it sheds and it’s messy, so I go to the nursery and cut what I need from the roll rather than store the bulk and mess. In a pinch, I’ve also used the pre-shaped coconut fiber windowbox liners and cut those to fit my PVC.
Twine, string, wire, fishing line - whatever you choose to secure your coconut fiber to your PVC. I use a sturdy twine because I keep it on hand for other regular plant projects. I like that it’s more natural, and it supports my effort to use less plastic. It could break down over time, but I don’t mind because that’s an easy fix.

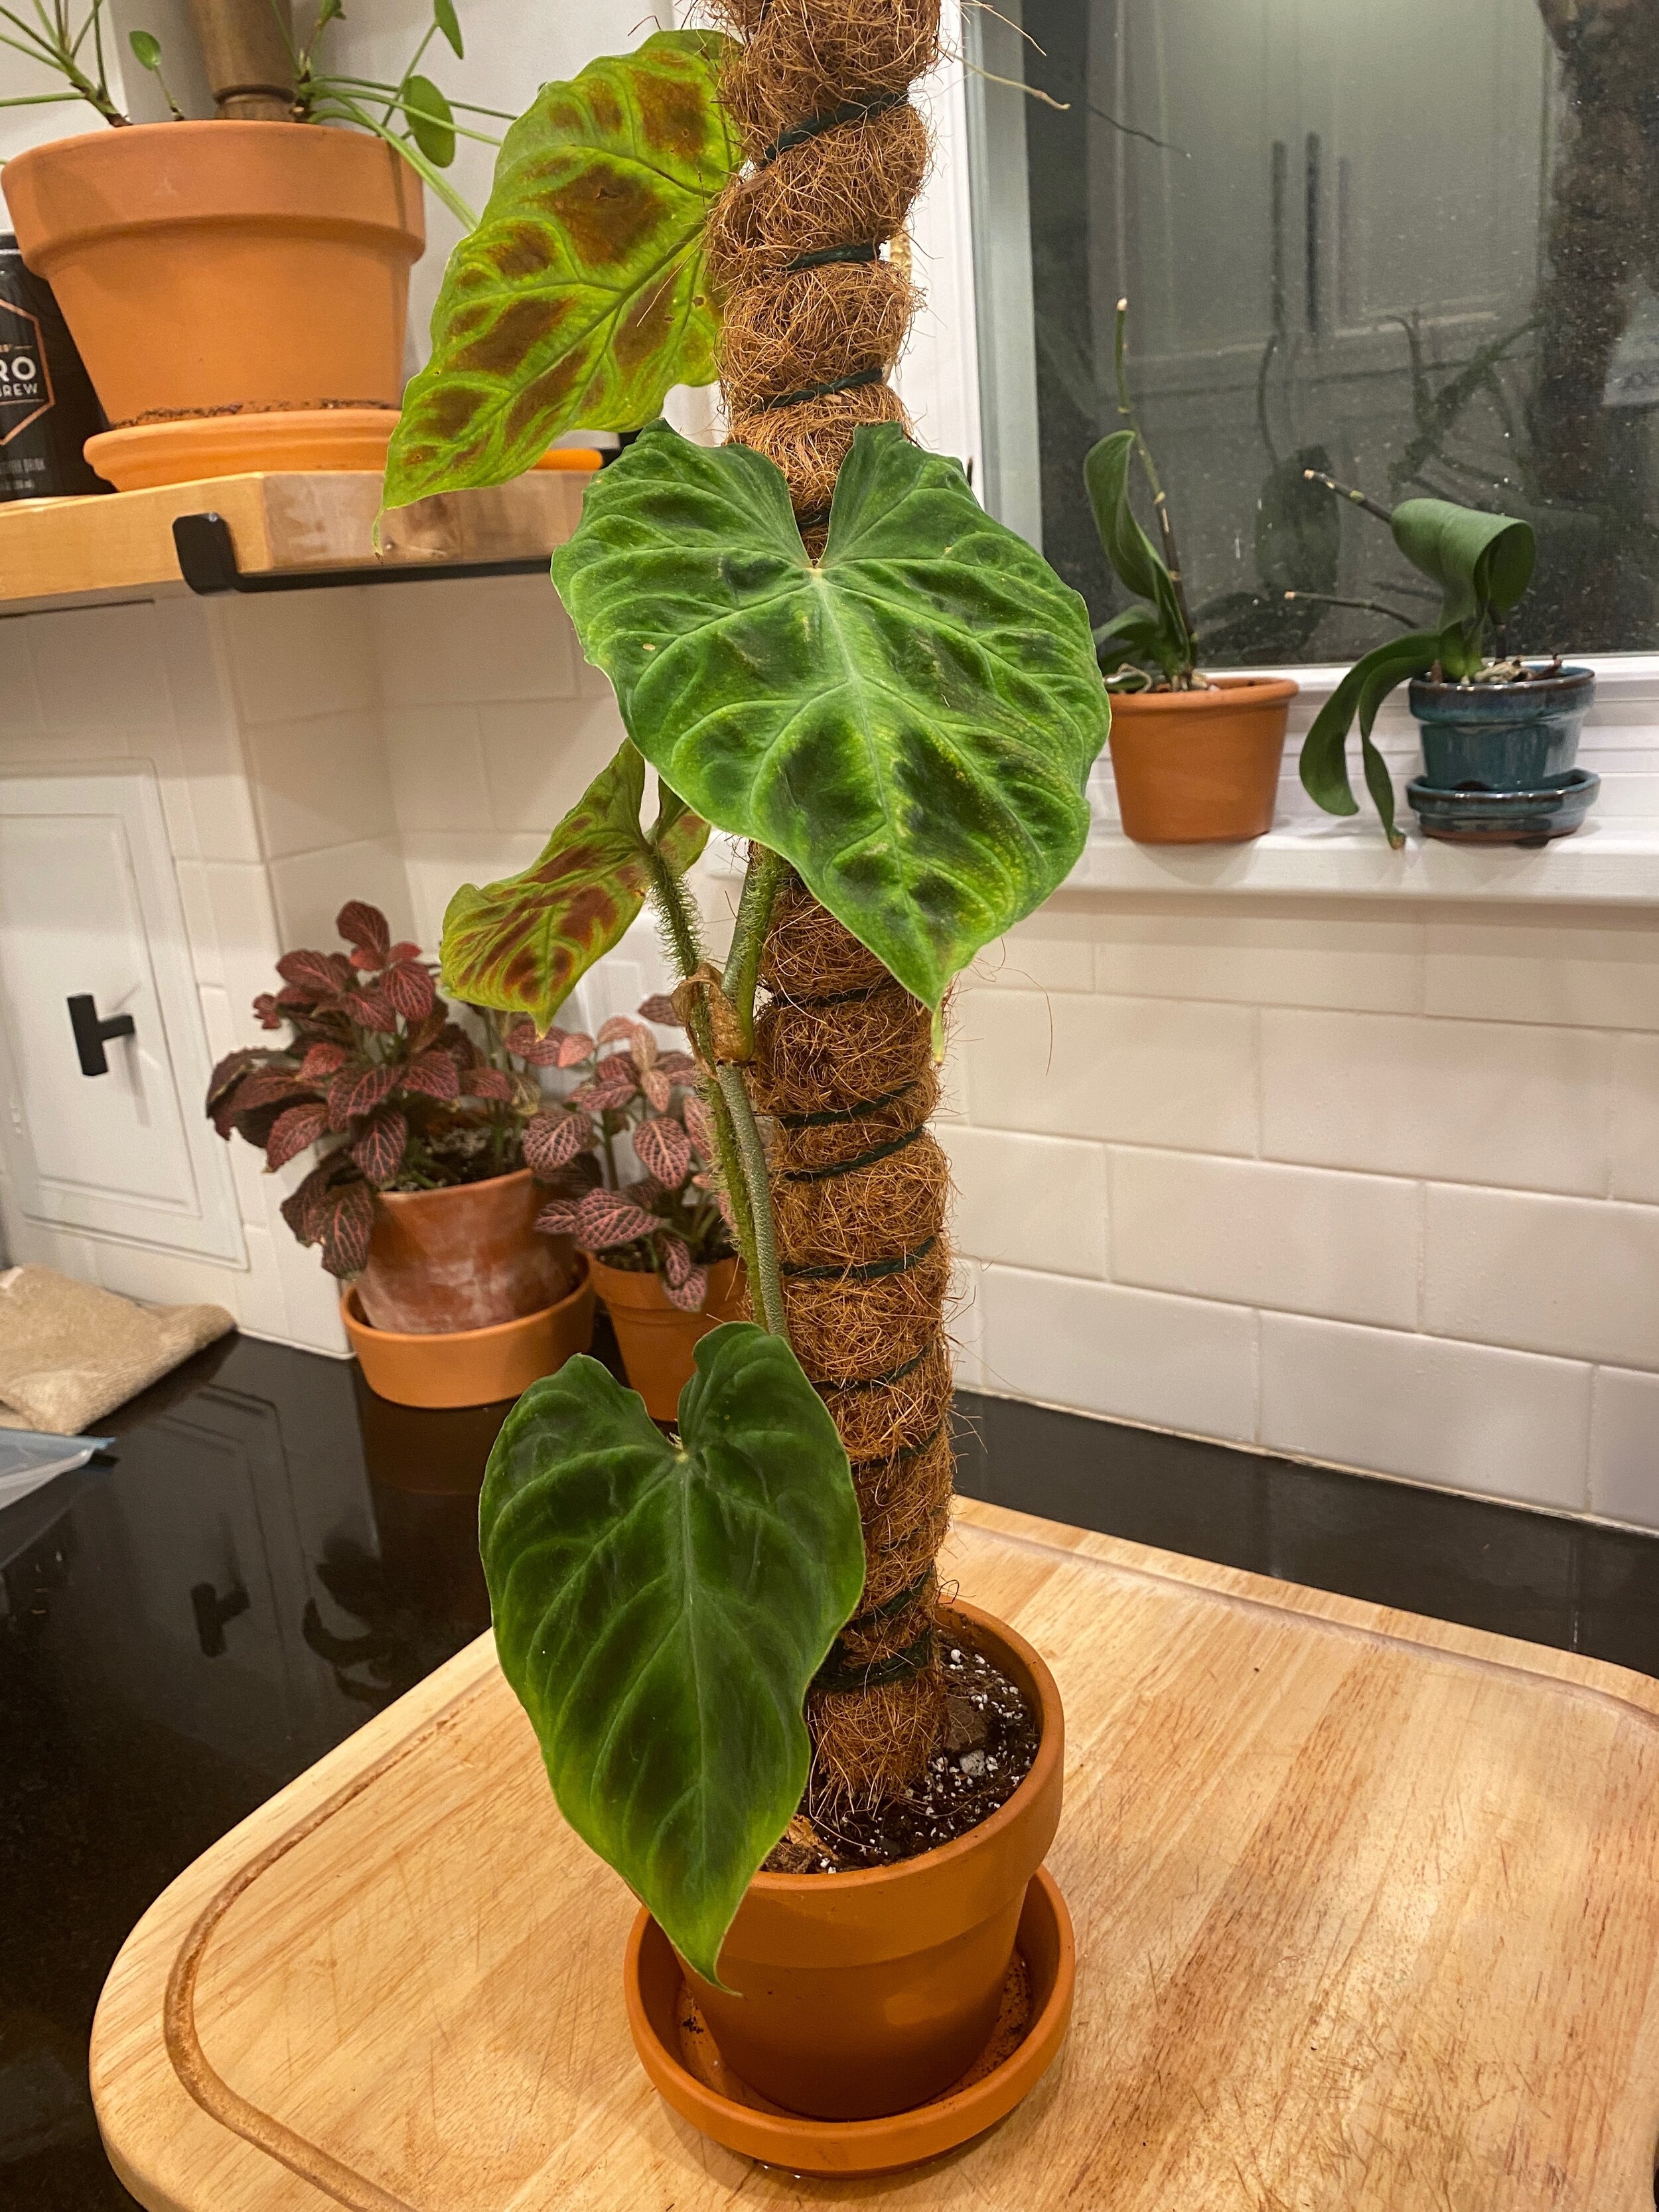
We’ll start by cutting a piece of the coconut fiber mat to fit the pole we are using. I like to angle the cut toward the top of the pole (as seen below) because it prevents a bulky, bulbous top section of the totem.
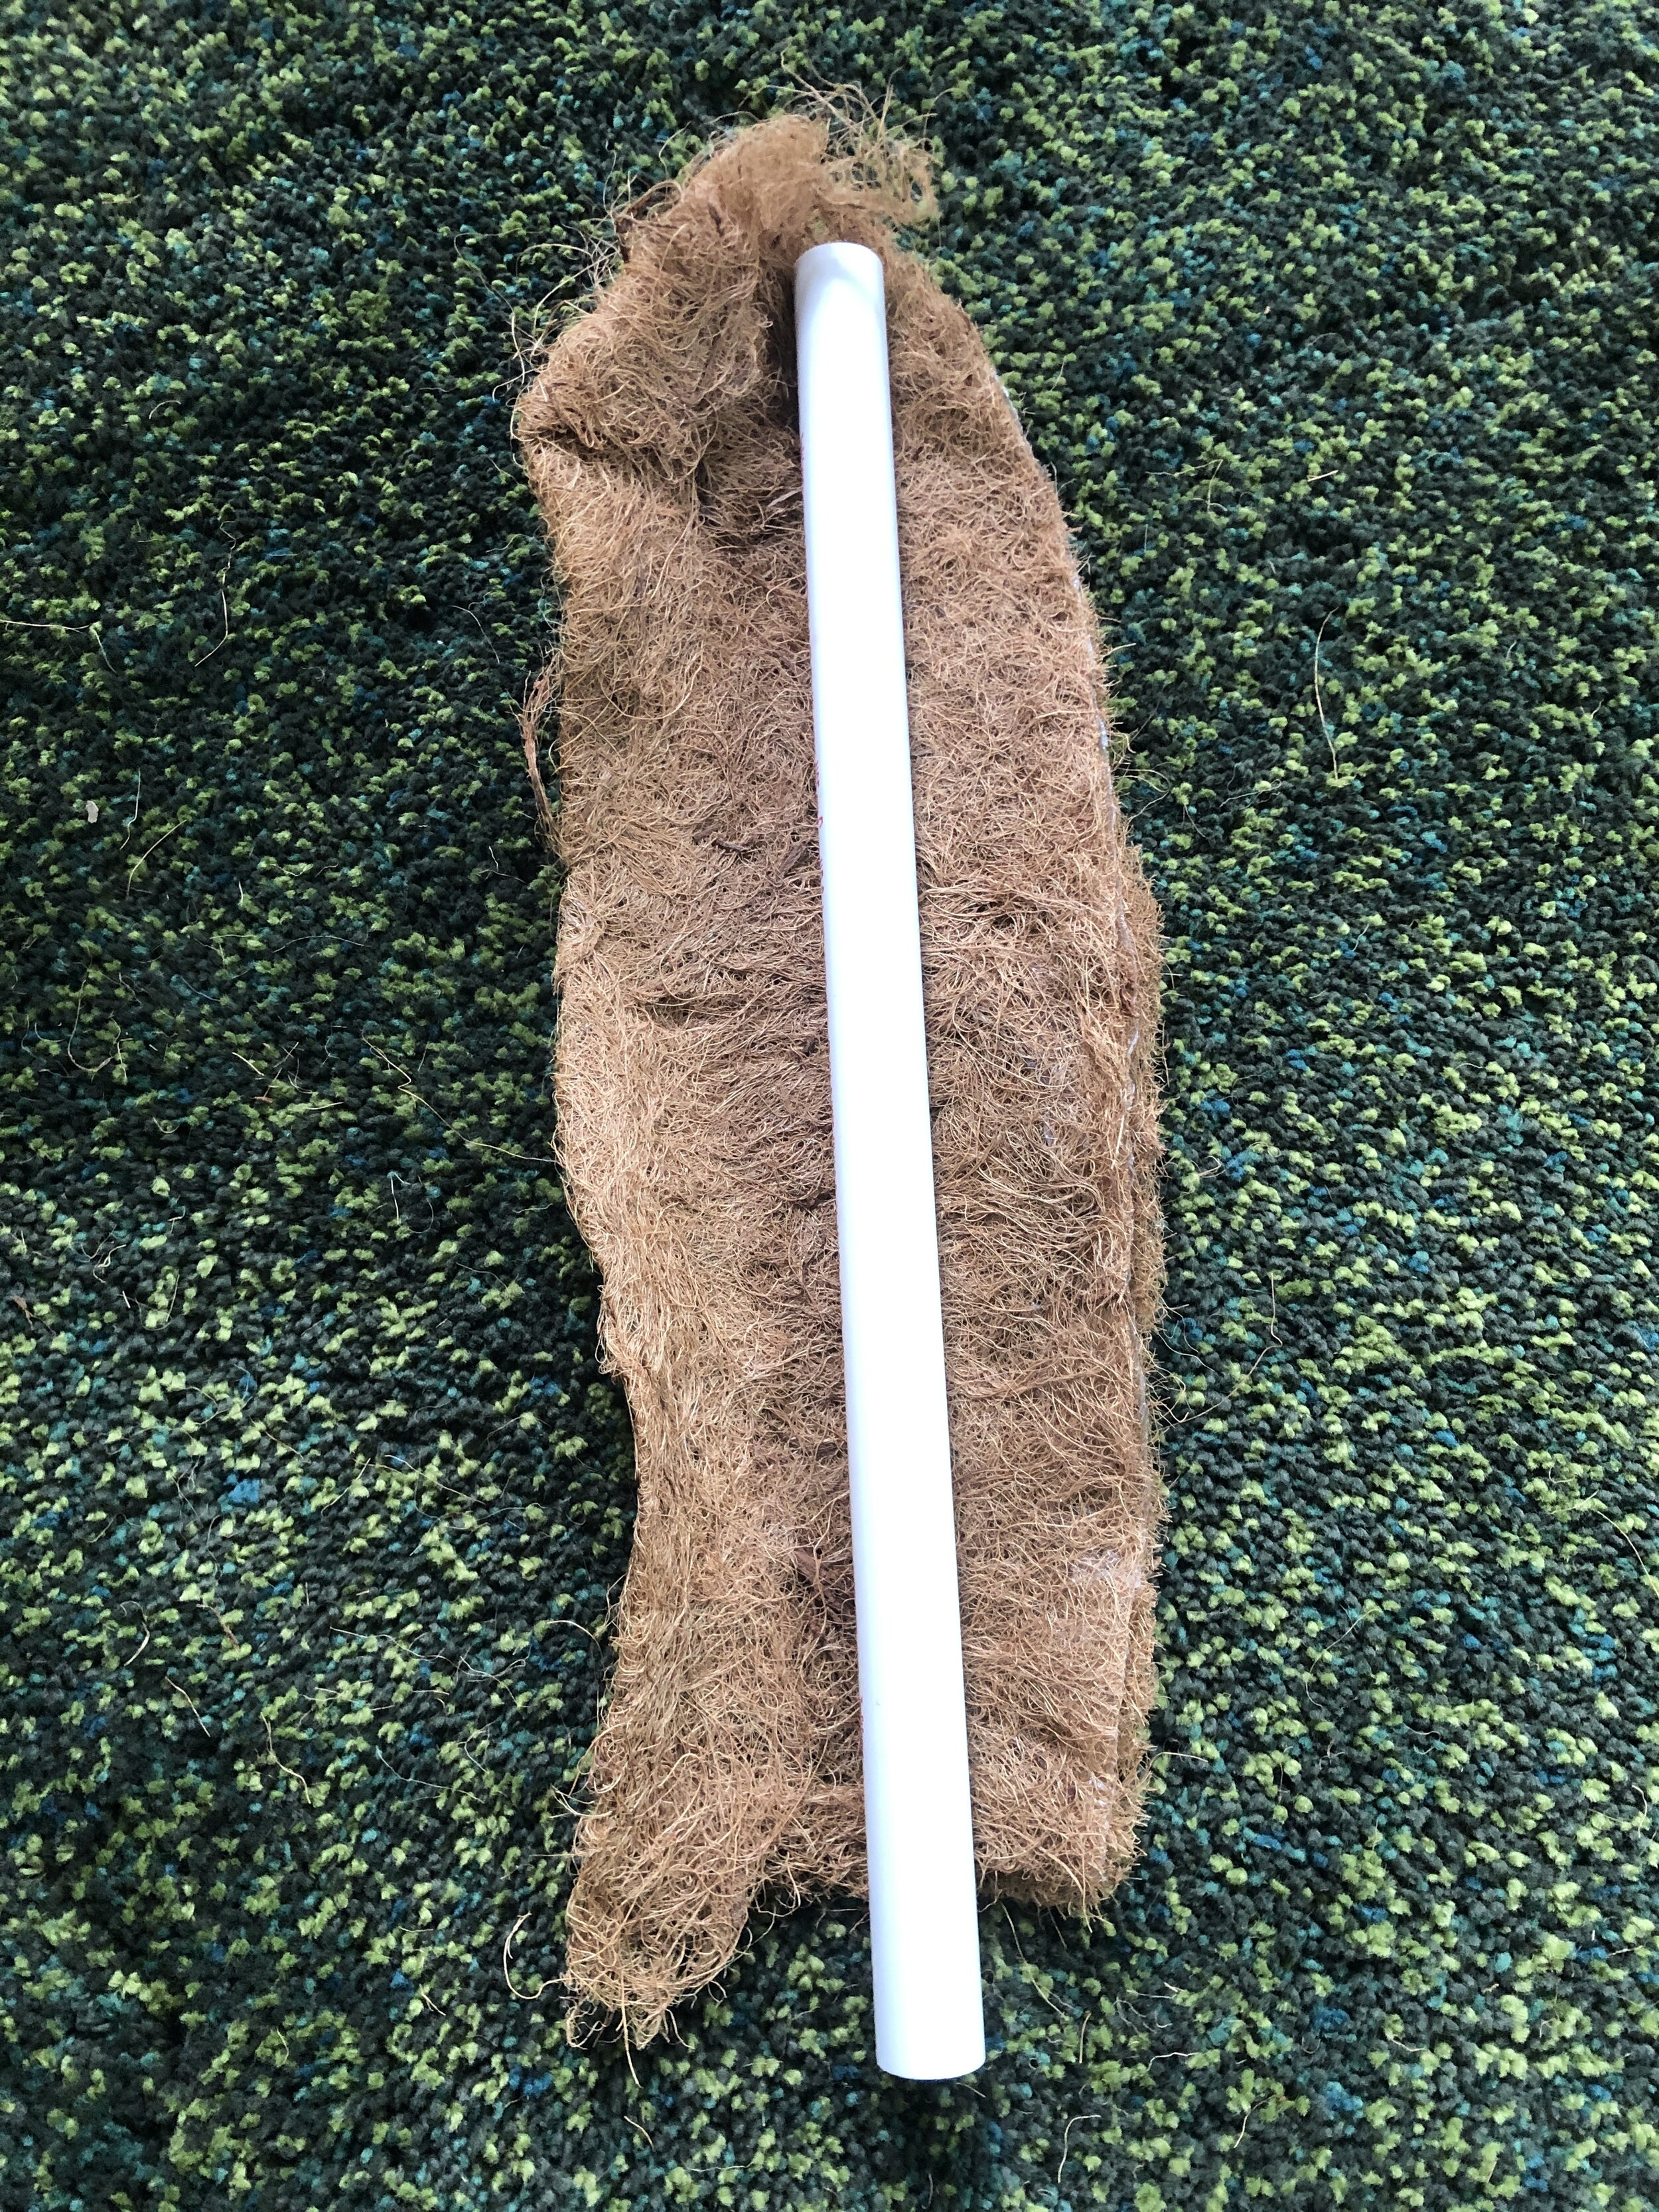
Notice that the bottom of the PVC is left exposed. This is so the coconut fiber doesn’t get soggy with watering and remain damp for too long inside the pot, causing root rot.
It helps to fold a corner of the top section in, as shown below. This way, you’ll get a nice, uniform totem without any pockets or bulges. It’ll still work if it’s lumpy, but I try to keep it even just for aesthetics.

Next, pull a long portion of your twine from the roll in preparation for wrapping. I leave mine attached to the spool because I don’t know how much I’ll be inclined to use.
We’ll start the process at the bottom of the pole. Secure the the coconut fiber to the PVC by tightly wrapping it and tying a firm knot with your twine. This knot is the anchor, and it should be sturdy. It’s fine to wrap again and tie another knot if you need it for extra security. Work slowly up the PVC, tightly wrapping the coconut fiber, holding it in place with your hand, and then spiraling the twine up. Repeat this process until you get to the top, stopping every few rotations to smooth out any lumps or pockets. I use the loose fibers that have fallen away to fill pockets or even out bulges.
When you get to the top, fold the coconut fiber over the top of the pole as neatly as possible and wrap securely, about an inch from the top of the pole, with your twine. Knot or double knot until the twine feels evenly taught and secure from top to bottom. In the end, your totem will look southing like this, and it’s ready to support your plant!

This pole is around 2 feet long. Soon, I’ll be adding a method for extending your totem when your plant has outgrown the one you’ve provided. It’s a non-invasive way to keep your current totem in your pot while providing more climbing space for your plant. In the past, I’ve tried removing a small totem and adding a larger one, and that isn’t the best thing for your plants little sticky climbing roots. They want to stay put once they sink their fingers into a cozy home.
Some Tips:
Use a pot with drainage, and add a couple inches of soil into the bottom of your pot before you install the totem. This keeps your totem from sealing off the drainage hole. Proper drainage = happy roots. A nice, chunky mix is always good.Learn more about the proper soil for your plant here.
You can choose to install the totem at the back of the pot, making space for a larger plant, or in the center of the pot, making space around the totem for smaller plants. Installing at the back can cause your pot to be off balance once a heavy plant reaches the top, but I’ve done it many times and been happy with the result. The choice is yours.
The size of your pot makes a difference. It’s kind of like the Goldilocks story, I’ve used before, but it’s just too good. There is a just right when it comes to choosing the right pot to accommodate a totem and a plant. If you go too small, you can compromise the airiness inside the pot that the roots need to breathe. Go too big and the risk is that the soil will sit oversaturated with water for too long before drying out.
Many epiphytic plants can hang or climb. Hanging plants look beautiful, but one benefit of letting them climb is that they’ll grow larger leaves as they climb. Larger leaves mean more surface area to photosynthesize, and that means a more robust plant over time.
In order for the sticky little climbing roots to bury and anchor to the pole, they need adequate humidity. It might be crazy, but the test to determine when noodles are done cooking is called to mind - throwing a noodle against the wall. If it sticks, it’s been fully saturated with water and it’s done. If it falls to the floor, it isn’t hydrated enough. Climbing roots are like this, in a way. Humidity that provides adequate hydration in line with the purpose to which they’ve adapted allows them to “activate,” in a sense. A poorly or under hydrated climbing root will eventually crisp away and snap, just like undercooked spaghetti. If you find that your plant is leaning against the totem, or relying entirely on velcro, twine or prayers to keep it upright, consider increasing the humidity around the plant.
Misting your totem is a great way to provide an accommodating environment and encourage your climbing roots to dig in. However, I know I’ve said this before, but misting will never increase the humidity in your home. For that you’ll need to look into humidifiers. However, there are plenty of useful purposes for misting. Misting your totem will help to draw in the climbing roots, and when you pair a watering at soil level with misting your leaves and climbing roots, its a nice way to replicate a plant’s natural environment. Rain and higher humidity would never just moisten the bottom anchoring root system, it would also wet the leaves, vine and climbing roots.
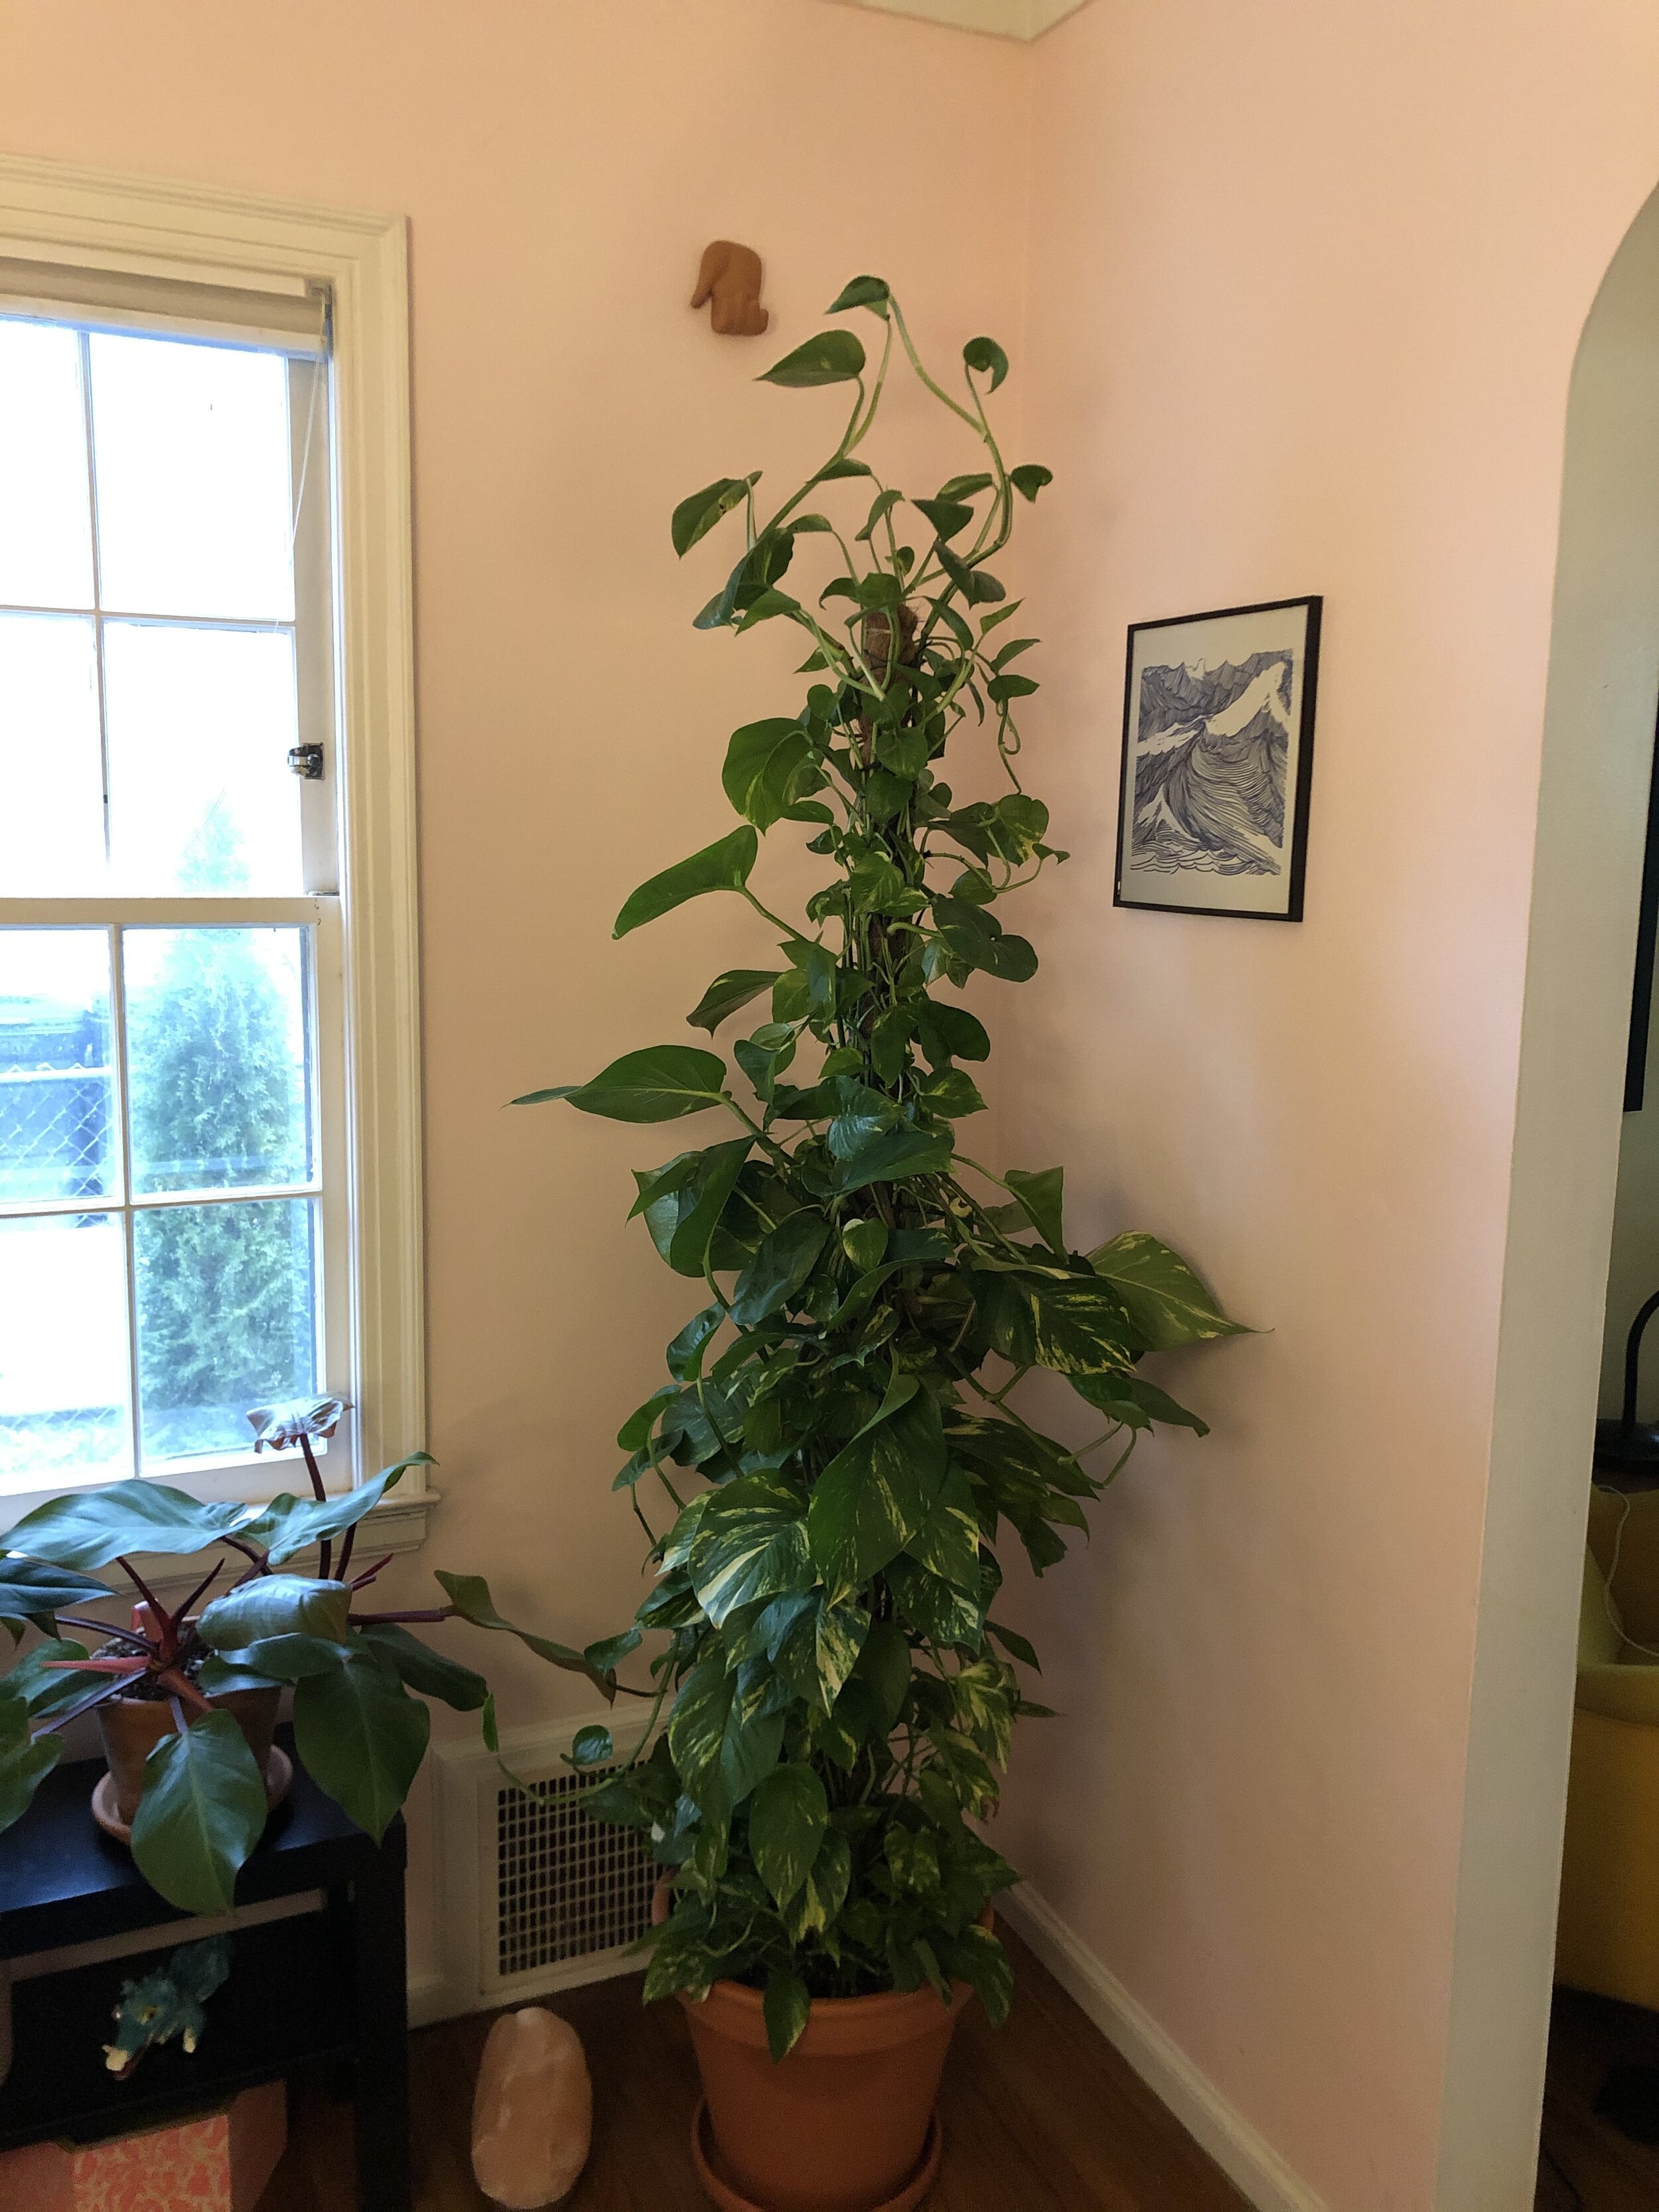
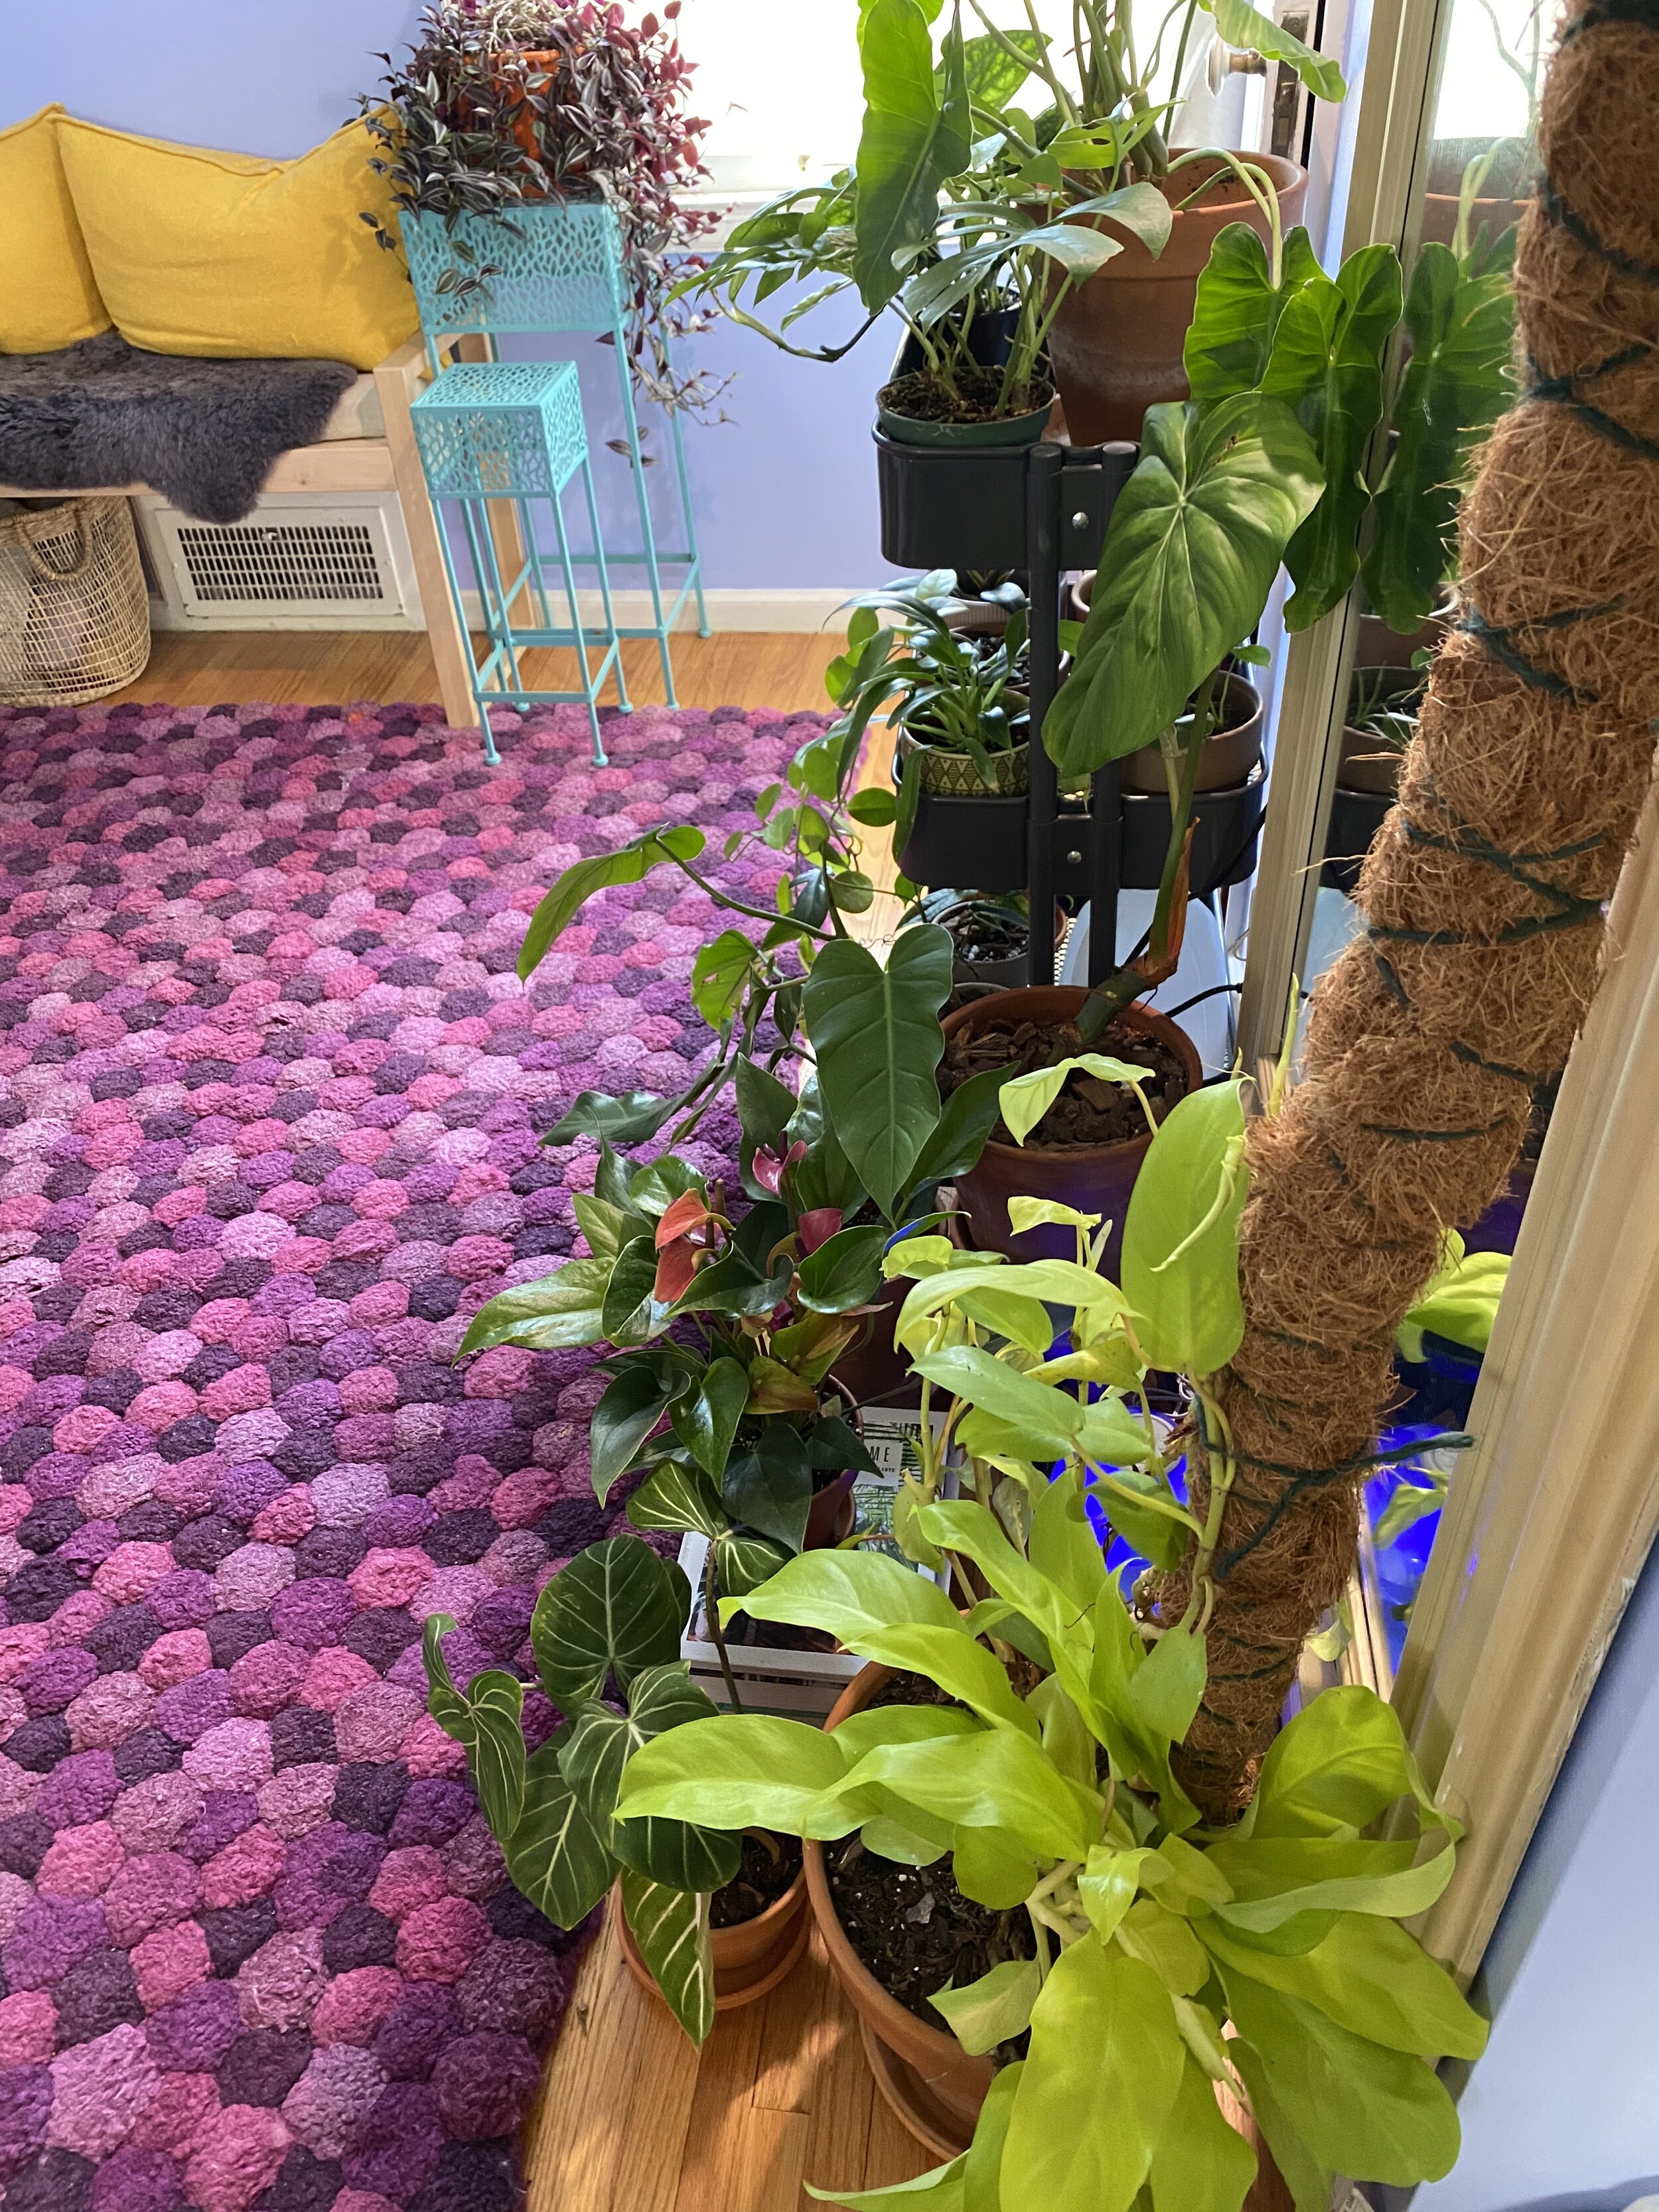
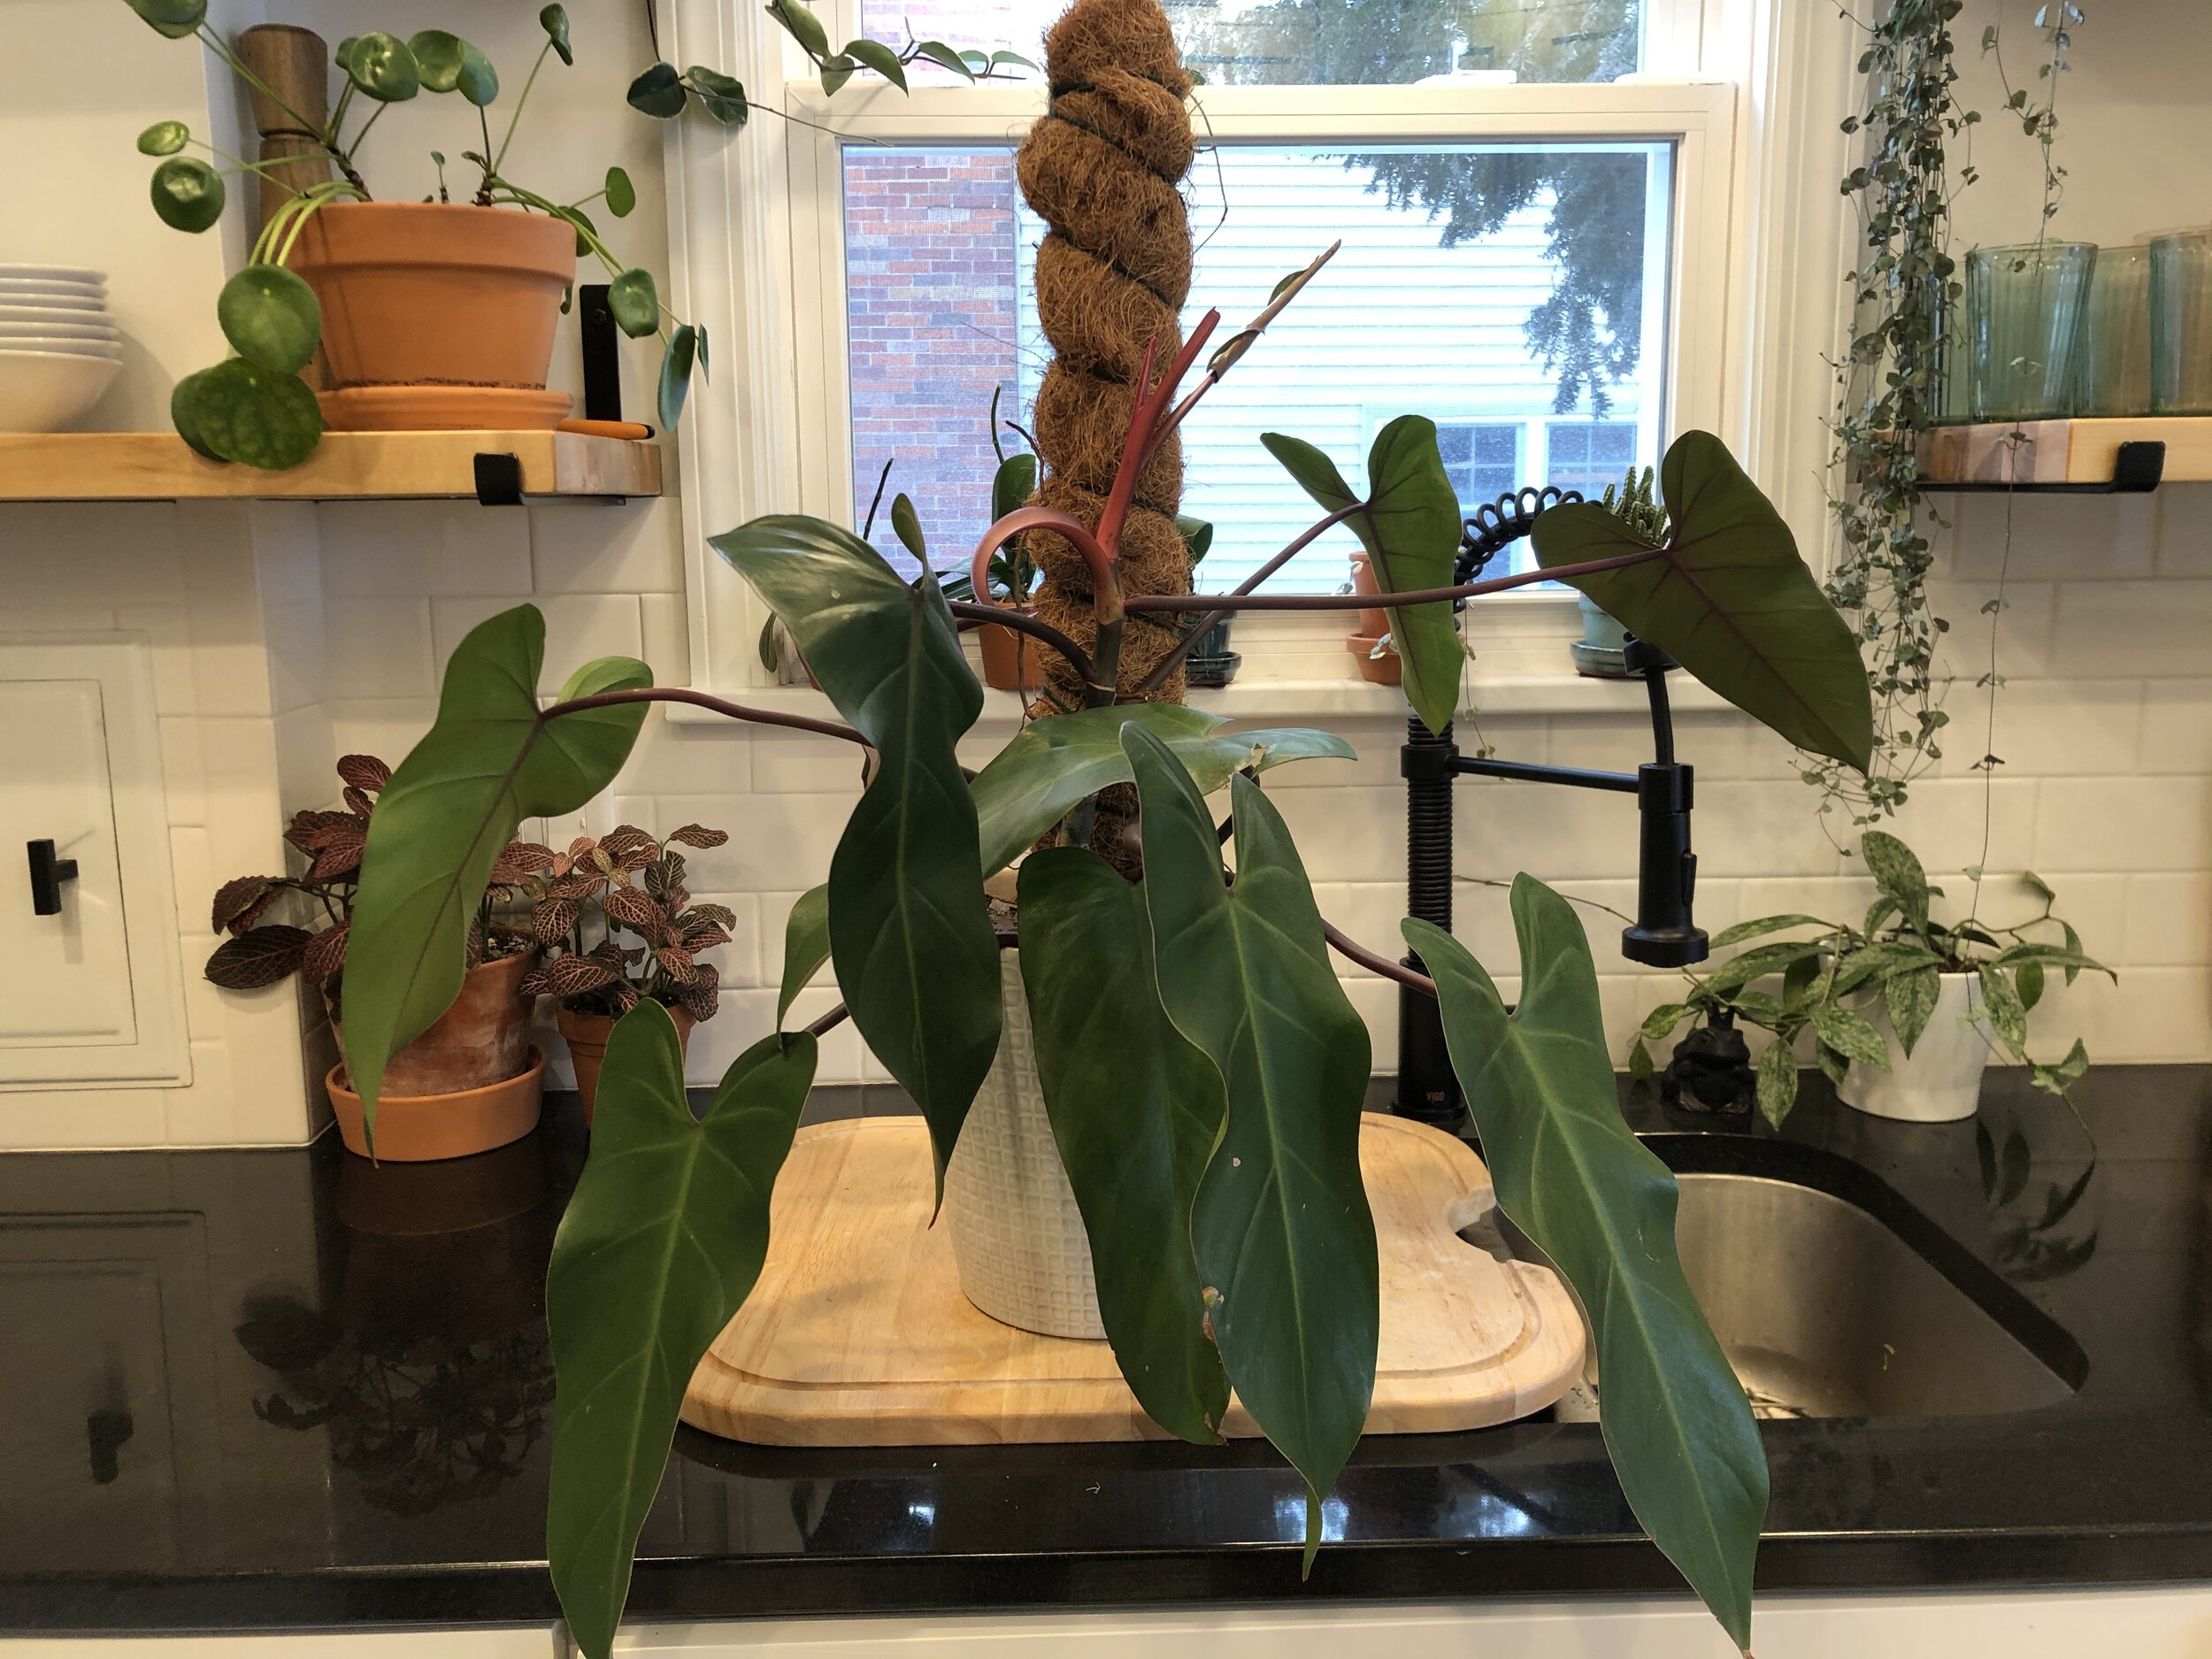
And Now, Photos.